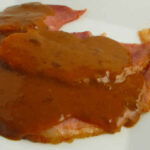
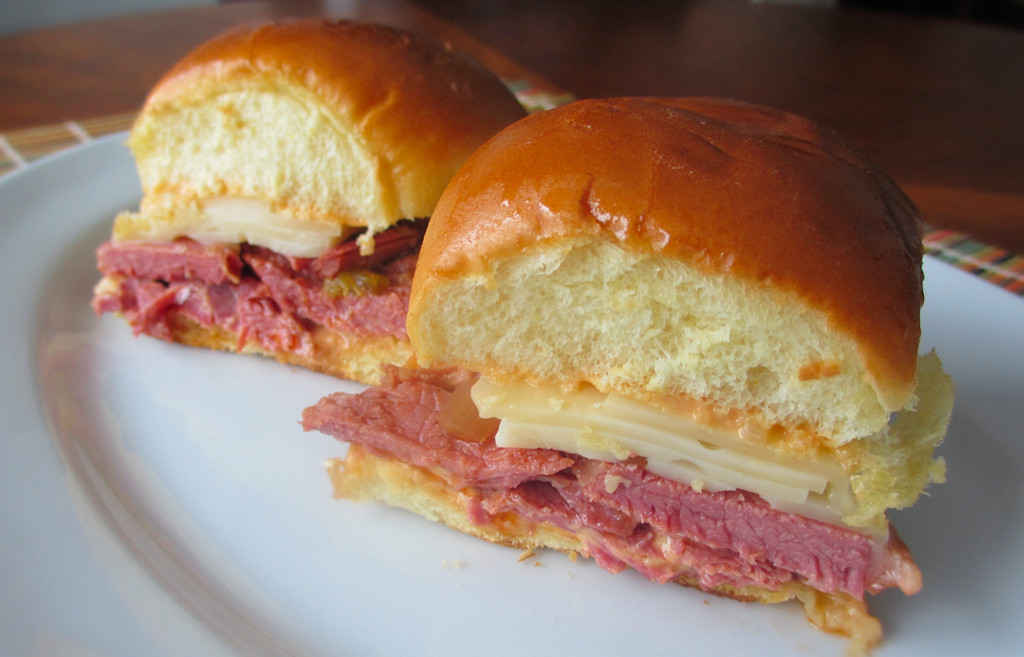
The corned beef on these slow cooker sliders is beyond amazing. Yes, it’s tender, but that’s not the main attraction. The flavor is incredible. The corned beef brisket cooks for hours in a wonderful mix of vegetables, seasonings and broth. There’s a mild tomato flavor, which isn’t something you normally expect, but it’s just another taste that really sets this corned beef apart from anything else.
Go Kraut-less?
You can certainly add sauerkraut to make these slow cooker corned beef sliders more Reuben-esque, but honestly, I wouldn’t and I didn’t. The corned beef is so incredibly tasty that you don’t want to bury it in kraut flavors. I find it weird to even say that because I’m a huge kraut fan. Specially when it comes to a sandwich with corned beef or pastrami on it. It’s unusual for me to even see one without at least a bit of kraut somewhere!
Looks Hard But It Isn’t
I know it may seem like there are a lot of ingredients in this recipe, but I assure you that it’s not really that difficult to make. There’s just a little bit of preparation time. Then everything goes into the crockpot. I like to take my corned beef out and let it rest for a few minutes before I start slicing it.

Also try my slow cooker spicy corned beef.
Slow Cooker Corned Beef Sliders
Equipment
Ingredients
For the brisket
- 1 3-4 pound corned beef brisket rinsed
- 1 onion chopped
- 3 carrots chopped
- 3 stalks celery chopped
- 2 cloves garlic minced
- 2 cups beef broth
- ¼ cup tomato paste
- 3 tablespoons Worcestershire sauce
- ⅔ cup brown sugar
- 1 teaspoon celery seed
- 1 teaspoon dried red pepper flake
- 1 tablespoon Kosher salt
- ½ tablespoon ground black pepper
- 1 bottle beer
For the sliders
- slider buns
- Swiss cheese
- Thousand Island Dressing
- unsalted butter melted
Instructions
For the brisket
- Layer 1/2 of the onion, carrots, celery and garlic in the bottom of a slow cooker set to low.
- Add corned beef brisket, fat side up.
- Add remaining onion, carrots, celery and garlic.
- In a bowl whisk together the broth, tomato paste, Worcestershire, brown sugar, celery seeds and red pepper. Pour over the beef.
- Sprinkle beef with salt and pepper.
- Slowly pour beer around the beef and cover the cooker.
- Cook on low for 8-9 hours until the corned beef is tender.
- Remove meat and slice or shred as desired. If storing leftovers, I would add a bit of the sauce from the slow cooker so that the beef doesn’t dry out when reheated.
For the sliders
- Preheat oven to 350 degrees.
- Cut buns in half horizontally.
- Spread the insides with the Thousand Island dressing.
- Add corned beef and cheese.
- Add bun tops and brush with melted butter.
- Wrap in foil and bake for 15-20 minutes.
Notes
Nutrition
Nutritional values are approximate.