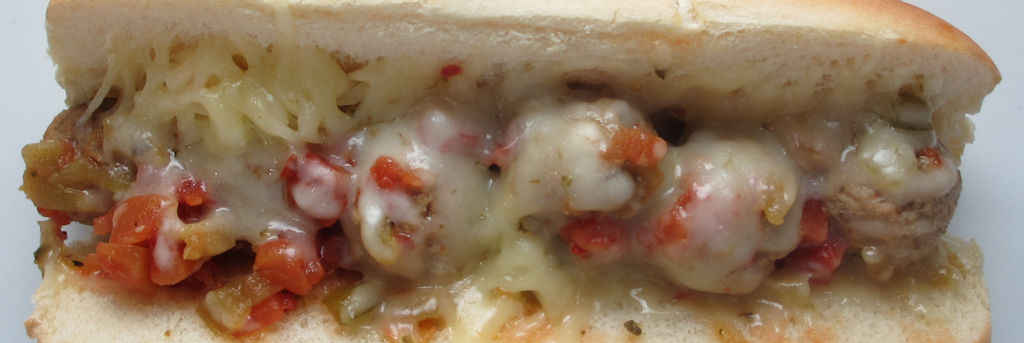
I’ve done the meatballs-in-a-slow-cooker thing before. You know, the standard sweet-and-sour appetizer version. Great snacks for the big game. I wanted to do something like that traditional recipe, but with a little difference. A little kick and a lot more flavor. These slow cooker Fiesta meatballs are exactly what I was looking for. Eat them by themselves or on a roll as a sandwich, either way they’re great!
Different. Delicious. And Spicy.
As easy as these slow cooker Fiesta meatballs are to make, I thought they were quite tasty. They were tender and juicy, and a bit spicy. Just like I like them!
Although I did use pre-cooked meatballs, homemade would be great (read: better). Next time (if I have time) I’ll use a batch of my cooked Italian meatballs. If you do use homemade you can cut the cooking time back since the meatballs won’t be frozen.
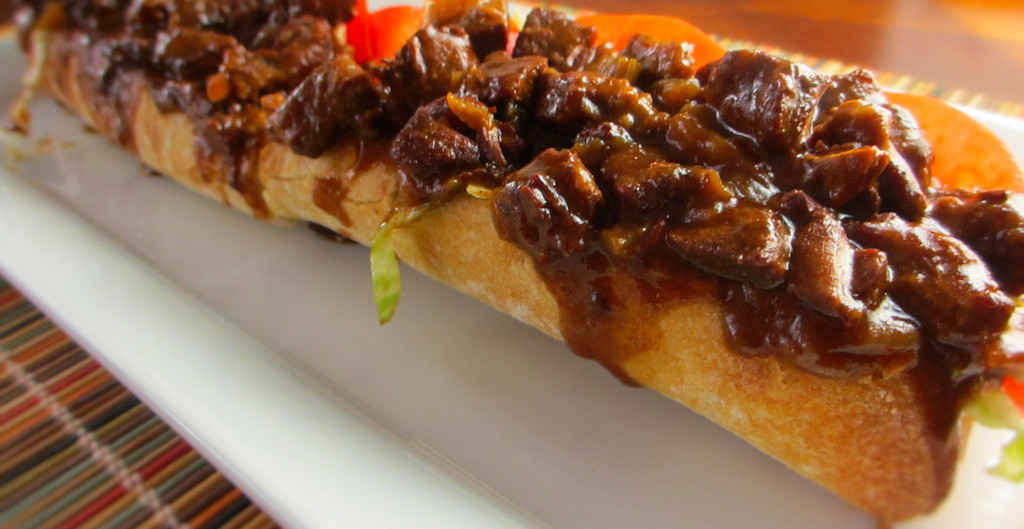
You make a po boy and I’ll eat it. You make a messy, dripping po boy and I’ll devour it. The messier, the better. It has to drip and run all over the place. That way I can dip my bread in the juices. Perfect. Like this slow cooker beef debris po boy. This is a sandwich of beauty and flavor and… messiness!
I’ve had the belief that if a sandwich (or burger… really darned near anything) drips down the front of your arms when you take a bite, it’s a good sandwich. If you don’t need a 3″ high stack of napkins it’s not really a sandwich. It’s a dainty tea sandwich maybe. At best. Well, get out the napkins for this one because you’re going to need them!
Messy. Like It’s Supposed To Be.
‘Debris’ refers to beef that is cooked and then cut into shreds and sauced. Heavily. In this case, I cut the beef first then cook it until it completely falls apart. The sauce is absolutely incredible. You’ll want to just take a spoonful of it and eat it right out of the slow cooker.
This isn’t complicated stuff here. It’s not meant to be. The ingredient list may seem long but when you look over it you’ll see that there’s nothing ‘weird’ on it. You might well have everything already on-hand. That’s what makes these sandwiches even better!
Patience. Tested.
The aroma of the beef cooking in the delicious sauce will drive you crazy all day long. You will find yourself doing like I did, trying to rush the clock forward to dinnertime. Fortunately this recipe for a slow cooker beef debris po boy makes a big batch so you’ll have plenty of it on hand to enjoy again and again.
You make a po boy and I’ll eat it. You make a messy, dripping po boy and I’ll devour it. The messier, the better. Like this slow cooker beef debris po boy.
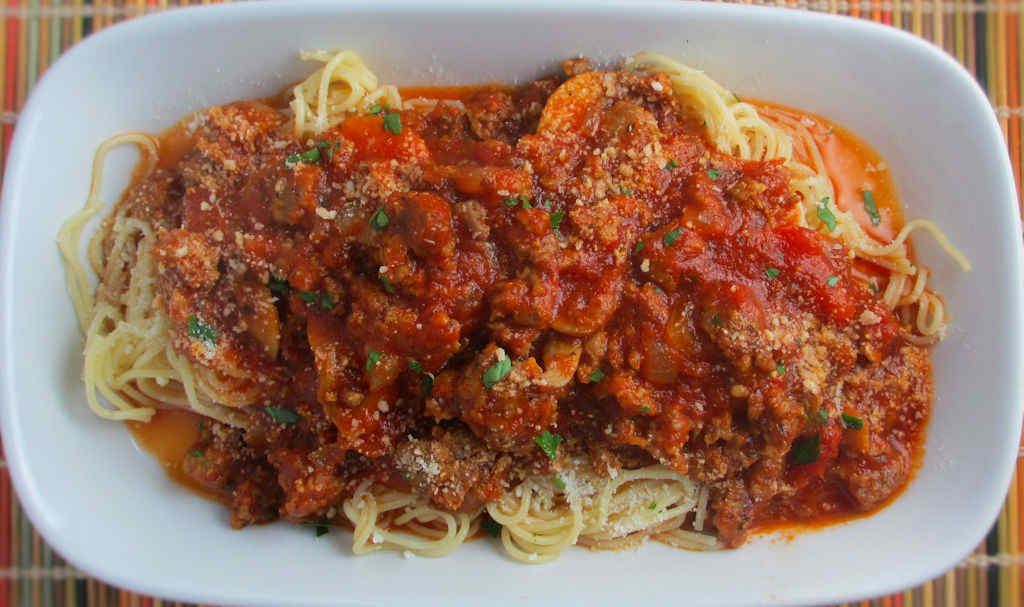
Yes, sometimes I just grab a big ole jar or two of spaghetti sauce at the grocery store instead of making a big batch of homemade. There’s nothing wrong with that. But I don’t just heat it up and toss it over cooked pasta. Nope, I gotta make my shortcut spaghetti. It’s a dish I started making in my bachelor years, and have perfected over time.
Stick With Italian Sausage
You can use ground beef instead of Italian sausage, but I wouldn’t. The first years I made shortcut spaghetti I used beef. Sausage is better. Much better. And my homemade Italian sausage is fantastic. I make a batch and freeze it in one pound packages. Perfect for a shortcut dish.
I like to use my good ole trusty Dutch oven to make this spaghetti and pretty much darned near anything like it on my stovetop. It’s nice and big and sturdy. That extra weight helps it maintain and distribute heat perfectly. As an added bonus, it’s actually pretty easy to clean up too!
Oh, and I almost forgot! Instead of pasta, serve the meat sauce mixture on a hoagie or sub roll as a sandwich and top with tons of shredded mozzarella. It’s the perfect messy Sloppy Italian Joe sandwich. Or substitute meatballs for the sausage.
You can use ground beef instead of Italian sausage, but I wouldn’t. The first years I made shortcut spaghetti I used beef. Sausage is better. Much better.
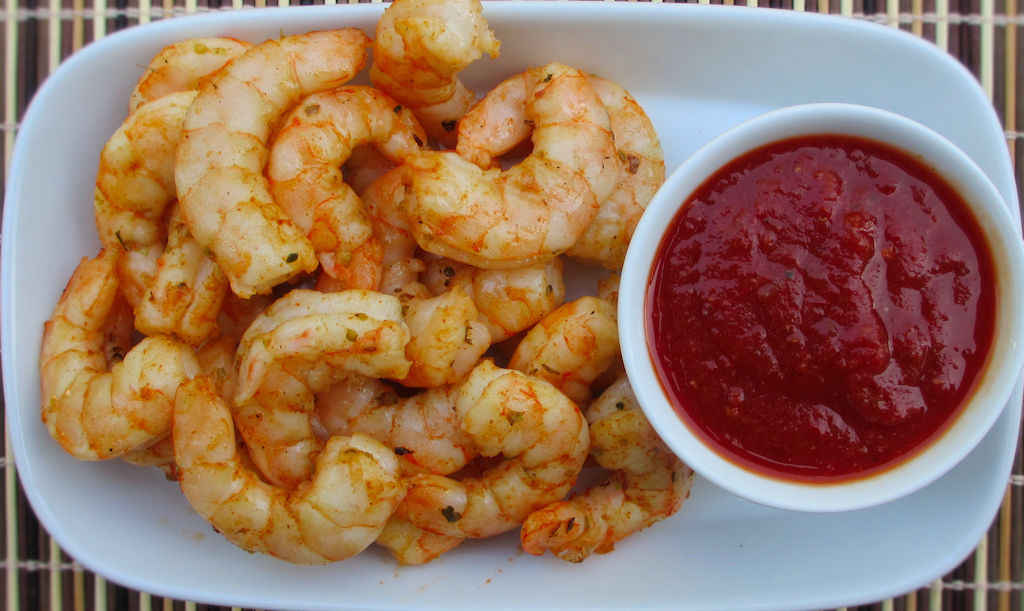
Nothing is better with boiled, steamed or roasted shrimp than a simple cocktail sauce. I could dunk shrimp in this thick tasty quick fix cocktail sauce all day long. This sauce went perfectly with the Bubba Gump shrimp I made on my Char-Broil Big Easy. And it was great with my Old Bay Peel’N Eat Shrimp. In the time it took the shrimp to cook I made a big batch of sauce. I was enjoying delicious shrimp in less than 10 minutes.
Make It Spicy
Add a few shakes of your favorite hot sauce for a little kick. Or a few pinches of red pepper flake.
I usually prefer my quick fix cocktail sauce really cold. If I have time, I’ll stick it in the freezer for a bit just before serving.
If you prefer to use pre-made cocktail sauce with your shrimp, I can’t recommend Frog Bone’s Bayou Cocktail sauce enough. It combines the flavor of a traditional cocktail sauce with Cajun seasonings. It’s outstanding!
Nothing is better with boiled, steamed or roasted shrimp than a simple cocktail sauce. I could dunk shrimp in this thick tasty quick cocktail sauce all day long.
I make what I think is a mighty fine spicy tomato soup. Lately, I’ve been concentrating more on using roasted tomatoes in my dishes, so I decided to give this roasted tomato soup a try. It definitely came out chock full of great roasted tomato flavor. Just perfect. A little herb-y, and a little creamy. And a lot tomato-y.
Time Well Spent
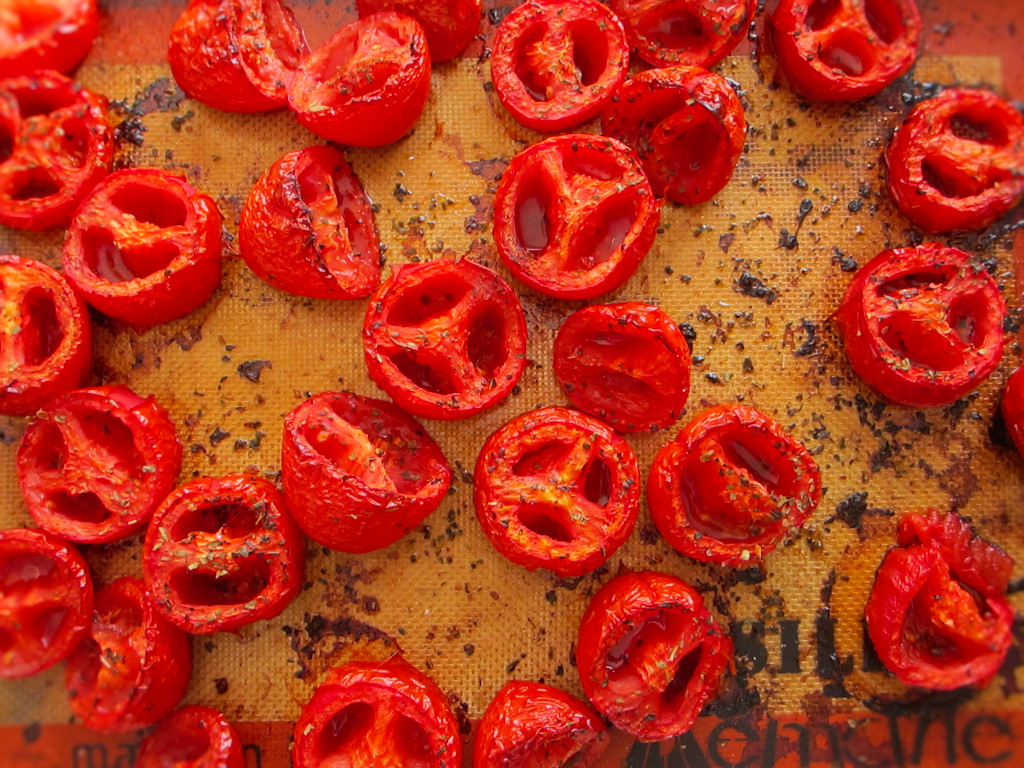
The tomatoes took about an hour to roast. They came out looking and smelling absolutely fantastic. If it would’ve been a nicer day out I would’ve tossed them on my Weber grill, but the weather just wasn’t cooperating. Either way, they made this roasted tomato soup fantastic.
Perfect Tomato Flavor
What a fantastically tomato-y soup!
I like to use my good ole trusty Dutch oven to make this soup and pretty much darned near anything like it on my stovetop. It’s nice and big and sturdy. That extra weight helps it maintain and distribute heat perfectly. As an added bonus, it’s actually pretty easy to clean up too!
Lately, I’ve been concentrating more on using roasted tomatoes in my dishes, so I decided to give this roasted tomato soup a try. It definitely came out chock full of great roasted tomato flavor. Just perfect.
Preheat your oven to 400 F. Line a baking sheet with parchment paper or use a Silpat,
Place the tomatoes cut-side up in a single layer on the baking sheet.
Drizzle the tomatoes with 1/4 cup of the olive oil. Sprinkle with salt, pepper, sugar, and thyme.
Roast the tomatoes until they are wrinkled and soft, about 1 hour. Remove from the oven and let cool until cool enough to handle. Remove skins.
Heat remaining 2 tablespoons of olive oil and a large pot or Dutch oven over medium heat.
Add the onions and a pinch of salt, stir, and cook until starting to soften.
Add the garlic, stir, and cook another minute.
Add the tomatoes, vegetable stock, bay leaf and the basil. Bring to a boil then reduce to a simmer and simmer, partially covered, for 30 minutes.
Add the cream.
Using an immersion blender to puree the soup until smooth. If you do not have an immersion blender you can transfer the soup to a blender, but let it cool first or it will explode in the blender. You have been warned!
Serve warm garnished with chives and croutons if desired.
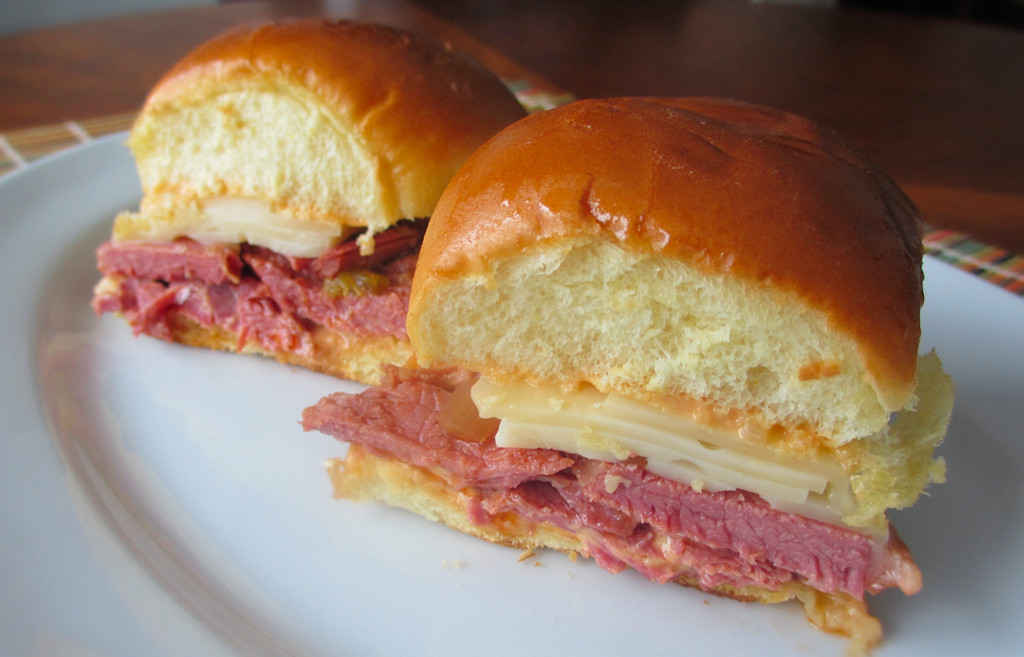
The corned beef on these slow cooker sliders is beyond amazing. Yes, it’s tender, but that’s not the main attraction. The flavor is incredible. The corned beef brisket cooks for hours in a wonderful mix of vegetables, seasonings and broth. There’s a mild tomato flavor, which isn’t something you normally expect, but it’s just another taste that really sets this corned beef apart from anything else.
Go Kraut-less?
You can certainly add sauerkraut to make these slow cooker corned beef sliders more Reuben-esque, but honestly, I wouldn’t and I didn’t. The corned beef is so incredibly tasty that you don’t want to bury it in kraut flavors. I find it weird to even say that because I’m a huge kraut fan. Specially when it comes to a sandwich with corned beef or pastrami on it. It’s unusual for me to even see one without at least a bit of kraut somewhere!
Looks Hard But It Isn’t
I know it may seem like there are a lot of ingredients in this recipe, but I assure you that it’s not really that difficult to make. There’s just a little bit of preparation time. Then everything goes into the crockpot. I like to take my corned beef out and let it rest for a few minutes before I start slicing it.
Layer 1/2 of the onion, carrots, celery and garlic in the bottom of a slow cooker set to low.
Add corned beef brisket, fat side up.
Add remaining onion, carrots, celery and garlic.
In a bowl whisk together the broth, tomato paste, Worcestershire, brown sugar, celery seeds and red pepper. Pour over the beef.
Sprinkle beef with salt and pepper.
Slowly pour beer around the beef and cover the cooker.
Cook on low for 8-9 hours until the corned beef is tender.
Remove meat and slice or shred as desired. If storing leftovers, I would add a bit of the sauce from the slow cooker so that the beef doesn’t dry out when reheated.
For the sliders
Preheat oven to 350 degrees.
Cut buns in half horizontally.
Spread the insides with the Thousand Island dressing.
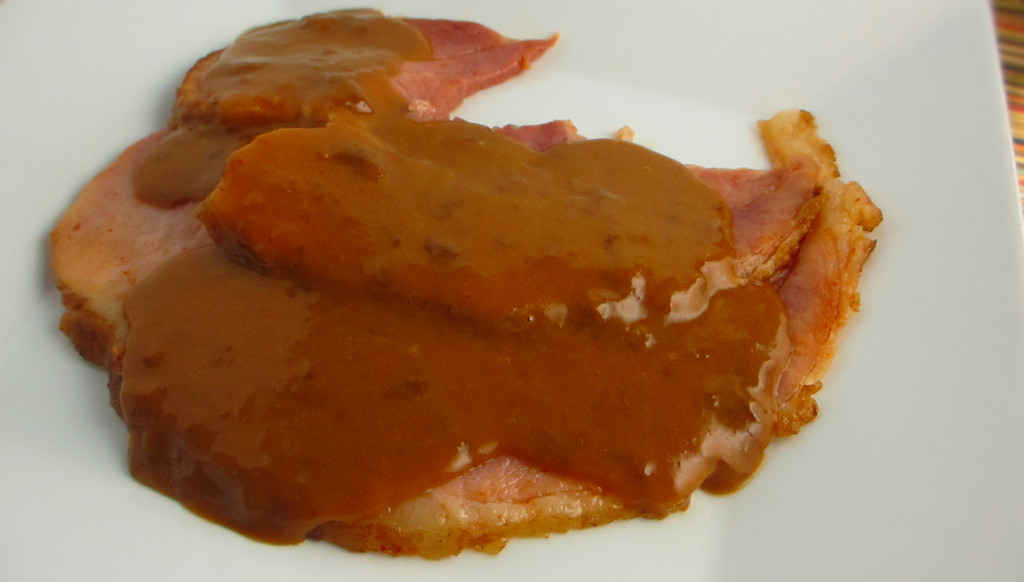
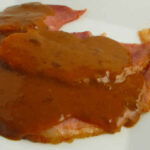
I love smoked spiral ham. I usually don’t need anything on it. Just give me some ham and I’ll be happy. But recently I started thinking… “Ya know, I’ve never made red-eye gravy before. I should do that.” So I did, and it was good. Very good. But then I thought, “I bet that Sriracha in red-eye gravy would be spectacular.” So I did that too, and it was beyond good. Known as black-eye gravy, it was my favorite of the two, but the competition was close. Red- and black-eyed gravies are a staple in this house.
Great Gravies For Anything
Either one of these gravies would be great on a steak, too. Or over a sliced beef rib roast. Ooooh, I need to make that. Soon. I do love red- and black-eyed gravies for sure!
I made these gravies in my cast iron skillet. There’s just something about making gravy in them that is different than using a plain ole skillet. It’s like when you make gravy for biscuits. It’s ten times better out of cast iron.
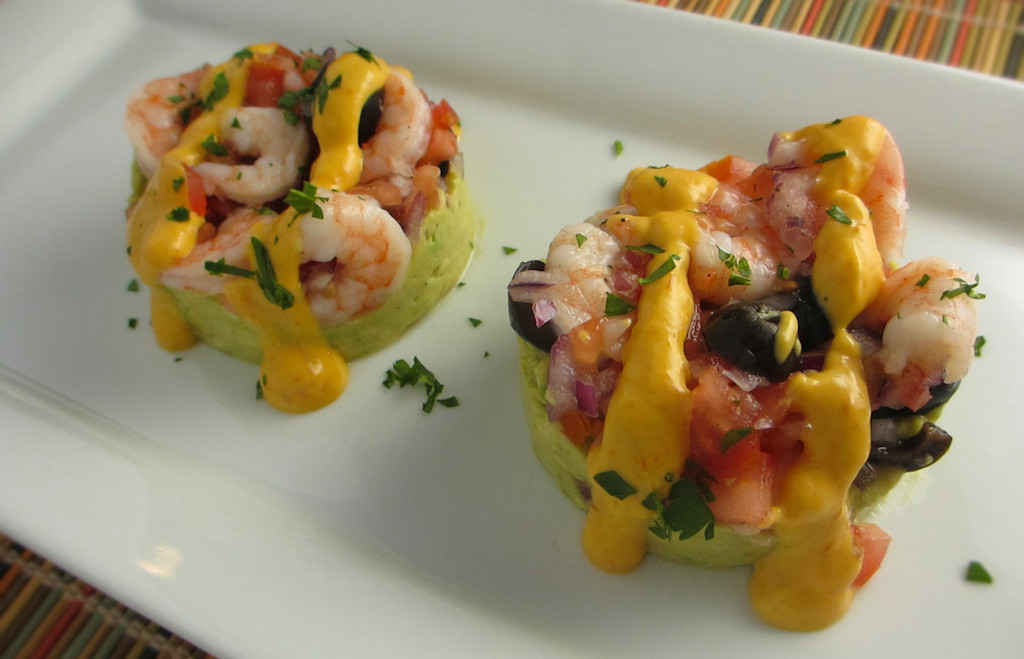
It seems like a hundred years since I lived in Lima, Peru. And although some of the memories of my years there have faded, my memories of the food have not. One of my favorites was (and is) palta rellena. Avocados stuffed with anything from ceviche to ham to tuna salad. I found this great variation on the classic over on Peru Delights, a wonderful site dedicated to all foods Peruvian. The avocado is smashed into a creamy guacamole, then topped with a mixture of shrimp, onion, tomato, and olives mixed with fresh lime juice. Drizzled with a fantastic sauce of aji amarillo, mayo and ketchup.
Aji Amarillo For That Authentic Flavor
Aji amarillo has a fantastic fruity, spicy flavor. Not too hot, but not totally tame either. If you can’t find it just add a few squirts of Sriracha hot sauce instead. But for authentic palta rellena it’s worth going out of your way to get aji amarillo.
Looking for a delicious Peruvian-inspired snack? Try my Andean popcorn.
Avocado is smashed into a creamy guacamole, then topped with a mixture of shrimp, onion, tomato, and olives mixed with fresh lime juice. Drizzled with a fantastic sauce of aji amarillo, mayo and ketchup.
Note: This recipe was developed using the Char-Broil Big Easy Oil-Less Fryer. If you are cooking using the Char-Broil Smoker-Roaster Grill you should cook with the lid open and the temperature set to High. You might also need to adjust the cooking time.
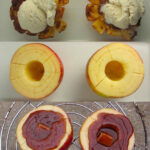
These bloomin’ apples on the Char-Broil Big Easy were definitely one of the tastiest things I’ve ever made. Each bite was like biting into a hot, fresh-out-of-the-oven apple pie. Perfect. Just delicious!
Ready In No Time!
The apples take only a few minutes to prepare and cook. And I was a bit nervous my first time cutting them. But I found it to be completely painless and rather fun. Everything you need to make these is probably already in your pantry – you just need a few apples and you’re ready to enjoy the perfect dessert right from your Big Easy!
Your Apples, Your Toppings
Bloomin’ apples on the Char-Broil Big Easy can be topped with just about anything. Whipped cream. Melted caramel. Toasted nuts. You name it. Or just eat (er… devour) them with a simple scoop of good ole vanilla ice cream.
These bloomin’ apples were definitely one of the tastiest things I’ve ever made. Each bite was like biting into a hot, fresh-out-of-the-oven apple pie. Perfect. Just delicious!
Your favorite toppingsice cream, whipped cream, caramel topping, a sprinkle of cinnamon, etc
Instructions
Fire up your Big Easy or preheat an oven to 350 F.
Cut about 1/2″ off the tops of the apples, getting all of the stems.
Using a melon baller or spoon, scoop out the core of the apples. Get just enough to get the seeds.
Using a sharp knife, make 2 circular cuts, one inside the other, around the inside of the apples from the top. You want two concentric circles. Be careful to not cut through the apples. See the picture above.
Turn the apples over so that they are lying flat on the cut tops.
Take a knife and make cuts down the sides if the apples. Start about 1/2″ from the center of each apple and slice downward.
Turn the apples back over.
Melt the butter and stir in the brown sugar until dissolved.
Stir in the flour and cinnamon.
Place 2 caramels in the hollowed out centers of each apple.
Pour the butter mixture over the tops.
Transfer apples to a Big Easy basket and place into the cooker. Roast for about 20 minutes, checking for tenderness. I used a long metal skewer to gently poke the apples to see if they were soft.
For oven cooking, transfer the apples to a baking sheet lined with foil and bake 30-40 minutes or until tender.
Your apples may take longer than mine. Start checking them after 20 minutes.
Remove apples and add your favorite toppings.
Notes
Note: If you add ice cream to the tops of the cooked apples it will cause the caramel mixture to harden. You may prefer to serve the ice cream on the side or do as I did and eat the apples soon after adding the ice cream!
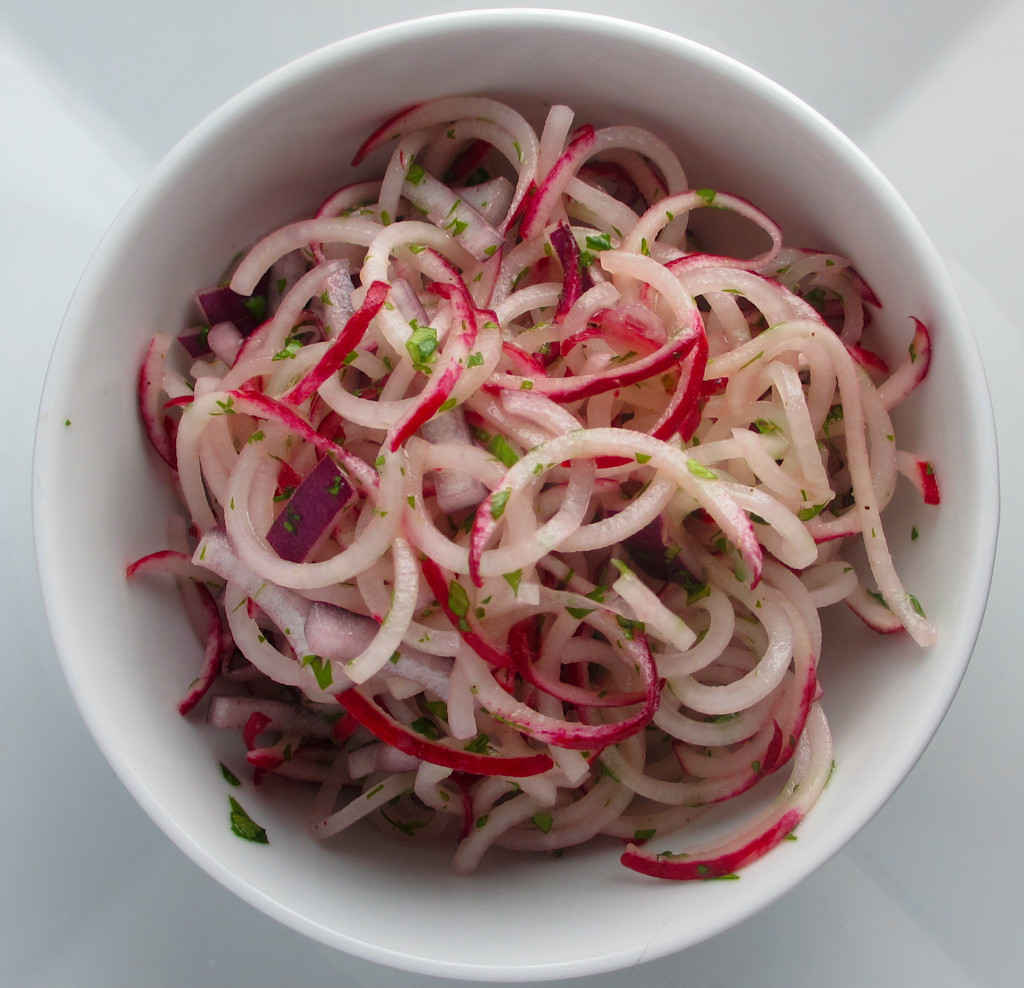
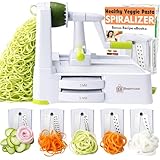
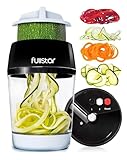
It’s not like you have to have a spiralizer to make pretty salads, but it sure does help. And it’s fast and easy. This spiralized radish salad took only minutes to make. It tastes very much like a slaw, with a great radish crunch and a perfect citrus vinaigrette. Radishes hold up really great over time, unless traditional salads or slaws that start to look a little bit ‘sad’ after a day or too. And the radishes keep their crunchiness day after day, and that’s a big win too!
Spiral Radishes? Yes!
This was my first time spiralizing radishes. I was afraid it wasn’t going to work, but they came out perfectly. First, you have to start with big radishes. No wimpy long thin ones. Second, you need to make a shallow cut down each radish. If you don’t you’ll end up with one really long radish spiral that goes on and on and on. Then, just cut off the ends, insert into your spiralizer, and get to turning!
Make extra spiral radishes and keep them in your refrigerator. They make for excellent snacks and they’re much healthier than most things you’d find in a bag!
It’s not like you have to have a spiralizer to make pretty salads, but it sure does help. And it’s fast and easy. This spiralized radish salad took only minutes to make. It tastes very much like a slaw, with a great radish crunch and a perfect citrus vinaigrette.
1poundradishesthe larger, the better, spiralized (make a thin slice down the sides of the radishes first so that you don't get one long spiral radish) or sliced thin