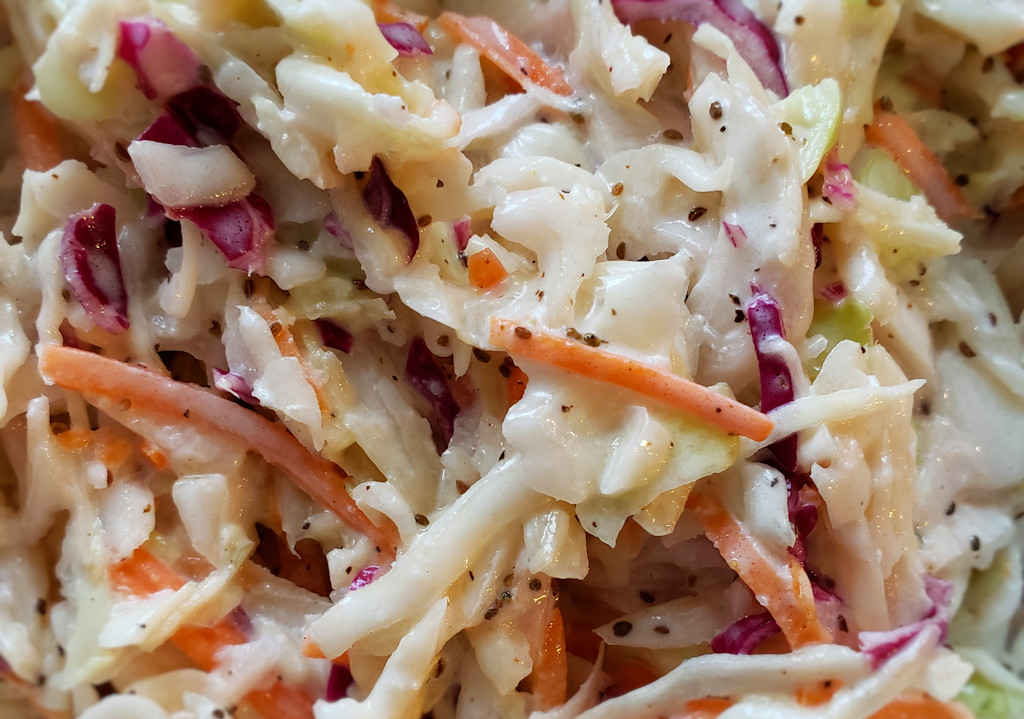
Franch dressing is more proof that sometimes easy is best. Sure, I could’ve made some French dressing from scratch. And I could’ve made some Ranch dressing from scratch. But hey, it was a busy weeknight and I wanted something a little different. So out came the bottled dressings. Boom, done. And what a delicious combination the two make! Quick fix Franch dressing is way better than just French and just Ranch dressings.
The Perfect Combination
I used a creamy French dressing and a buttermilk Ranch dressing when I made quick fix Franch dressing. You could also use a sweet French dressing, but to offset the sweetness you might want to then use a spicy Ranch or even Buffalo Ranch.
Check out my new site, Dress My Salad, for more great salad dressing ideas!
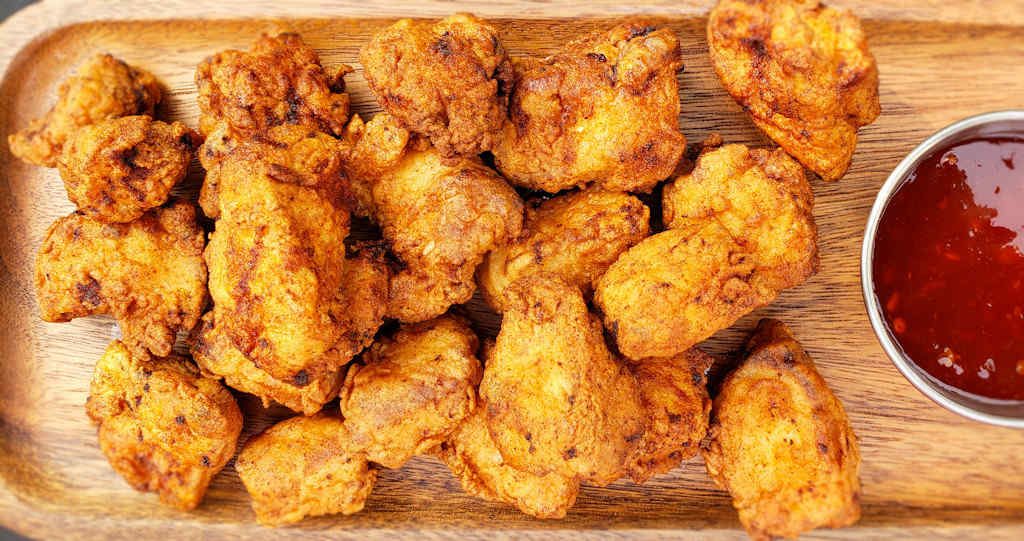
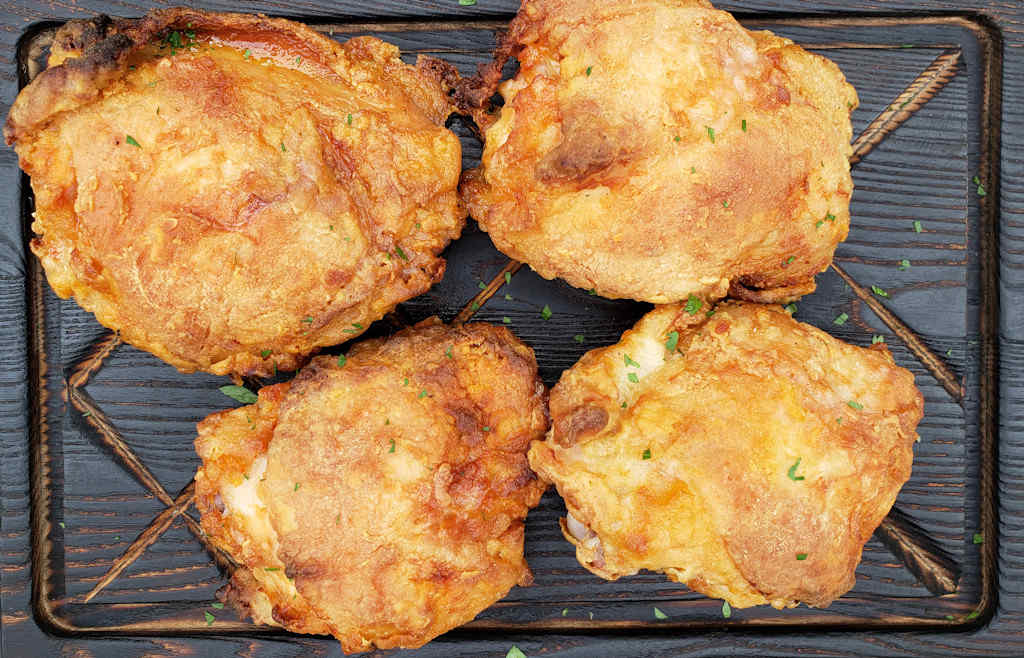
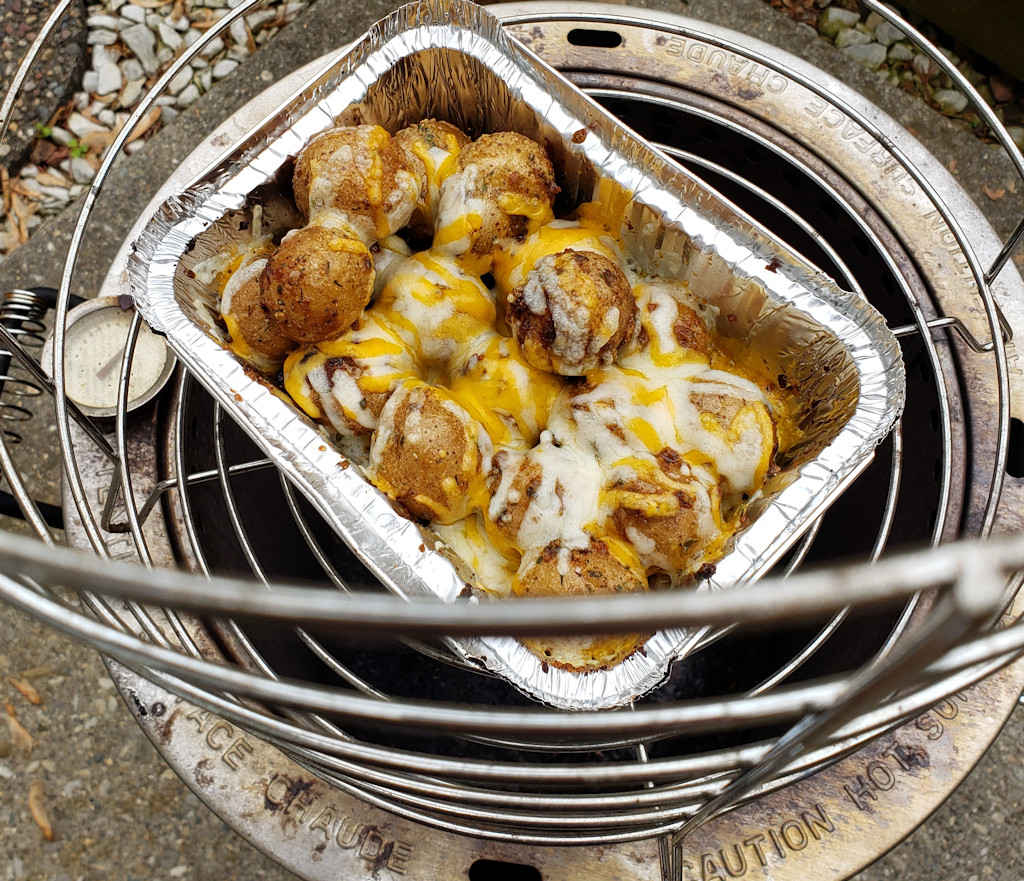
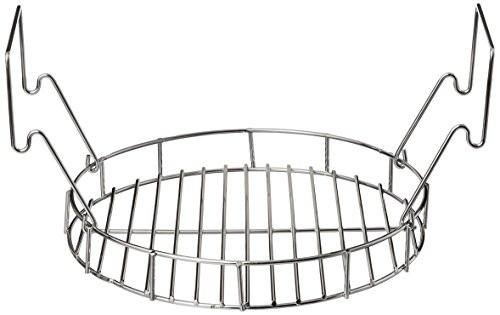
To say I’m a huge fan of ‘fried’ chicken using a Vortex BBQ insert would be the understatement of the decade. I have several Vortexes (Vortices?), using them for everything from wings to potato wedges to this hot stuff chicken. This hot stuff chicken using the Vortex is easily some of the most flavor-packed, crunchy skin, moist chicken I’ve ever had. You just cannot beat the Vortex and chicken (and other things!). You’ll be amazed that this dish was cooked on a grill using charcoal and not done in a deep-fryer.
Nice ‘N Crispy
Whenever I cook this hot stuff chicken using the Vortex I always give it a quick, light brushing of oil just at the end. This helps crisp up the skin. Some folks also recommend using spray duck fat or oil. Or butter. Whichever you use, it’s a good thing to do since it really makes great chicken into superb fried-like chicken. I brushed it on about 5 minutes before my hot stuff chicken was completely done and let it finish cooking. That’s all!
PS: If you have duck fat spray, I highly recommend using it any time you make chicken on the Vortex. It’s a real game changer.
Oftentimes, it’s the simple recipes that taste the best. These grilled potatoes with onion and garlic are proof of that. You can throw this together for two people, six people or even twenty people in no time. It’s the perfect side dish for anything grilled, from burgers to hot dogs to chicken, you name it. No need to mess with this recipe, just make it and enjoy.
Simply Fantastic
These grilled potatoes with onion and garlic remind me of the days when I would go camping. I’d be lakeside, somewhere, trying to catch fish, and often without any luck. I didn’t worry, though, because I always had some hot dogs or burgers in the cooler, waiting for a hot grill. Back then it was park grill, today it’d be my portable Weber. I’d pre-make packets of these potatoes and toss them on too. In no time, I was enjoying a great meal in the great outdoors. You can’t beat that. It didn’t matter whether I caught any fish or not.
My wife proclaimed these sous vide then grilled shrimp with spicy lime butter to be the best shrimp I’ve ever made. I was shocked. No, not because these aren’t fantastic shrimp. They are fantastic shrimp. No, I was shocked because I have made literally 100s of shrimp variations. Almost all were great. So it’s saying something when these rocketed to the top of her list. And I have to agree. The perfect combination of citrus and garlic and a touch of heat, these truly are great shrimp! And easy to make to boot!
Grilling Is Preferred, But Not Required
You don’t have to have a grill to finish off these sous vide spicy lime butter shrimp. Just get a skillet (cast iron works best) nice and hot and toss the shrimp in. Cook for 30 seconds per side and remove immediately. No, you won’t get that wonderful grill flavor, but you’ll get that nice little crust on the shrimp, and that’s still great stuff!
I use an Anova sous vide cooker. It’s my immersion circulator workhorse!
A grill basket makes grilling these shrimp much easier. And clean-up is much easier, too! I use a heavy-duty basket that has lasted me for years. I have a big one for jobs like this, and a smaller version for when it’s just the two of us.
They’re not anything fancy. Heck, you might even consider them to be ‘kids’ food. But for some reason I really, really enjoyed these easy French onion burgers. I made mine on the grill, but you can just as easily make them on the stovetop. Think of them as French dip burgers in a way. The patties soak up some of that French onion yumminess. And just in case you want more, there’s a little bowl of more French onion on the side for dippin’. And I did a lot of dippin’, I tell ya!
The Key To These Burgers Is…
The key to these easy French onion burgers is to not overcook the patties before they go into the soup to ‘finish’. Get them close to done, then remove them and let them go for a soupy swim to soak up all that great oniony flavor. The patties will come out juicy, dripping good stuff, ready to devour!
Fire up your grill for direct cooking 400 – 450 F.
Pour the soup into a pan and place on the grill near the direct heat so it begins to warm.
Grill burgers as desired but do not cook completely. When they reach around 140 F remove from the direct heat and transfer to the hot French onion soup.
Continue cooking the burgers in the soup until they reach 165 F.
Remove the patties and place on the bun bottoms.
Top with cheese and bun tops.
Serve with soup on the side for dipping, if desired.
On the stovetop
Heat a large skillet over medium-high heat.
Add the burgers and cook on both sides until medium rare, around 140 F.
Spoon out any fat from the skillet and stir in the soup.
Continue to cook the burgers in the hot soup until they reach 165 F, another 5-10 minutes.
Remove the patties and place on the bun bottoms.
Top with cheese and bun tops.
Serve with soup on the side for dipping, if desired.
Notes
Like like to serve these like French dip sandwiches. Just dip in the soup and get to eatin’!
I love my Kettle Pizza grill attachment. But I am by no means an expert at using it. I have, however, come up with a simple technique for using it that produces great pizza each and every time. Some day I aspire to be a pizza aficionado, baking completely scratch-made pizza after pizza without a single mistake. Until then, I prefer my easier method that still produces absolutely fantastic pizza with a crunchy crust and hot, bubbly, melted cheese.
I Was Dough-Challenged
When I first started making pizzas using the KettlePizza I ran into two obstacles. First, my homemade dough had too much moisture in it and it liked to stick to my pan or stone. A lot. Second, my heat was not even or didn’t last long enough for more than a few pizzas.
There are plenty of great dough recipes out there (Matt Frampton’s for instance) if you want to make your own. I prefer to use store-bought frozen (Tiseo’s brand), for now at least. I’ve never had anything but success with it. I can make a big batch of pizzas at once with no fuss at all. Each and every one comes out as good as the last. The dough is also great for making bread sticks.
Pizza Pans
I’ve tried pizza screens and cooking directly on the pizza stone, with some success but I’ve found the most success using pizza pans. I have 5 pans so I can pre-make several pizzas. I oil the pans very lightly by pouring olive oil onto a paper towel then wiping it around the pan. And I also sprinkle the pan with a light coating of cornmeal, as if I was cooking directly on a stone. I’ve never had a pizza stick with this technique. Well, the dough doesn’t stick. Cheese that melts and runs over the sides will stick to the pan. It’s going to happen, but it’s not the end of the world.
Arranging The Coals
My fire arrangement now is simple: make a horseshoe-shaped pile of unlit coals around the grill, but not underneath the tombstone-shaped stone. I then add lit charcoal on top of that, and then wood chunks. If the temperature drops too far I’ll add more fist-sized wood chunks around the edges and in the basket that comes with the Kettle Pizza. I use long tongs to add the wood so that it doesn’t fall beneath the stone. I press it lightly into the piles of charcoal to make sure it doesn’t roll off.
If you’re serious about making pizza on your 22″ charcoal grill, get the “Serious Eats” kit from Kettle Pizza. You can also make calzones on a Kettle Pizza in no time!
Place the dough in the fridge and let defrost overnight.
Two hours before cook time, remove the dough from the fridge and place on the countertop to come to room temperature.
I prefer to assemble my pizzas while the charcoal is getting hot. You can also make them ahead of time and keep at room temperature until ready to cook.
Place 1/2 chimney of unlit charcoal around the back of your grill in the shape of a horseshoe, with the open part towards the front of the grill.
Light another 1/2 chimney of charcoal. This is when I assemble my pizzas as it can take 20-30 minutes for the charcoal to get hot.
To make the pizza, lightly dust a flat surface with flour. Using your hands, shape the dough as desired. Try to not overwork the dough, and do not use a rolling pin.
Add sauce and toppings as desired.
Lightly oil a pizza pan. Yes, you can make the pizza directly on the stone but I've had more luck with a pan. You can read more about that in the recipe text in my post.
Lightly sprinkle the pan with cornmeal.
Slide the pizza onto the pan.
Once the charcoal is ashed over pour it over the unlit coals. Add 3-4 fist-sized wood chunks around the edges (I use tongs to keep them from falling beneath the stone) and a few good chunks in the charcoal basket. Add the KettlePizza grate and stone. Add the grill cover.
Let the stone get good and hot. Usually I let it go to around 600 F.
Transfer the pan to the grill. Bake for 5 minutes then spin the pan 90 degrees. Keep baking/spinning every minute or so until the pizza is done to your liking.
You can cook 3-4 pizzas without adding more wood or charcoal. If you do add fuel let it burn a while before adding more pizzas.
Let the pizza rest a few minutes before slicing.
Notes
These instructions are for the Kettle Pizza Tombstone-shaped baking stone. The same approach should apply when just using a round stone, but I have not tried it.
This was our second attempt at making calzones using the Kettle Pizza attachment on our 22″ Weber grill. We were so happy with how easy they were to make. We learned a few things our first time out. Our second attempt was fantastic. These calzones are one of the reasons we really, really love our Kettle Pizza. Delicious food, each and every time. And it’s kinda fun too!
The crust on these calzones was perfect. We have not mastered making our own dough (at least not consistently) so we use a pre-made frozen store-bought dough instead. The sausage filling is crazy good. It’d be great on a sub roll served as a sandwich too. Or use it on a pizza.
Fire Setup
My fire arrangement now is simple: make a horseshoe-shaped pile of unlit coals around the grill, but not underneath the tombstone-shaped stone. I then add lit charcoal on top of that, and then wood chunks. If the temperature drops too far I’ll add more fist-sized wood chunks around the edges and in the basket that comes with the Kettle Pizza. I use long tongs to add the wood so that it doesn’t fall beneath the stone. I press it lightly into the piles of charcoal to make sure it doesn’t roll off.
Place the dough in the fridge and let defrost overnight.
Two hours before cook time, remove the dough from the fridge and place on the countertop to come to room temperature.
For the stuffing
Crumble the sausage into a large skillet over medium-high heat.
Add the peppers and onion and cook until the sausage just starts to brown, about 5 minutes.
Add the garlic. Stir and cook another 2 minutes.
Stir in the Creole seasoning and salt, if using. Remove from heat and let cool 5 minutes.
For the calzones
I prefer to assemble my calzones while the charcoal is getting hot. You can also make them ahead of time and keep at room temperature until ready to cook.
Place 1/2 chimney of unlit charcoal around the back of your grill in the shape of a horseshoe, with the open part towards the front of the grill.
Light another 1/2 chimney of charcoal. This is when I assemble my pizzas as it can take 20-30 minutes for the charcoal to get hot.
To make the calzones, divide each dough into 4 equal pieces. Lightly flour a work surface. Using your hands or a rolling pin, stretch each piece of dough into a 6" round.
Divide the ricotta between each round, placing on one half, leaving around 1/2" around the edges.
Divide the sausage mixture between each round and top with the mozzarella.
Fold the dough half over the topped half. Crimp the edges with your fingers, making sure to seal it well.
In a small glass or bowl, whisk together the egg and water. Brush over the top of the calzones. Sprinkle with salt.
Lightly oil a pizza pan. Yes, you can make the calzones directly on the stone but I've had more luck with a pan. You can read more about that in the recipe text in my post.
Lightly sprinkle the pan with cornmeal.
Slide 4 calzones onto the pan. Try to not let them touch or overlap.
Once the charcoal is ashed over pour it over the unlit coals. Add 3-4 fist-sized wood chunks around the edges (I use tongs to keep them from falling beneath the stone) and a few good chunks in the charcoal basket. Add the KettlePizza grate and stone. Add the grill cover.
Let the stone get good and hot. Usually I let it go to around 600 F.
Transfer the pan to the grill. Bake for 5 minutes then spin the pan 90 degrees. Keep baking/spinning every minute or so until the calzones are done to your liking.
Let the calzones rest a few minutes before slicing.
Note: Before attempting this recipe, make sure you have a grill that can accommodate a 10″ cast iron skillet and can maintain 425 F indirect heat. You do not want any flame directly below the skillet, so the heat will come from burners that are away from the skillet. It can be hard to get to 425 F, so you might want to do a trial run (I highly recommend placing an oven thermometer on the grill grate where you would put the skillet) before diving in! Can’t do it? That’s ok, you can make this delicious pizza in the oven too!
I cannot even begin to describe how much we both loved this easy deep-dish pizza we made on our gas grill. It so reminded us of the pan pizzas we could get years ago from Pizza Hut. Thick crust that has a wonderful crunch on the outside, but is soft and airy inside, each and every slice was like a slice of pizza heaven. The cheese on the sides of the pan got a great char and crunch to them, much like a Detroit-style pizza. All on the grill. Easy. Crazy easy.
Easy And Fantastic
I could make (and eat) these easy deep-dish pizzas all day long. There’s nothing complicated about them. I was worried the first time.. would I get the right heat on the grill? Would I burn it? Well, my fears were very much unfounded. This pizza was pretty much a ‘grill it and forget it’ dish.
Make extra, because the leftovers are just as good as the day you make it.
your favorite pizza cheesesyou'll want a good melting cheese. I recommend freshly grated (not sliced) mozzarella or Monterey Jack.
Instructions
Transfer the dough from the freezer to your fridge the night before using.
Set the dough on your countertop 2 hours before you want to start making the pizza.
Coat a 10" cast-iron skillet with 2 tablespoons of oil, or use a 12" skillet and 3" of oil for a thinner pizza.
Add the dough and use your fingers to flatten it out to 1/2" from the edges of the pan. It's ok to get oil on top of the dough as you move it around.
Cover tightly with plastic wrap and let sit for 1 1/2 hours. Note: I found that my plastic wrap adhered to the slick skillet better if I took a bit of oil on my finger and ran it around the edges of the pan first.
Fire up your grill for 425 F indirect cooking.
Remove plastic wrap from skillet and spread pizza sauce over top of dough. Don't go crazy the sauce. More wet toppings mean a less crispy pizza.
Add the remaining toppings and cheese. Get the cheese right up to and even a bit up the edges of the pan. Using your fingers, press the cheese in around the edges. You want the cheese to extend up the sides of the pan as much as 1/2".
Transfer the skillet to the grill and bake over indirect heat at 425 F for 30 minutes. Check on the pizza every 10 minutes, rotating the skillet 90 degrees each time so it cooks evenly. After 20 minutes check the bottom of the pizza to make sure it's baking. The pizza could take less than the full 30 minutes.
Transfer the skillet to direct heat above the flames and cook another 3 minutes. This will get a nice crust on the bottom.
Remove the skillet from the grill. Use a butter knife or spatula around the edges to loosen the cheese and crust from the pan.
Transfer pizza to a wire rack to cool 10 minutes.
Slide the pizza onto a cutting board and slice as desired. Serve.
Notes
You’ll need a gas or charcoal grill that is large enough to handle a 10″ (or 12″ skillet over indirect heat. You do not want the pan to be directly over the fire while the pizza is baking.
My wife and I are fans of the Cincinnati Reds. That can be tough at times. That’s why these baseball opening day candied cashews were double good. We needed a super-tasty treat to make up for what is destined to be a challenging season for our Reds. I made a big batch just to be sure we got maximum comforting. These crunchy sweet nuts were absolutely delicious and easy to make just in time for the game!
Go Nuts With It
I used cashews to make these baseball opening day candied cashews because, well, they are what you can get at a ballpark. But pecan halves would be amazing too. Or make a mix, half cashews, half pecans. Whatever you do, these are amazing!
The other night I dreamed I was on a deserted island. I could only pick one sandwich to have on the island for the rest of my life. It came down to a choice between a Reuben and a club sandwich. I went with the club sandwich, believe it or not. But not an ordinary club sandwich. Instead, my quick fix club sandwich with pesto mayonnaise! I definitely made the right choice!
A Wonderful Sandwich
This quick fix club sandwich with pesto mayonnaise is different and delicious! And as much as I do love a good Reuben sandwich, I know I made the right choice. Crunchy bacon. Tangy cheese. Crispy lettuce. Ripe tomato. And that nutty pesto. If you find pesto strong, don’t use much, just enough to get the taste. If you love pesto, load up on it!
I am required to have my club sandwich (any club sandwich) with a dill pickle spear. It has to be super cold, too. Hopefully I can get those on my island.
I almost always use Blue Plate mayonnaise in the dishes I make. I think it is the best around. If you can’t find it locally you can pick it up online for a fair price.
The other night I dreamed I was on a deserted island. I could only pick one sandwich to have on the island for the rest of my life. It came down to a choice between a Reuben and a club sandwich. I went with the club sandwich