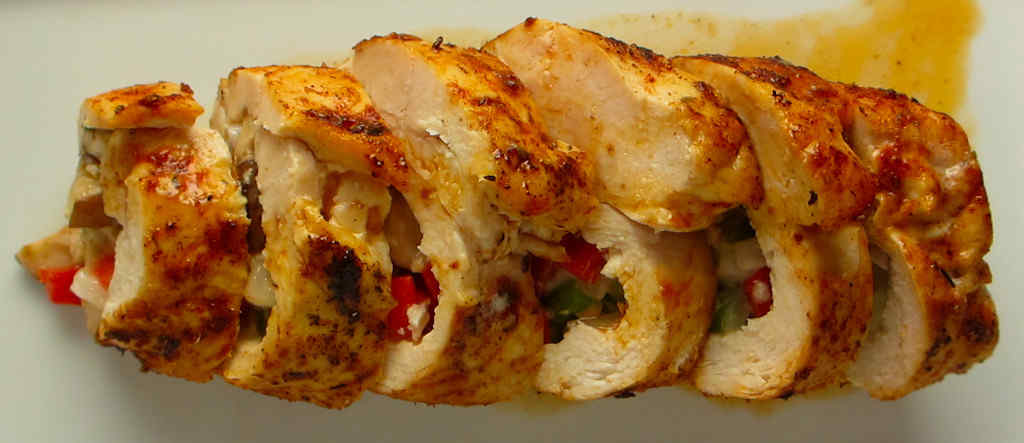
I thought this Cajun stuffed chicken breast came out absolutely fantastic. Pounding the chicken out to a nice consistent thickness was a bit challenging. I’m sure with more practice I’ll have it down pat. The filling is super-simple, just a few diced and sliced vegetables and a bit of cheese. The stuffed chicken is seasoned with Cajun seasoning. Then it is browned quickly on the stovetop. Finally it’s transferred to the oven to finish the cooking. Done and yum!
Make Your Own Seasoning
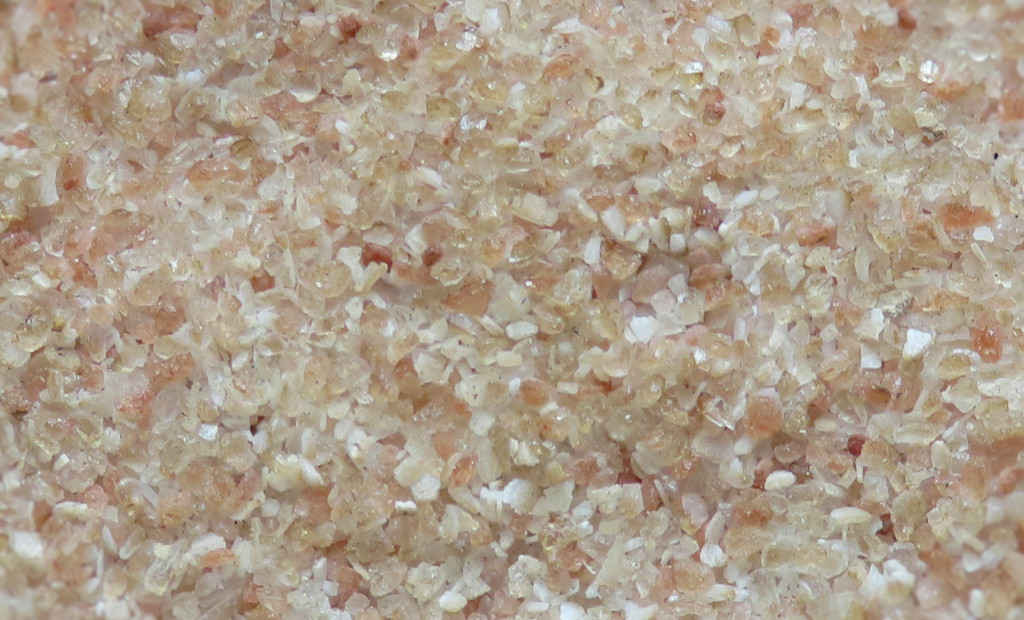
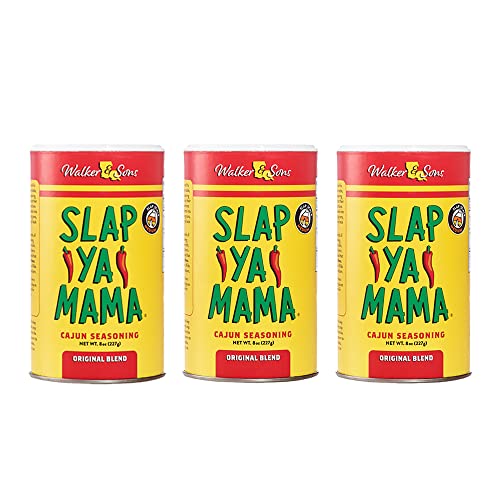
I prefer to use my own Cajun seasoning in this Cajun stuffed chicken breast and other recipes. I grind it myself so I get the consistency that I want. For this dish I ground the seasoning very fine. Of course you can use the store-bought stuff instead.
Also try my Cajun shrimp-stuffed poblano peppers and my Cajun chicken pasta.
Cajun Stuffed Chicken Breast
Equipment
Ingredients
- 4 large chicken breasts boneless and skinless, sliced in half horizontally then pounded out to 1/4″ thickness
- 1 tablespoon vegetable oil
- ½ cup pepper jack cheese shredded, divided
- 4 ounces mushrooms sliced
- ½ red bell pepper diced
- ½ green bell pepper diced
- ¼ sweet onion diced
- 4 teaspoons Cajun seasoning or more, to taste
- 4 tablespoons butter divided
Instructions
- Preheat oven to 400 F.
- Spray a 9″ x 13″ baking dish with non-stick spray.
- Heat oil in large skillet.
- Divide half of the cheese between the chicken breasts, placing in the middle as you would prepare a burrito.
- Divide mushrooms, peppers and onions between the breasts in the same fashion.
- Top with the remaining cheese.
- Roll chicken up and secure with toothpicks. Try to push the toothpicks in far enough that they barely stick out.
- Season outsides of rolled up chicken with the Cajun seasoning.
- Working in batches, brown the chicken on all sides in the skillet. Remove to the baking dish, seam side up.
- Top each breast with a tablespoon of the butter then transfer baking dish to the oven and bake for 20-30 minutes or until the chicken is done.
- Remove toothpicks, slice and serve.
Notes
Nutrition
Nutritional values are approximate.