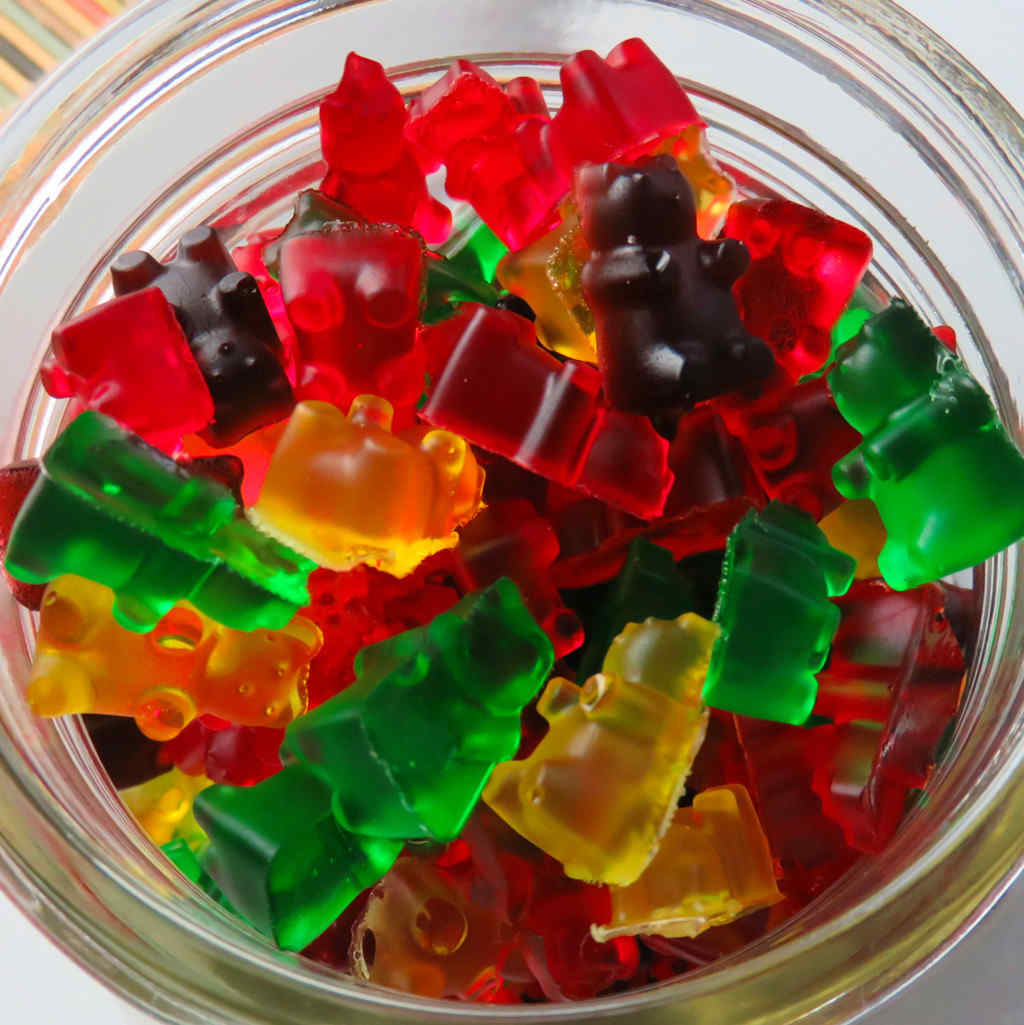
Oh my, how much fun were these homemade gummy bears to make and eat! They have the same texture as store-bought gummy bears. Packed with flavor. Some gummy bears were ‘normal’. Some I added a bit of citric acid to make them nice and sour!
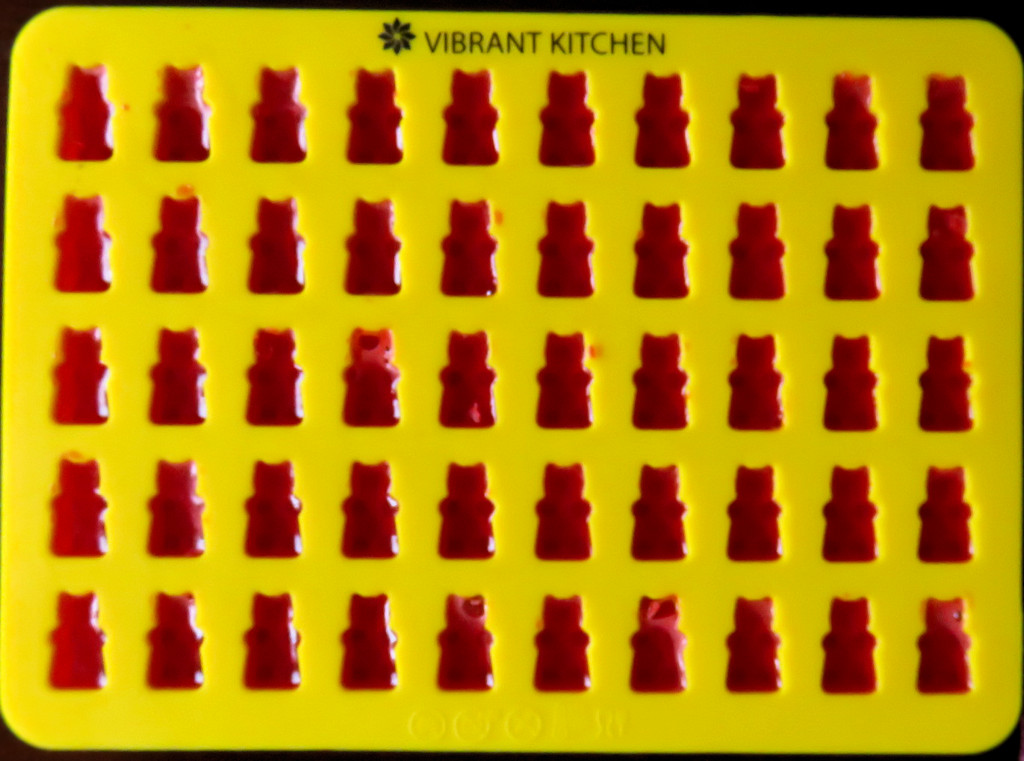
I purchased a few gummy bear molds from Amazon (you can see the link below the recipe). The molds came with droppers that made filling the molds much easier. You’ll still make a little mess, get a bit of the gelatin on top of the molds and not in them, but that’s ok. They clean up easily and you’ll have great looking homemade gummy bears!
The No Bubble Zone
The only thing you have to watch for when filling the molds is air bubbles. You don’t want bubbles to form or your candies won’t look as fancy. They’ll still taste great, of course, but you want them to be pretty too! When filling the dropper make sure you get only liquid and not air or any of the bubbles that tends to form on top. If you do get bubbles I’ve found that you can usually pop them using the tip of the dropper.
A Little Bit Of Sour
The citric acid adds just a bit of sour flavor, but the candies will not be overly sour. I started by adding 1/8 teaspoon of citric acid and found it barely detectable. A 1/4 teaspoon amount is about right for me. If you want your gummy bears super sour you might want to try 1/2 or even 3/4 teaspoon.
Here’s how one of my molds looked after being filled. The recipe below will make 120 (more or less) gummy bears. Be sure that you have room in your freezer for 3 of the molds before starting.
I also love making homemade Jolly Rancher lollipops and Cheezit crackers.

Homemade Gummy Bears
Ingredients
- ½ cup water
- 3 7 gram unflavored gelatin or 2 tablespoons
- 1 8.5 gram flavored gelatin regular or sugar-free
- ¼ teaspoon citric acid optional, for making sour gummy bears
Instructions
- Place the water in a small saucepan.
- Add the gelatin packages and citric acid if using.
- Set heat to medium low and stir.
- Continue heating for 15 minutes, stirring slowly to ensure that the gelatin dissolves.
- Use a large eyedropper to transfer the liquid to the silicon molds.
- Place in freezer for 10-15 minutes or until the gelatin has set.
- Remove and serve.
Notes
Nutrition
Nutritional values are approximate.