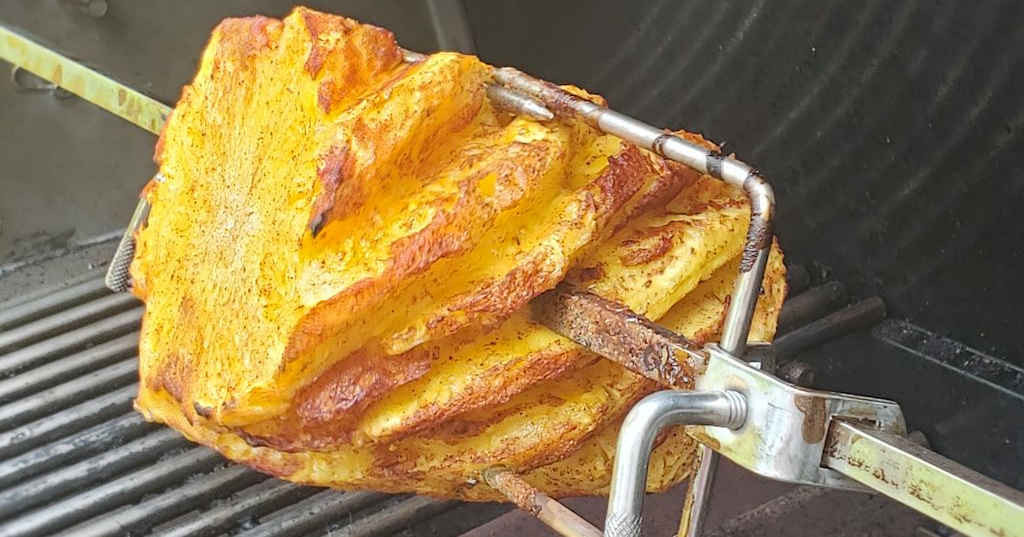
Making St Louis-style ribs on a gas grill is something I’ve been wanting to do for a while now. Yes, I have charcoal grills and I have a smoker, but not everyone else does. Which made me wonder… can it be done? Will they be as good as the ribs I cook on my other grills? Well, once I get something in my head, it’s not going away until I do it. And so I did. And you know what? These ribs were AMAZING!
Tremendous Ribs
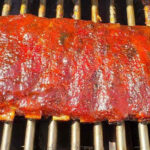
Yes, I said it. Ribs cooked on a gas grill are fantastic. No, you can’t get that deep smoky flavor that you get from smoking them for 5 hours. But you get close. And you still get terrific, tender, moist ribs. I thought they were great.
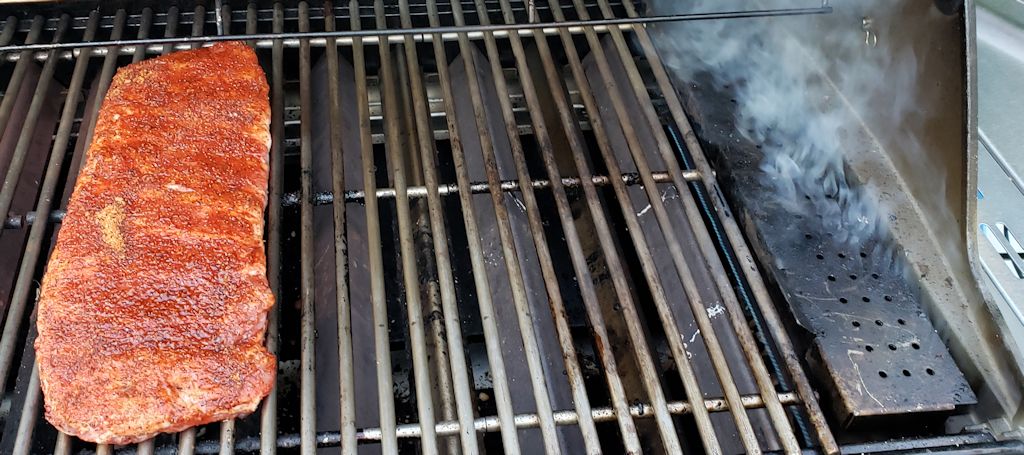
I used my Weber Summit S-670 grill. It’s a large grill, to say the least. You don’t need to have such a big gas grill to make these ribs, but you do need one that’s big enough to hold the ribs and one that you can over indirect heat on. That means that the ribs need to sit away from the heat source. You want the spot where the ribs are to be around 250 F. And not much more. That’s essentially the same temperature as most people smoke ribs so you’re halfway there.
My Setup
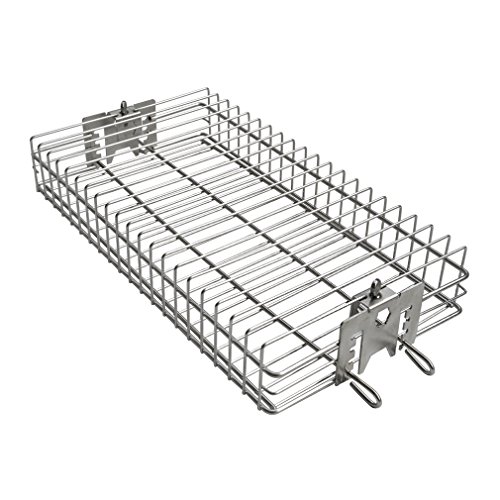
Above you can see my initial setup. I had three burners lit: the two furthest to the right that you can see and the one under my smoke box. I filled the smoke box with apple wood pellets. If you don’t have a smoke box you can use a foil packet filled with wood chips. Just poke a few holes in it and put it over a lit burner. You’re not going to get a lot of smoke flavor, but a bit. Be happy with it. You can make up for it quite a bit by using a BBQ sauce that has a bit of smoke flavor to it.
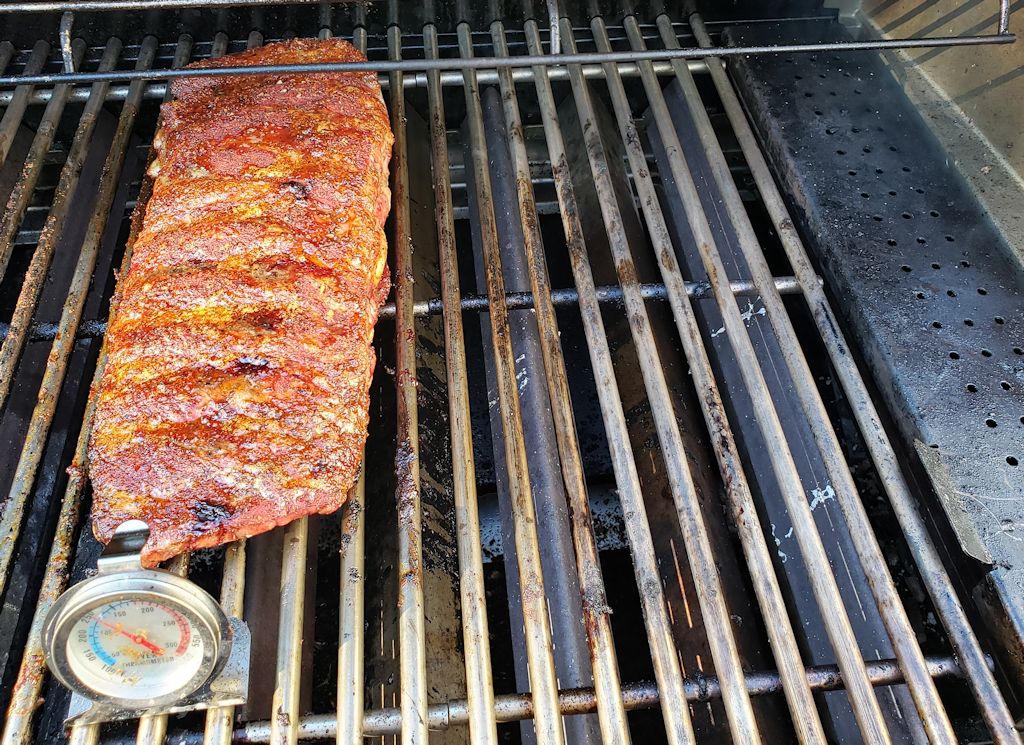
Oven Thermometers Make This Even Easier
I found that my ribs were a bit too far away from my heat source (I was running around 200 F), so I moved them one burner to the right. I still only had the three rightmost burners lit. You can see my trusty oven thermometer in the picture. Get one (or two) and you’ll never regret it.
Once you get your gas adjusted so your temperature is 225-250 F you don’t really have to mess with it any more. This was my first time doing this, so I had to tweak where I had the ribs and my burner settings. After that I nailed 250 F for hours without any adjustments. Now that I know the right placement and gas knob settings, I’ll be able to make these ribs again and again without any fuss at all.
Rib Happiness
You will be totally happy with these St Louis-style ribs. I sure was. You might have to adjust the process a bit for your grill to get the right temps but once you do you’ll be making great ribs time-and-time again. I recommend taking notes on your setup so you can use the same process the next time.
You can also make delicious St Louis-style ribs on a smoker, Char-Broil Big Easy and even a Vortex!
St Louis-Style Ribs on a Gas Grill
Ingredients
- 1 rack St. Louis ribs click the link to see how to turn spareribs into St. Louis-style ribs
- 2 tablespoons your favorite BBQ seasoning
- 1 cup apple cider vinegar
- ¼ cup brown sugar
- 2 tablespoons butter cut into pats
- 1 cup your favorite BBQ sauce
Instructions
- Fire up your gas grill for cooking at 250 F. You will need to cook the ribs over indirect heat, so only light some of the burners. Place the ribs away from the direct fire. Add wood chips or pellets to a smoke box. If you don't have one, just place the wood on a piece of foil. Fold up and seal, then poke a few holes in the foil. Place over the direct heat to smolder and create smoke.
- Season the ribs with the rub, on both sides.
- Transfer to the grill over indirect heat.
- Close the lid and cook for 2 1/2 hours.
- Check the temperature regularly to make sure you maintain 250 F.
- Remove the ribs to a large piece of aluminum foil, bone-side up.
- Fold up the edges of the foil to create a 'bowl' around the ribs.
- Add the vinegar to the 'bowl'.
- Sprinkle the ribs with the brown sugar and top with pats of the butter.
- Fold the foil around the ribs and seal tightly.
- Return to the grill and continue to cook for 1 hour 15 minutes at 250 F.
- Carefully open the foil (steam will escape and it will be HOT!). Poke the meat between the bones. It should be tender. Also, the meat should be pulled back about 1" from the ends of the bones. If not, cook another 15 minutes and check again.
- Remove ribs from the foil and place directly onto the grill, but still over indirect heat.
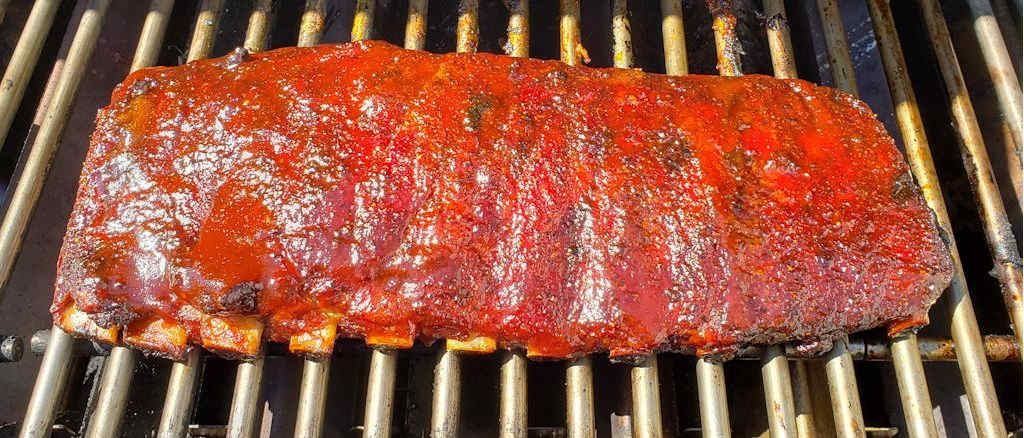
- Brush the tops with the sauce.
- Close the lid and cook another 15 minutes to set the sauce.
- Remove, let cool 10 minutes, slice and serve!
Notes
Nutrition
Nutritional values are approximate.