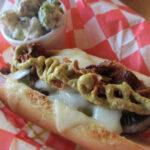
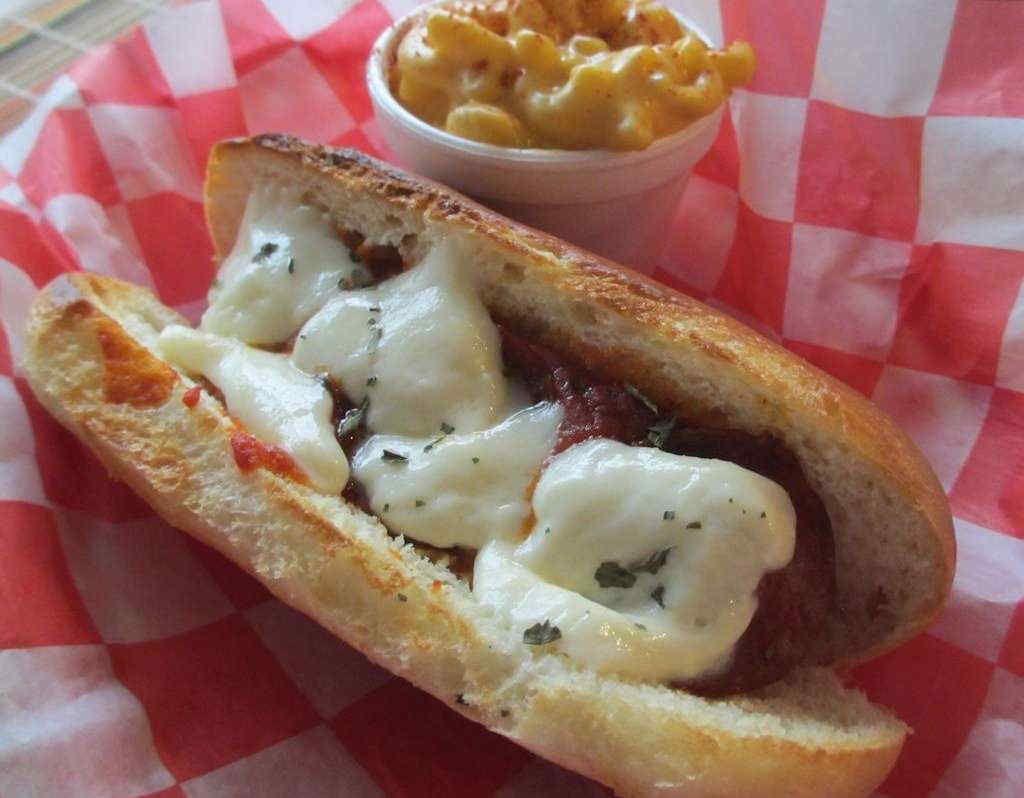
Yes! Give me some pizza hot dogs any day and I’m a happy guy! Great sauce and ooey-gooey cheese with a little basil. What is there not to like? I approach these dogs exactly like I would a pizza crust. I can put the same toppings on my hot dog as I can put on my pizza. Onions, mushrooms, pepperoncinis, it doesn’t matter what!
Add Greatness
I make a big batch of marinara sauce in our slow cooker and keep some on hand in the freezer for easy meals like these pizza hot dogs. Just warm the sauce a bit and spoon it over a cooked dog. Then add all of those great toppings.
This is also a great way to use up those last few tablespoons of jarred pizza sauce that we always end up with.
Also try my salsa dogs.
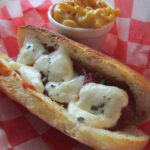
Pizza Hot Dogs
Yes! Give me a pizza hot dog any day and I’m a happy guy! Great sauce and ooey-gooey cheese with a little basil. What is there not to like?
Servings 2 servings
Calories 407kcal
Ingredients
- 2 hot dogs or substitute halved Italian sausages for even more pizza flavor
- 2 hot dog buns
- ¼ cup marinara sauce I used our slow cooker sauce
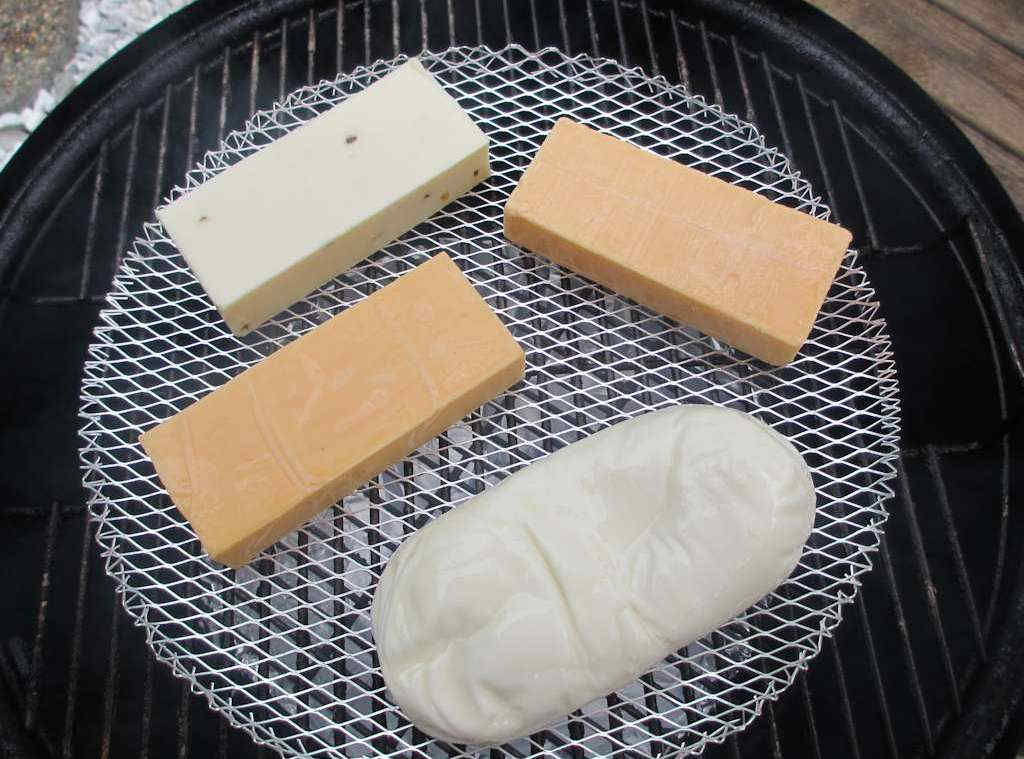
- 4 slices Mozzarella cheese
- pinch basil fresh, chopped, or substitute a bit of dried
Instructions
- Cook dogs and warm buns as desired.
- Place dogs on buns and top with sauce and cheese.
- Place under broiler just long enough to start melting the cheese.
- Sprinkle with basil and serve.
Notes
Cut a long narrow slit in your dogs before cooking to give the toppings a great place to go!
Nutrition
Calories: 407kcal | Carbohydrates: 32g | Protein: 22g | Fat: 21g | Saturated Fat: 10g | Cholesterol: 65mg | Sodium: 1036mg | Potassium: 264mg | Fiber: 1g | Sugar: 5g | Vitamin A: 516IU | Vitamin C: 3mg | Calcium: 374mg | Iron: 3mg
Nutritional values are approximate.