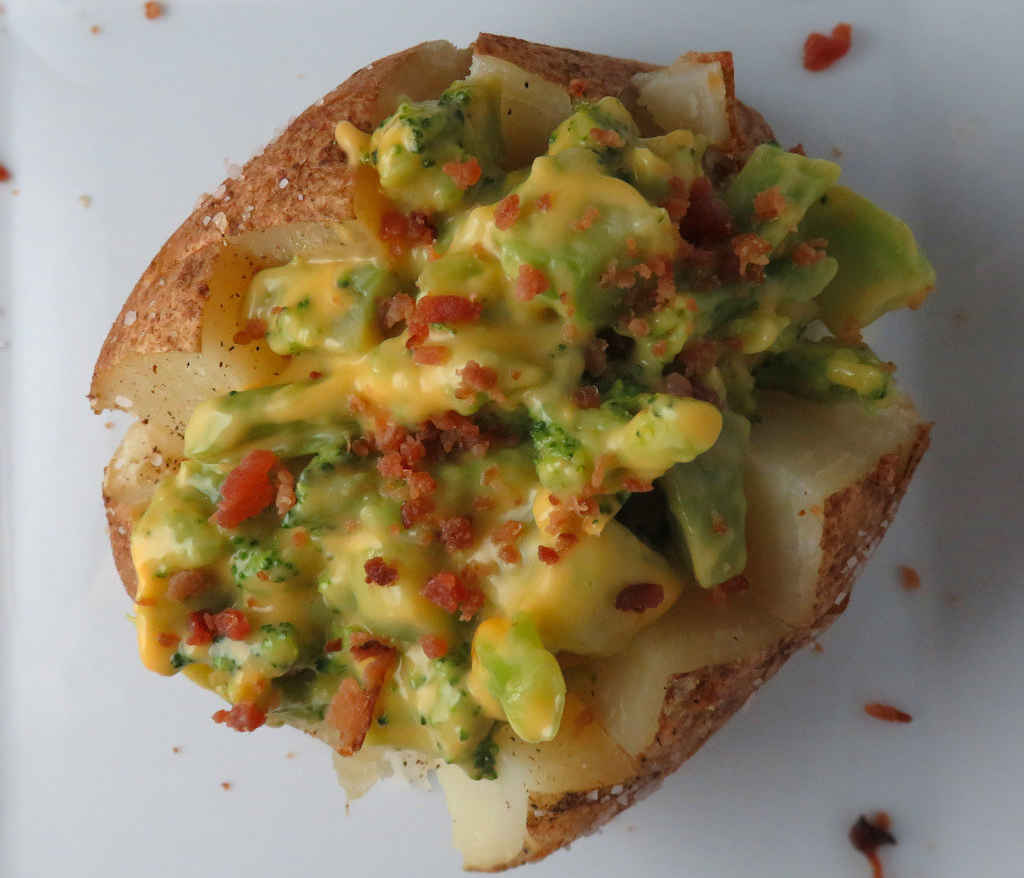
Baked potatoes find their way on our dinner menu with some regularity. Sometimes they are served up as side dishes, but often they are the main course. They’re easy to make, and pretty fuss-free depending how crazy you go when you top them. These quick fix broccoli and cheese baked potatoes are about as easy as you can get. Just bake some potatoes, heat some frozen broccoli and cheese, and boom! A fantastic baked potato is served! Well, ok, I added some bacon bits too but those aren’t that hard either! I just opened the bottle!
Feel free to peruse the frozen vegetable section in your grocery store. You might find other cheesy vegetables that would be just as good on a baked potato! And if they don’t include a cheese sauce, don’t fret. Just heat them as instructed and then top them with some freshly shredded cheese. Shredding your own is so much better than the pre-shredded stuff!
Rinse the potatoes under cold water and brush off any dirt. Dry well with a paper towel.
Pierce each potato 4 times with a sharp knife.
Brush potatoes with oil.
Sprinkle some salt onto a plate and roll the potatoes in the salt.
Place potatoes directly on the oven center rack. You might want to put a baking sheet lined with foil beneath them to catch any drippings.
Bake until potatoes are done (210 F internal temperature, or tender all the way through when poked with a knife), 40-60 minutes depending on their size. You can also test for doneness by squeezing the potatoes (with potholders on). If they give easily, they are done.
While the potatoes cool prepare the broccoli per package instructions.
Cut the potatoes open. Fluff the insides with a fork if desired. Add butter, and season well with salt and pepper.
Divide heated broccoli with cheese sauce between the potatoes and serve topped with bacon bits.
Notes
Don’t be shy when seasoning your potatoes, they need plenty of salt and pepper!
These are what I consider to be the absolute best recipes for the Vortex BBQ. This isn’t just a random roundup — this is years of testing, tweaking, and eating a whole lot of chicken here at Life’s A Tomato. After literally hundreds of cooks on my kettle, these recipes are the ones my family and I keep coming back to.
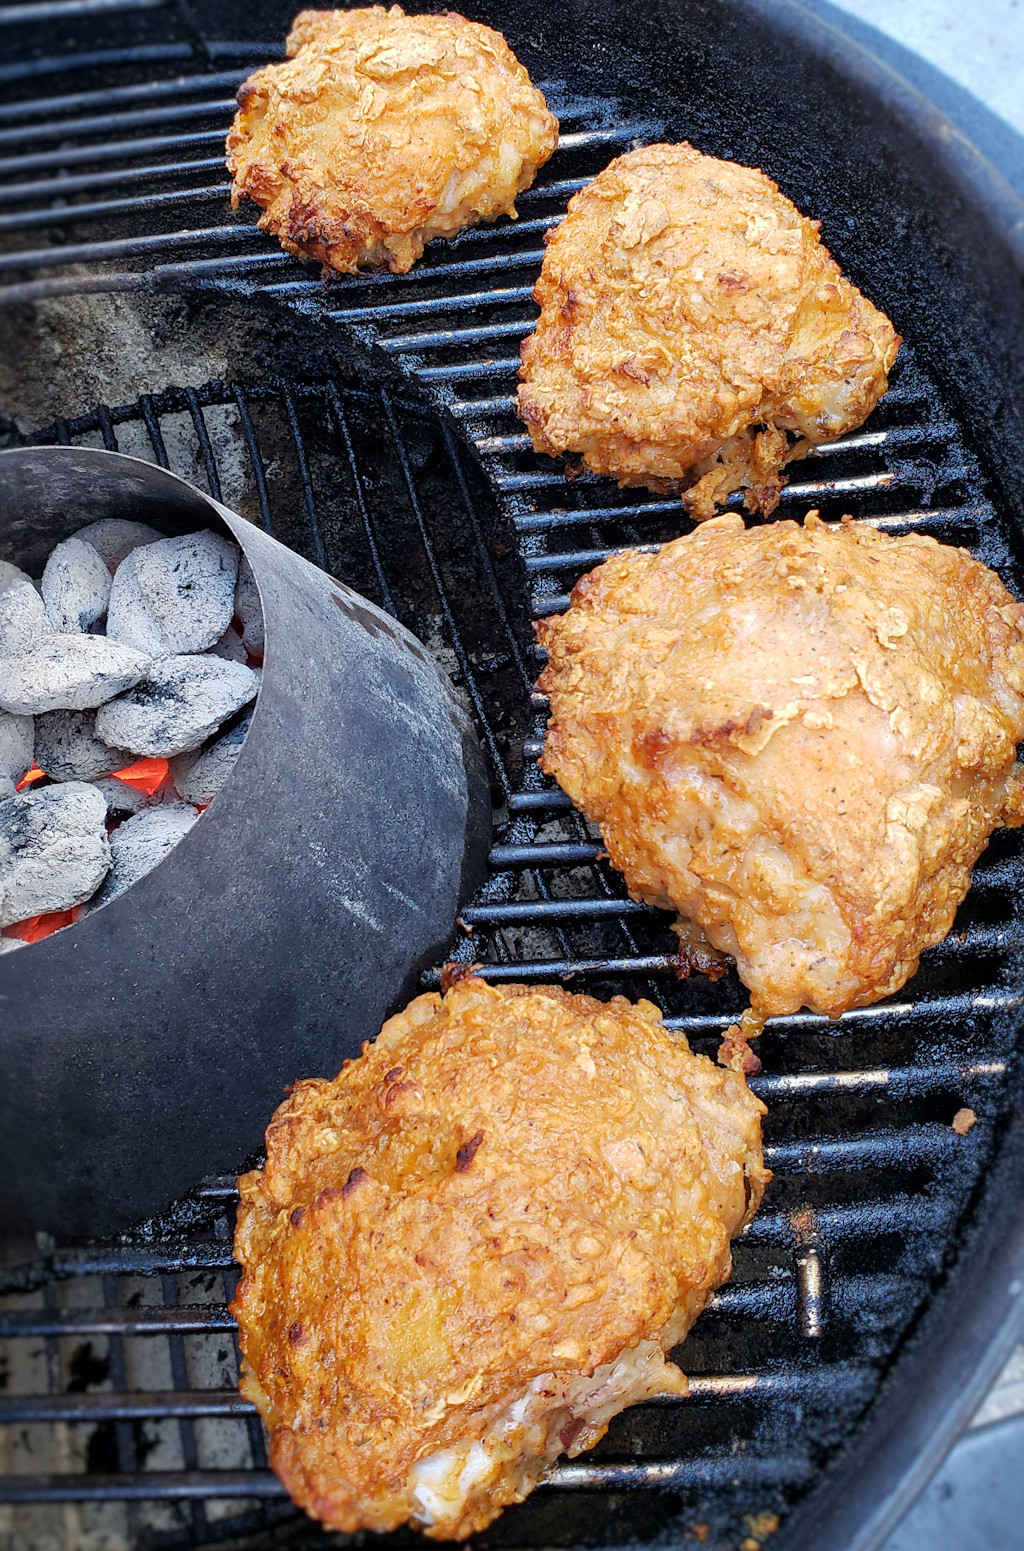
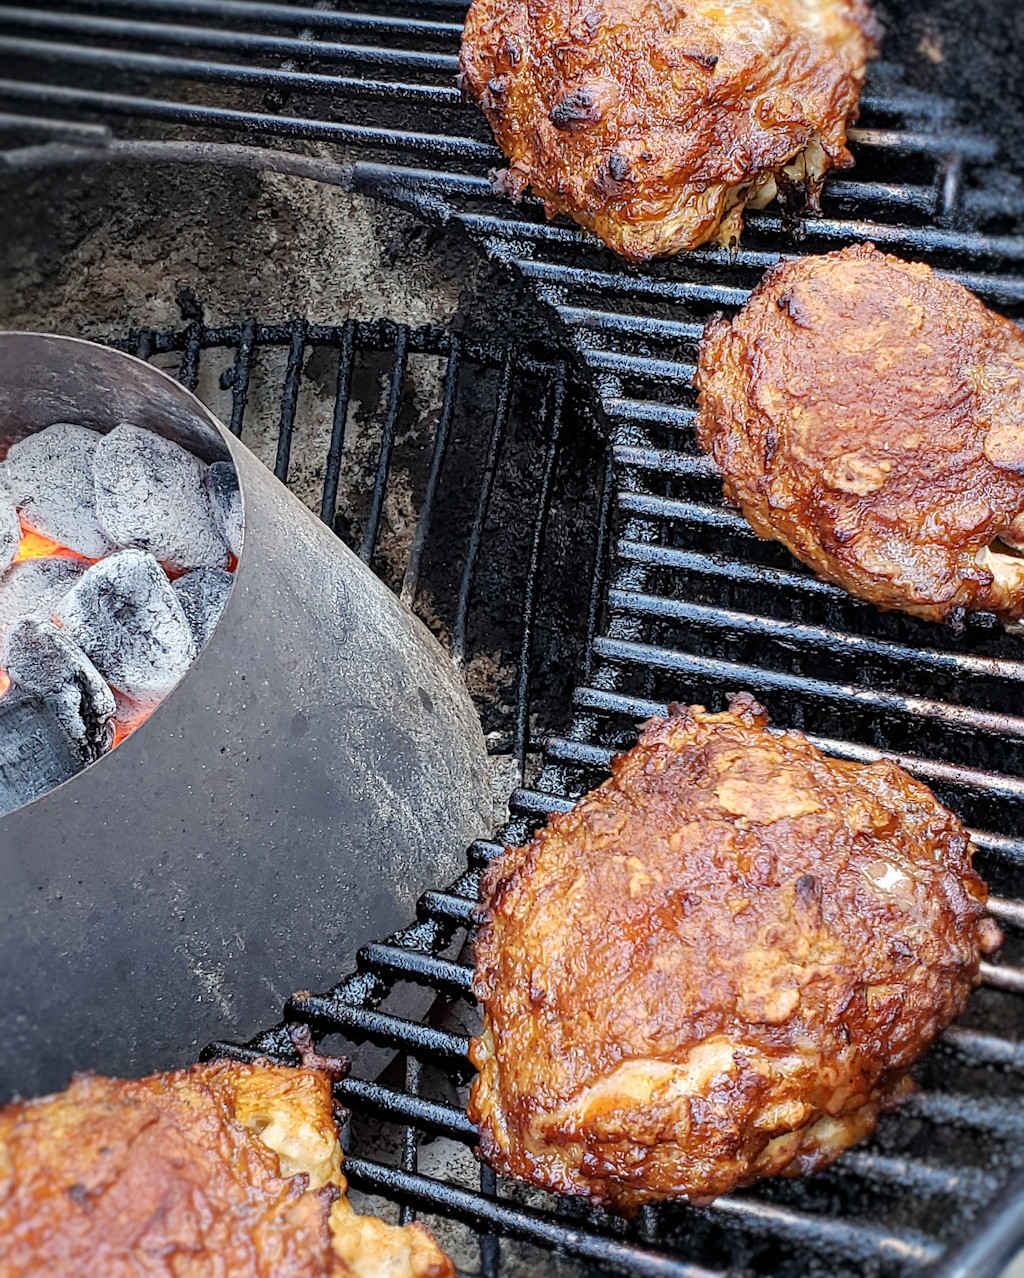
I love firing up a charcoal grill using a Vortex. For anyone who hasn’t used one yet, the Vortex is that simple cone-shaped stainless steel insert that sits in the middle of your charcoal grill. You pile a full chimney of screaming hot coals right in the center, put the grate on, and it transforms your regular Weber kettle into a high-heat convection oven. We’re talking 500-600+ degrees of indirect, circulating heat that cooks from every angle at once.
And I know I’m always in for a great treat! Because what comes off that grill really shouldn’t be possible.
It Starts With Chicken
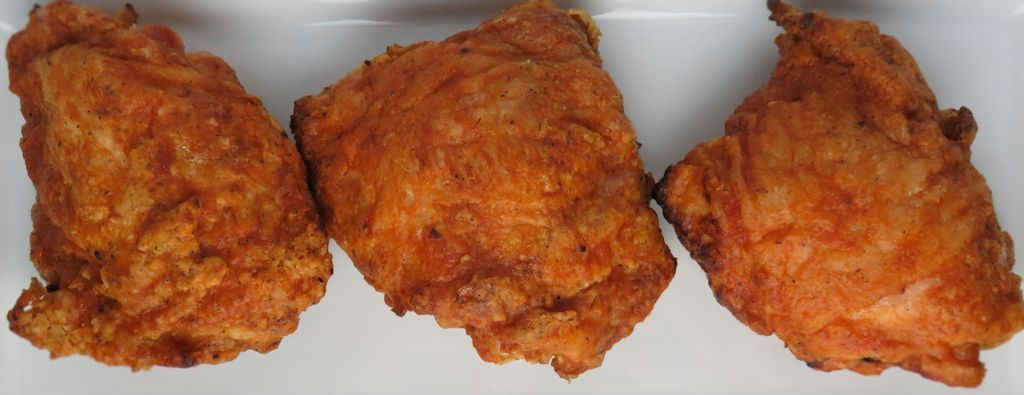
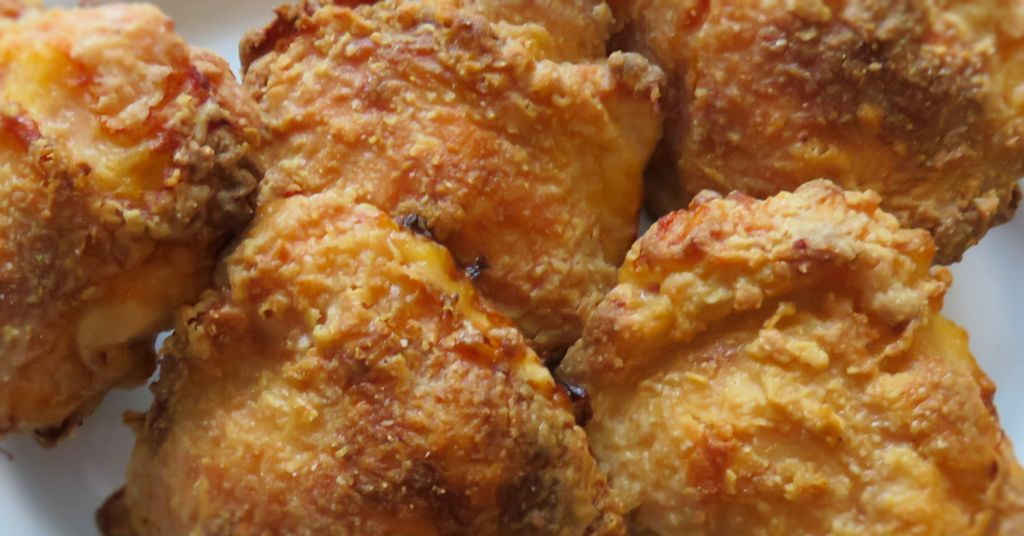
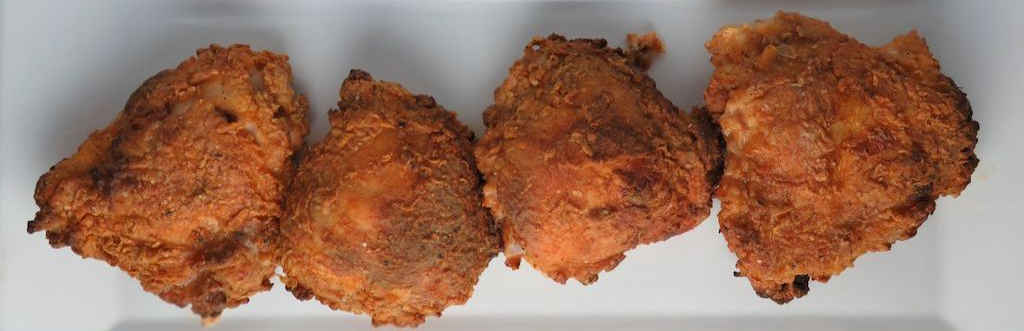
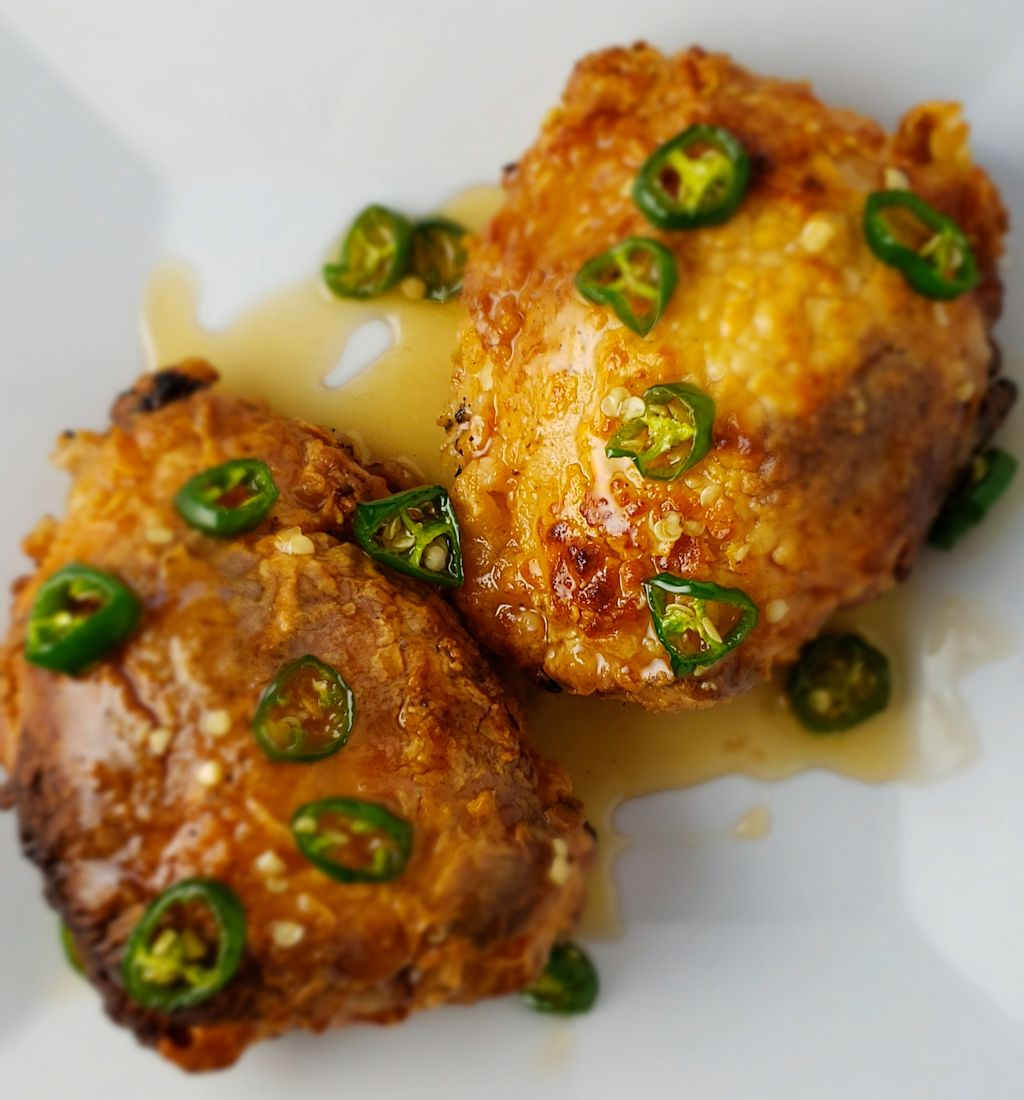
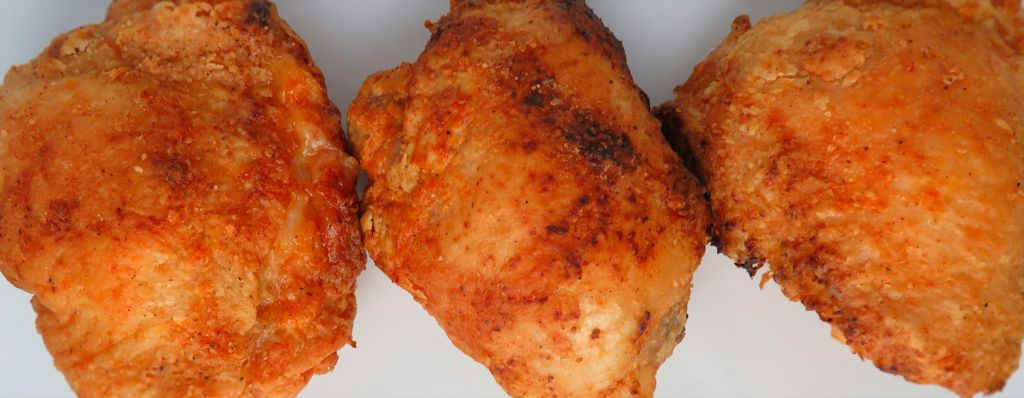
I’m talking about chicken with perfectly golden-brown, crunchy skin that crackles when you bite into it. I’m talking about meat that is unbelievably tender, moist, and juicy — so juicy you need extra napkins. And the flavors are amazing. It tastes like it came straight out of a deep fryer. In fact, the first time I served it, everyone swore it WAS deep-fried. That’s the magic of the Vortex.
The best part? There’s no or very little oil. No messy pot of oil on the stove, no greasy splatters all over the kitchen, no gallons of oil to figure out how to dispose of afterward. It’s all of the reward of fried chicken with none of the hassle.
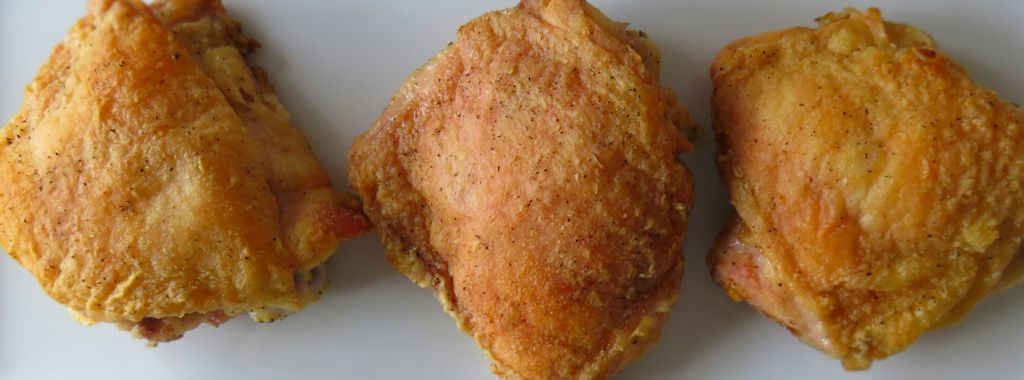
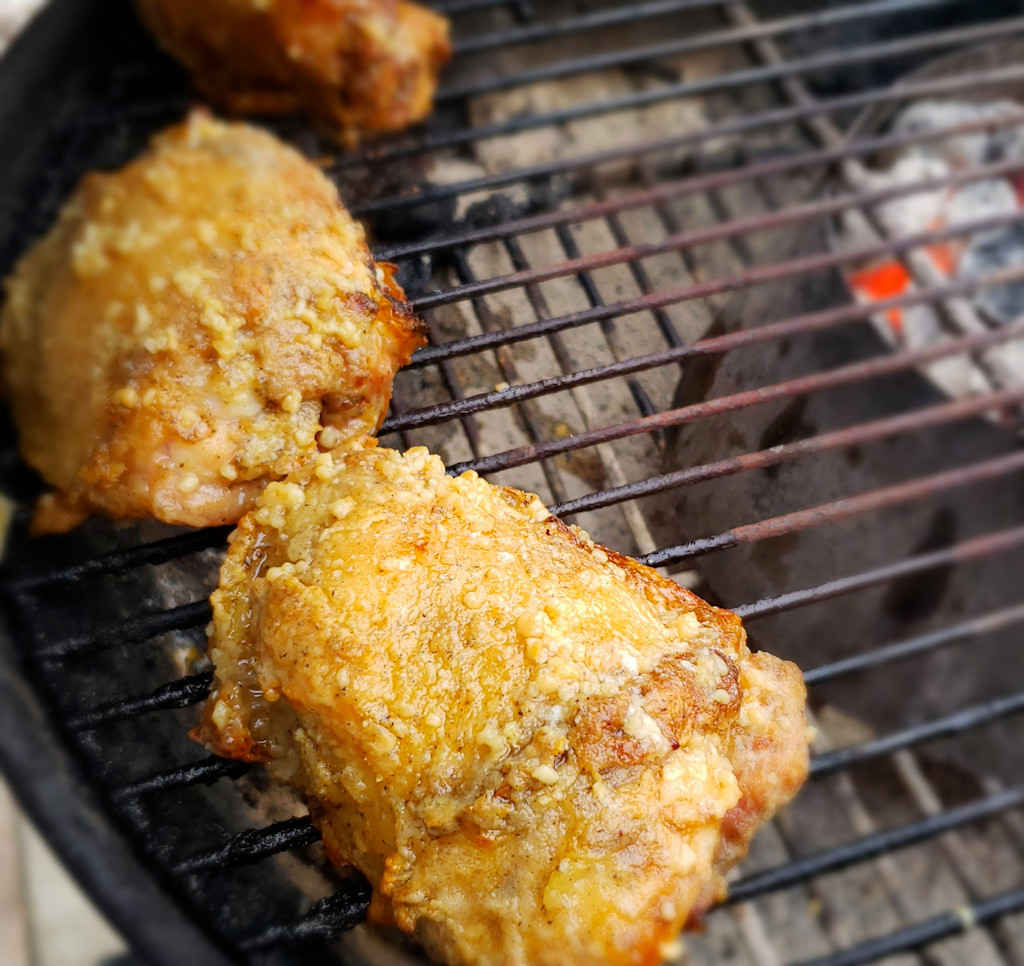
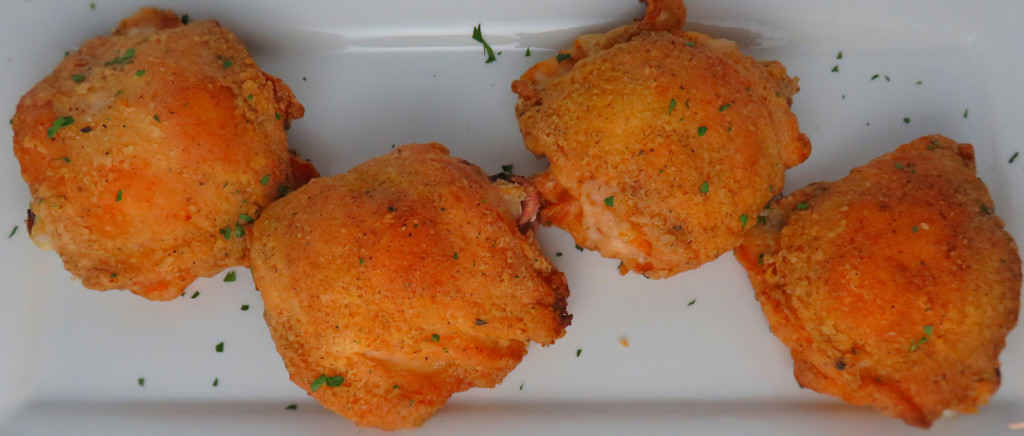
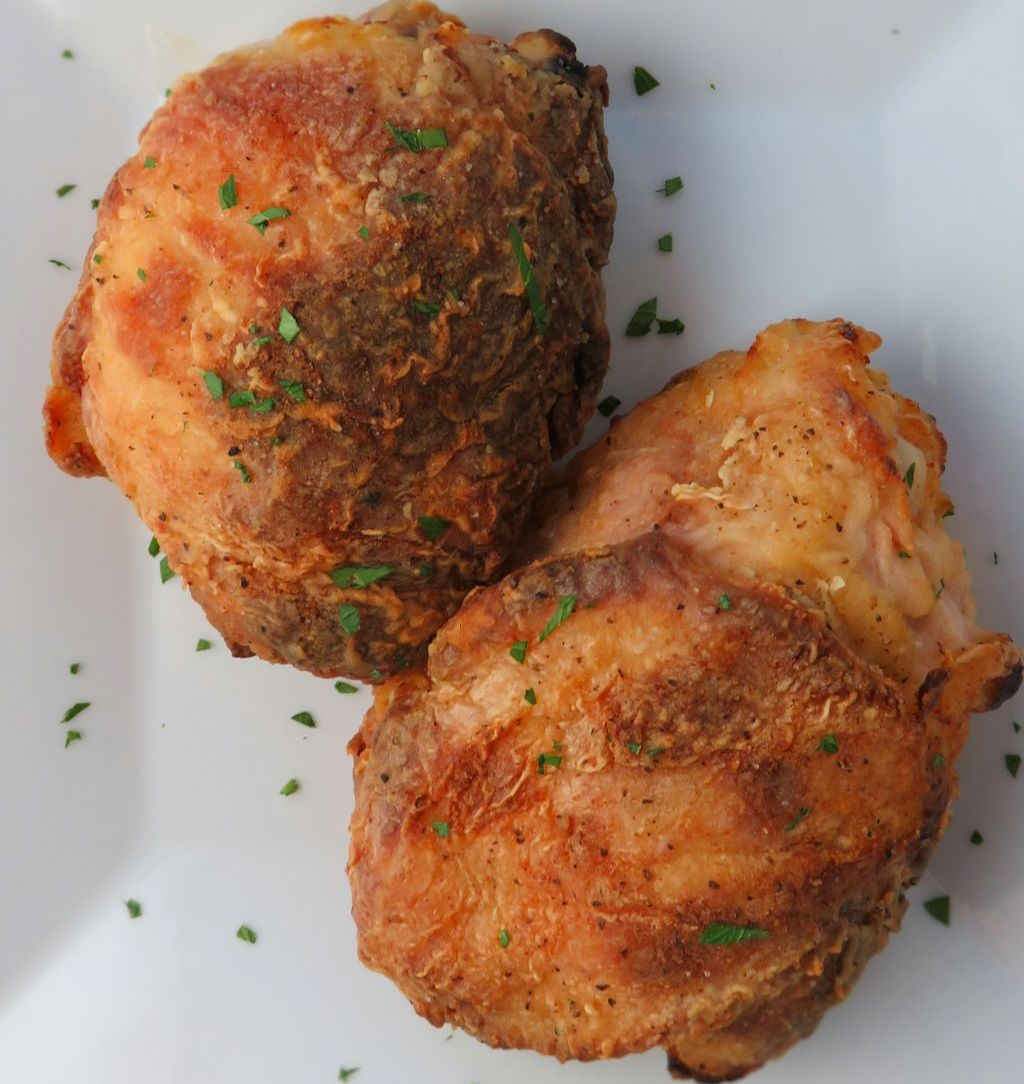
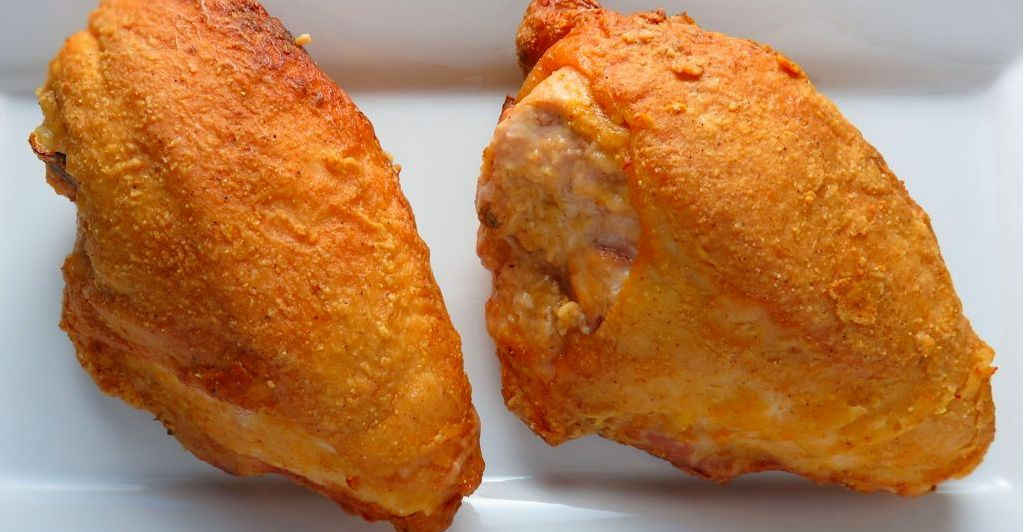
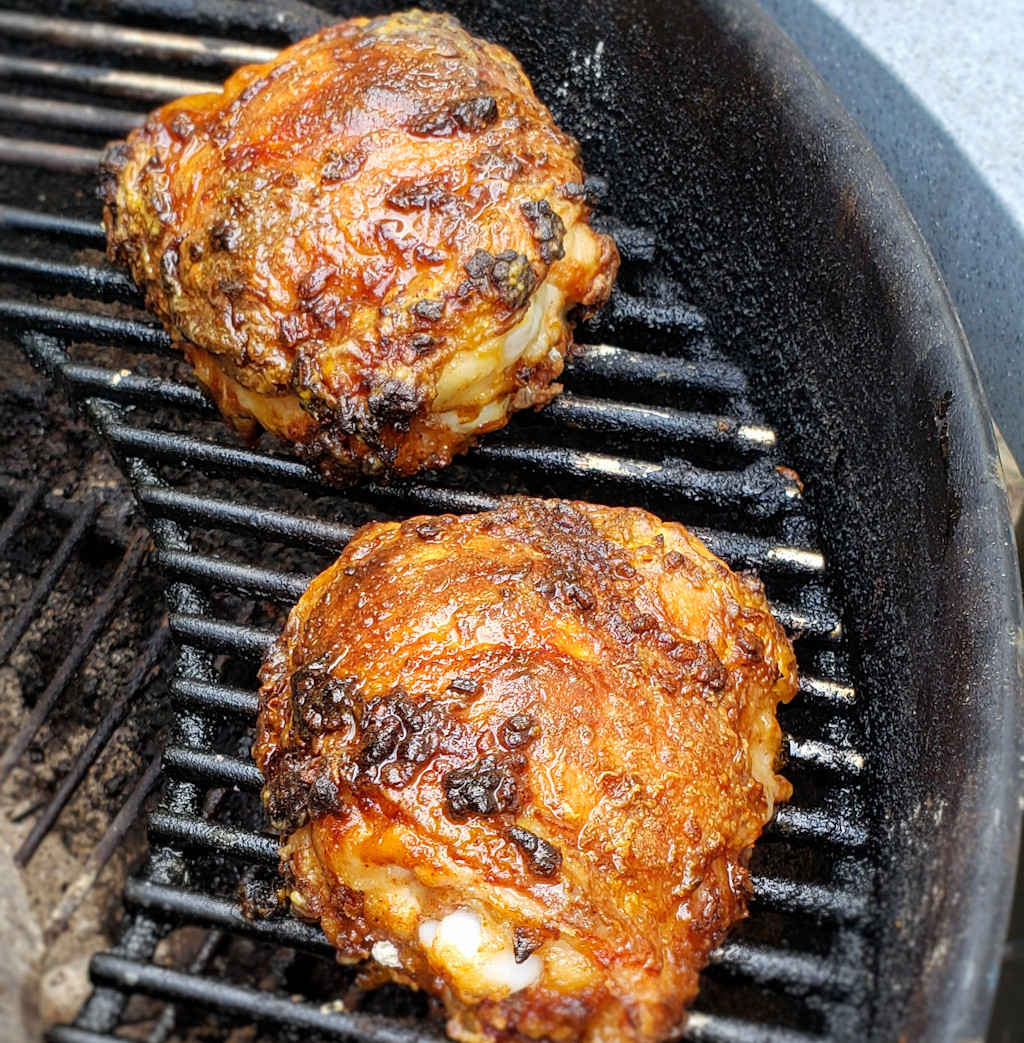
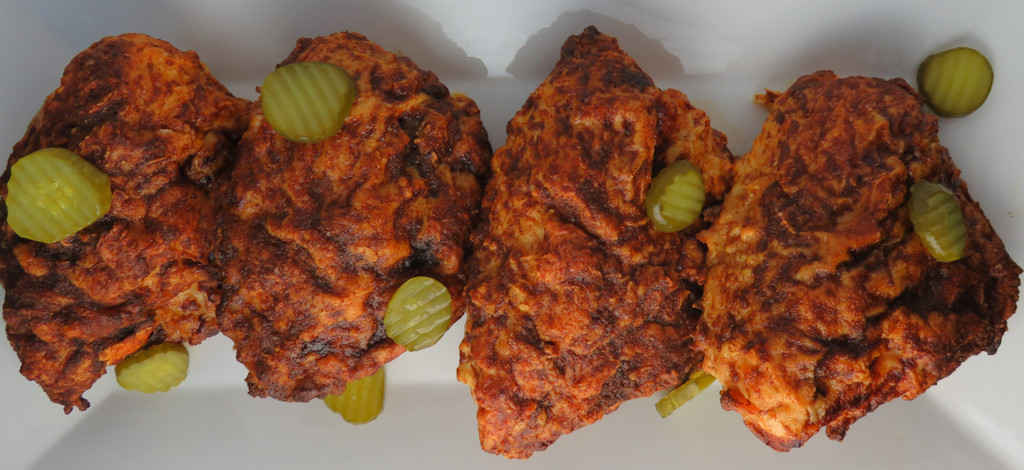
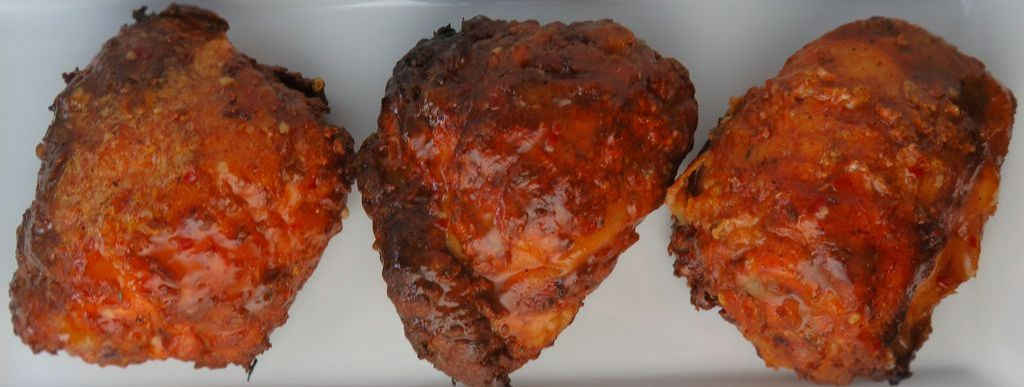
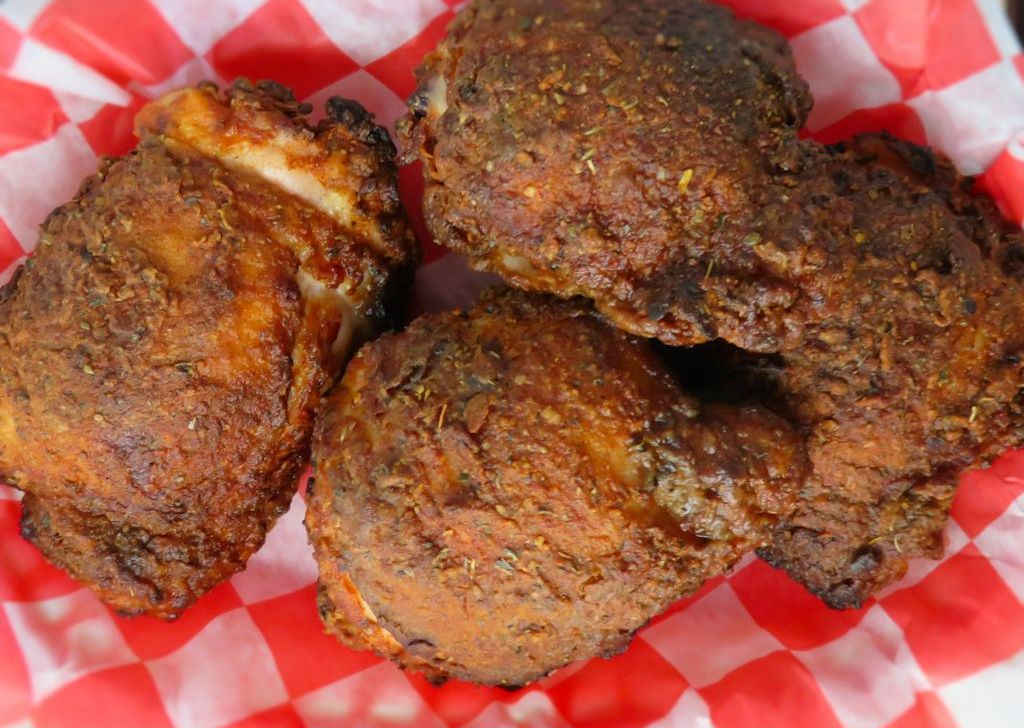
Over time I’ve learned my favorites. My go-to will always be bone-in, skin-on chicken thighs. The dark meat just has more flavor, it always cooks up tender, and it’s very forgiving. I coat them in my seasoned flour mix, arrange them in a circle around the outside of the grill — not directly over the Vortex — close the lid, and come back in about 40-45 minutes. No flipping required.
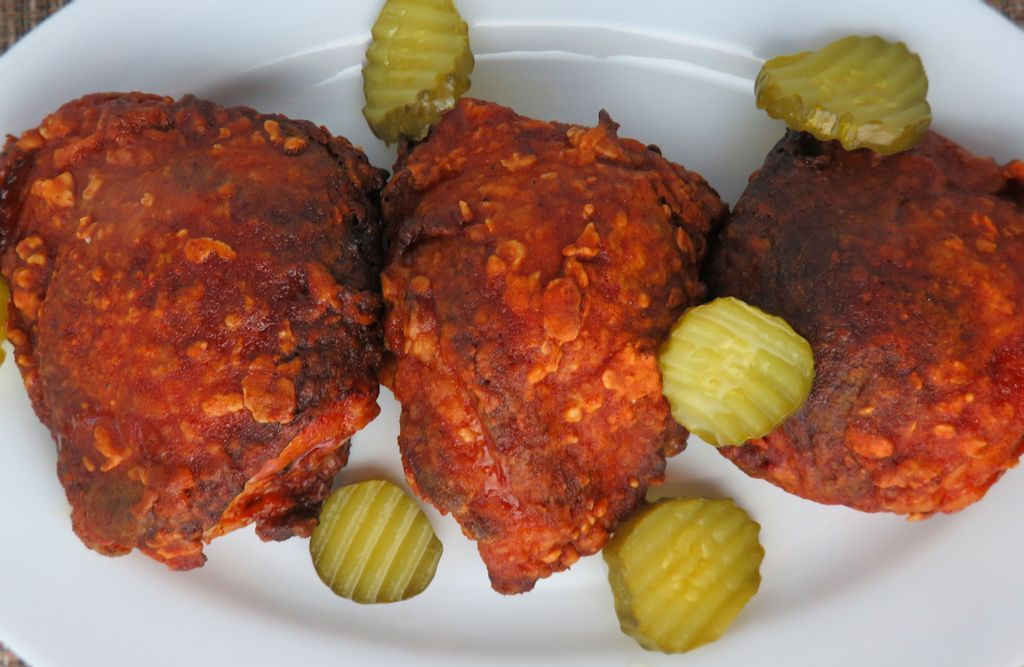
Below are my all-time favorite ways to do it, from Kentucky Kernel and Alabama White Sauce to Cajun-brined, Nashville Hot, and Korean Fried Chicken. If you love fried chicken, you’re going to love the Vortex.
The List
1
Kentucky Kernel ‘Fried’ Chicken using the Vortex
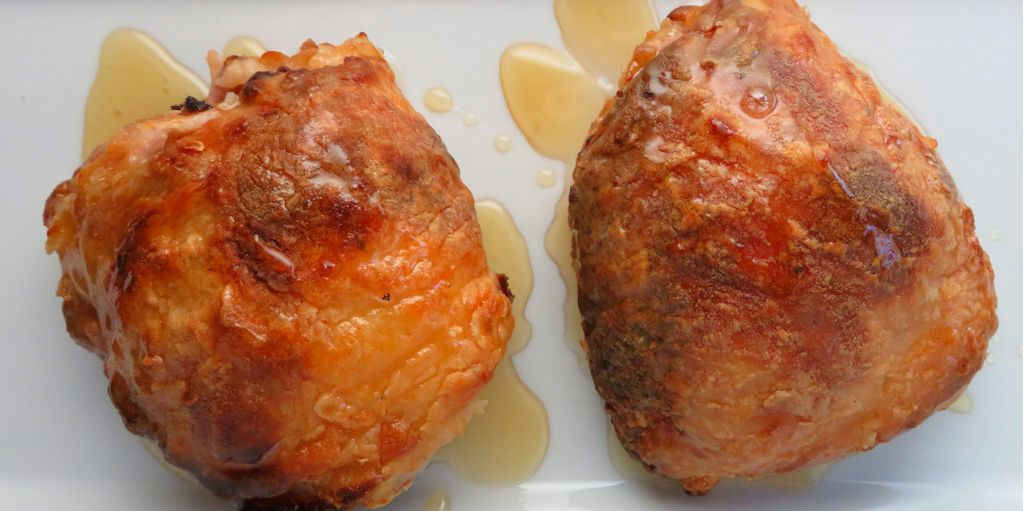
Perfectly juicy, crunchy skin, crazy good fried chicken flavor without all of the oil.
Alabama White Sauce Fried Chicken using the Vortex
The tangy Alabama white BBQ sauce is different. If you've never had it, I highly recommend it. It's great on any chicken, fried, grilled, roasted, you name it.
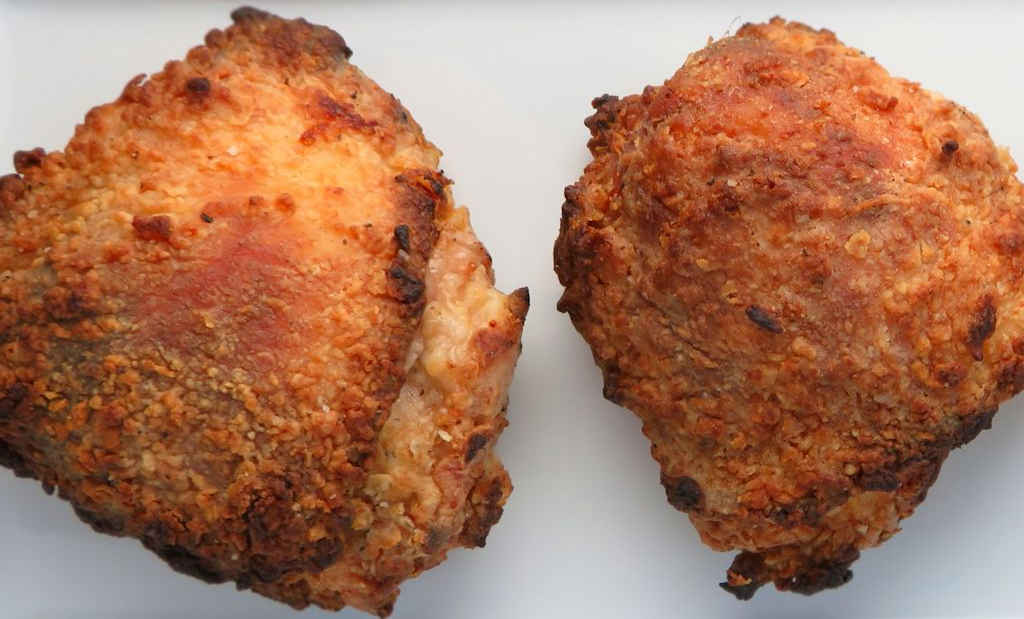
I almost always use bone-in, skin-on chicken thighs when I make this Cajun-brined fried chicken or any other ‘fried’ chicken using the Vortex. The dark meat has the most flavor and always cooks up tender and juicy.
The fried chicken mix recipe can be used for any chicken, it doesn’t have to be Bloody Mary flavored. The coating adheres perfectly and gives you that perfect crispy crust. For me, my go-to chicken on the Vortex is bone-in, skin-on thighs. They are the juiciest and have the most flavor.
If you’re craving garlic flavor, you’ve come to the right place. My buttery garlic fried chicken made using the Vortex brings the garlic punch and then some. And crunchy skin? Craving that too? Got you covered there, too.
I cook a lot, and I do mean a lot, of chicken using my Vortex. Wings and thighs are my favorite and I’ve cooked them countless delicious ways. But I’d never injected my chicken until now.
This dip-fried chicken is unbelievably moist, tender, and delicious. I’ve said it a thousand times: nothing beats ‘fried’ chicken made using the Vortex. Nothing.
I keep having to pinch myself when I make ‘fried’ chicken on my charcoal grill using the Vortex. Am I dreaming? I’m really eating deep-fried chicken, right? But it’s not.
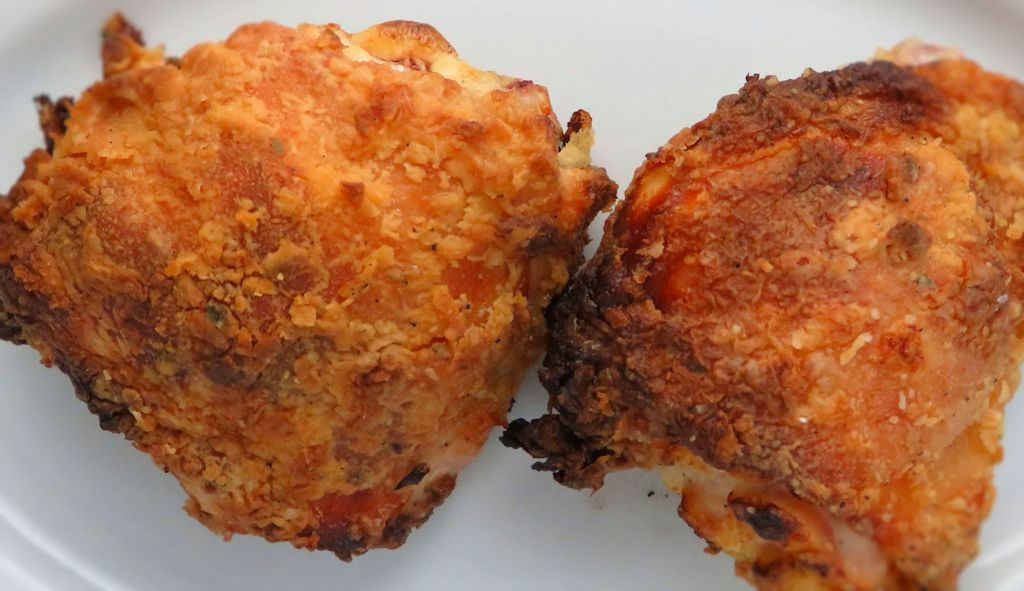
Hidden Valley Ranch Fried Chicken using the Vortex
This Hidden Valley Ranch fried chicken is crazy tender, unbelievable moist. And the skin? Well, let’s just say I leave it for last because it’s almost like dessert. A true treat.
This Korean fried chicken using the Vortex was right up my alley. As always with the Vortex, the chicken is cooked perfectly. Tender and juicy and delicious.
No, it’s not an illusion. It’s not Photoshopped. And I’m not fibbing. This crunchy, moist, tender, delicious chicken was not deep-fried. It was made on a charcoal grill using the Vortex.
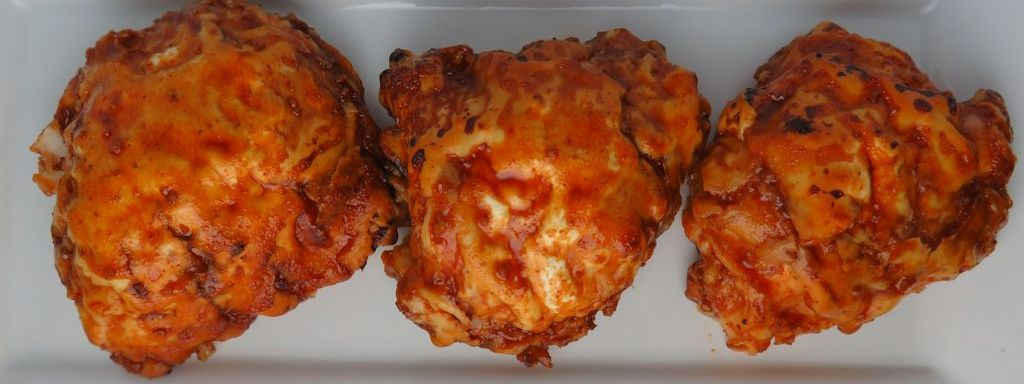
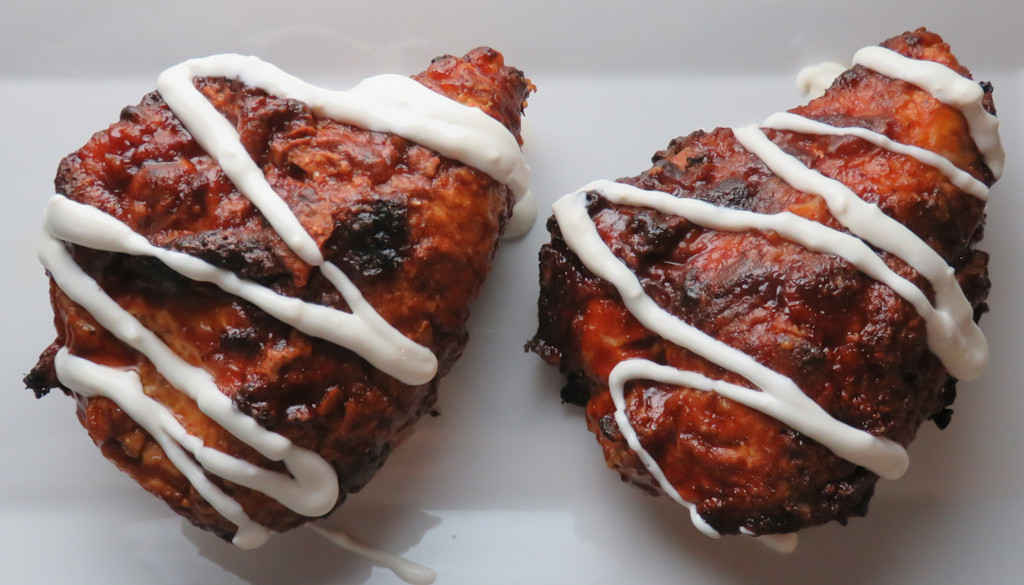
This spicy BBQ fried chicken using the Vortex is my go-to recipe. I can then add whatever I want at the end. This time I added a spicy BBQ sauce and a drizzle of Ranch dressing. There were no leftovers.
Just fire up, coat the chicken, place it on the grill and come back in 45 minutes or so to grab some delicious chicken. You’d swear it was fried in oil it’s so good. Crispy skin and tender, juicy meat. Perfect.
If I was going out to grab a sub, I’d be heading to Jersey Mike’s. No question about it. I’d get a sub Mike’s way, with vinegar and oil and salt and pepper and it’d disappear in no time. And if I wanted to make the same great sandwich at home, I’d make my copycat Jersey Mike’s sub. But if I’m in a big hurry and still want a great sub sandwich, I make my quick and easy cold cut sub sandwich. It’s not too different than what I can get at Jersey Mike’s. Main difference is that I use an off-the-shelf sub dressing that makes every sub great.
Use Great. Get Great.
Great bread, great meats, great cheese, fresh produce and a great dressing make for one heck of a great sandwich. This is how you beat the lunchtime blues. There’s nothing wimpy about this quick and easy cold cut sub sandwich. But you don’t get great without using great ingredients. So don’t skimp. Save on something else, not this.
Our local grocery store sells a roasted garlic sub roll that makes for the best sandwiches. Check your bakery section out, maybe you’ll find great bread too. Hopefully. It’s amazing how much good bread really changes a sandwich. You’re going to spend a lot of money for good meats, cheese and produce. Don’t stop at the bread.
Don’t Forget The Salt And Pepper
It may sound odd, but I actually think the two ingredients that are essential to a tasty sub are salt and pepper. Onions need seasoning. The tomatoes definitely need seasoning. And of course the lettuce needs it too.
And BOOM! Like that these quick fix Frank’s RedHot Original Seasoning potato chips were gone. “The perfect blend of flavor and heat” is what the bottle says. And the bottle does not lie. Why someone hasn’t come out with these chips in bags I do not know. They could retire on a beach somewhere if they did. Well, until then, I’ll just make them at home in just a few minutes. Sadly, I won’t be retiring on a beach, though!
The Simple Steps To Chip Success
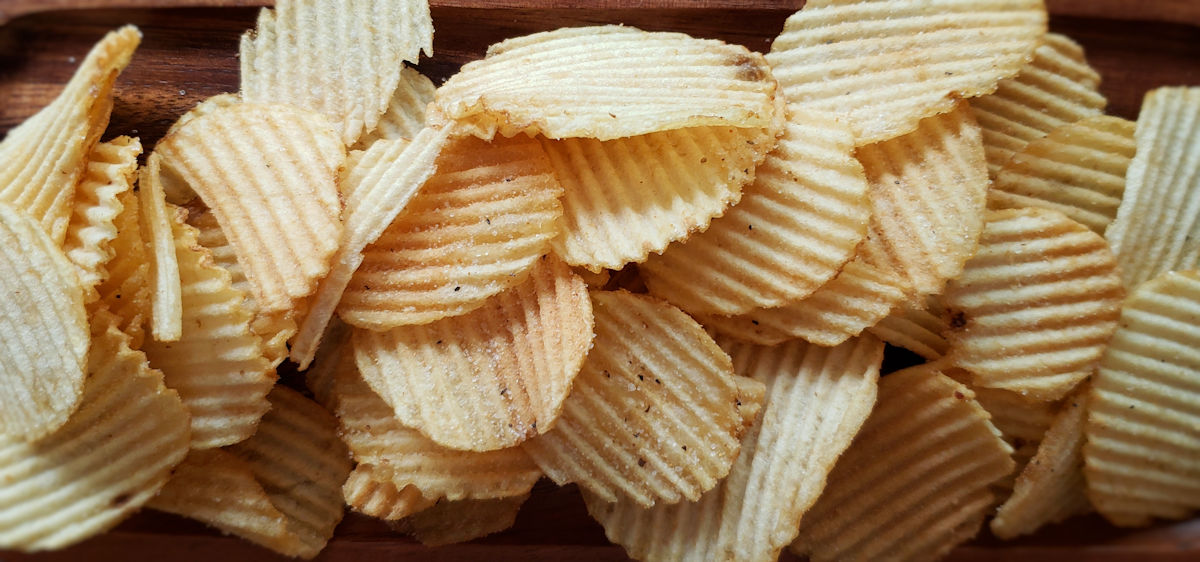
The keys to making quick fix Frank’s RedHot Original Seasoning potato chips are simple. Use ruffled (wavy) potato chips so that you get seasoning in every ridge and valley. And equally as important, use a lot of the seasoning. Heck, if you want lightly seasoned chips go to the market! There’s bag after bag of meh-flavored chips! Now’s your chance to bring some flavor to each and every crunch!
Don’t search out the expensive chips for this dish. El cheapo chips work just fine. In fact, they could easily be better. You want chips with a bit of oil still in them from the frying process. When you heat them that oil will come to the surface. That’s the ideal time to season them.
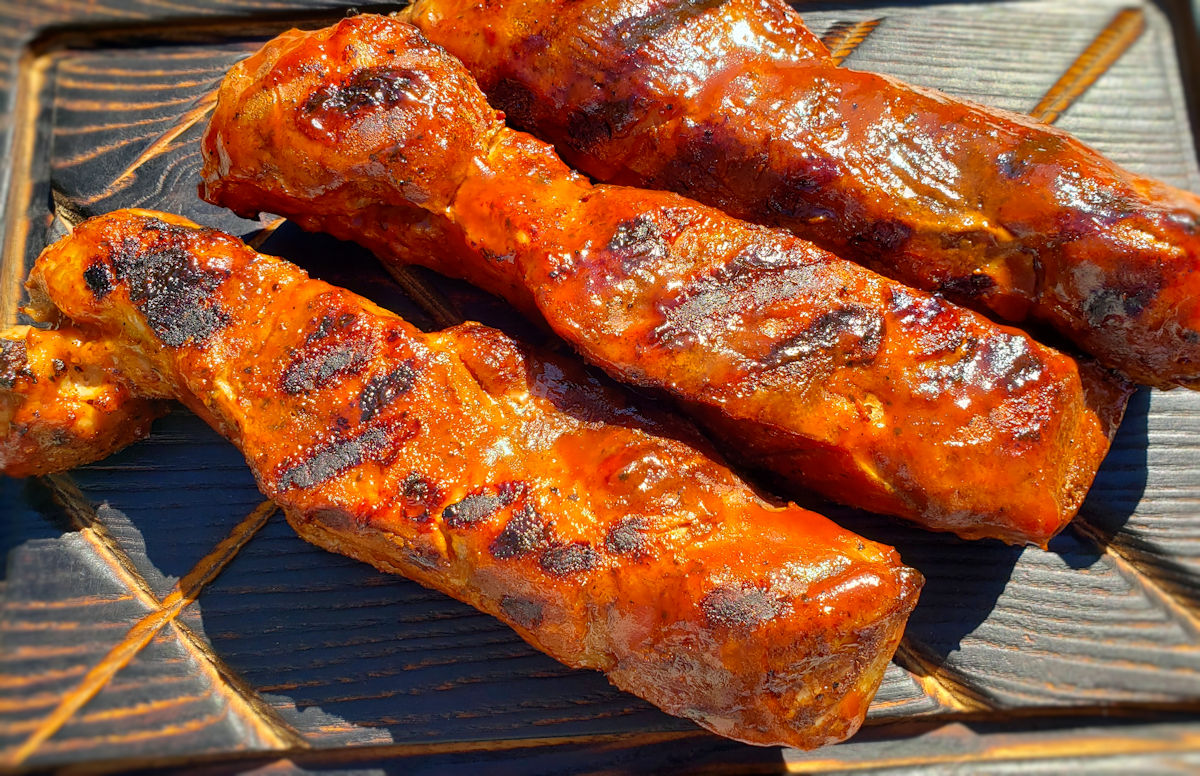
These BBQ sous vide country style ribs have been on my radar for a while now. I love country style ribs. I usually sear them on the stovetop then finish them in the oven. Served over sauerkraut (and lots of it), they’re a bigtime favorite of mine. Yum. This time I went the sous vide route, finishing the ribs on a hot gas grill. A little hickory BBQ sauce gives the impression that the ribs were cooked low and slow on a smoker. Or close enough, at least. The result was tender, very juicy, very flavorful ribs.
Tender as you want it to be
You get to decide how tender you want your BBQ sous vide country style ribs to be. The first time I made them I went 4 hours. At that point the ribs have a good chew but aren’t tough. If you like a good tug to your ribs, 4 hours will get you where you want to be. But for more tender ribs you really might want to go 6 if not 8 hours. The full 8 hours is a bit much for me only because I do want a little ‘bite’ to my meat. I’d settle on 6.
You can squeeze the ribs in the bag after 4 hours, and every hour or so after that, to see if the ribs are getting to where you want them. Just note your favorite cook time for the next time you make them. Because there will be a next time. There’ll be lots of next times.
Gas?
I chose to finish the ribs off on a gas grill. I could’ve used a charcoal grill and added real ‘cooked over fire’ flavor. But honestly, I’m cheap. I wasn’t cooking for a crowd, and I just could not justify firing up a chimney of charcoal. I would definitely do it if I had friends over, though. It’d be more than worth it then.
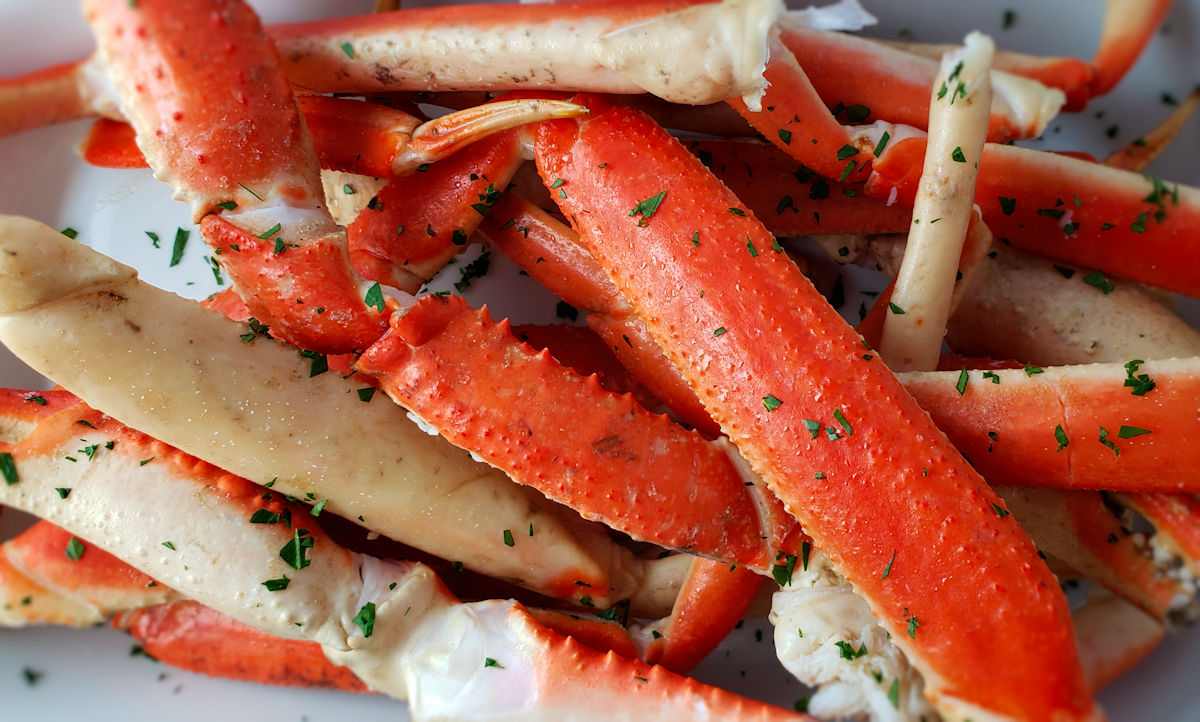
I am not a crab specialist. Crab connoisseurs would watch me crack crab legs and dig out the meat and probably giggle. Things fly everywhere, and much of it onto me. But I get the job done. And I absolutely love the final result. I could eat crab all day. That usually means grilling them. Or boiling them. This time, though, I tried sous vide snow crab legs. Let me tell you, this is my go-to way for perfect crab legs from here on. It’s easy, quick, and the result is deliciously fantastic!
Flavor-Packed Crab Greatness
The flavor in these sous vide snow crab legs is fantastic. At least in my case, I added butter (and lots of it) and Old Bay seasoning (and lots of that too!). This is not the time (in my opinion) to be shy with either one. Actually, it’s never the time to be shy with butter and Old Bay but that’s a different discussion. I want messy, crazy-good snow crab legs and that’s exactly what I got. I cannot wait to make these again.
Remember, the crab legs are already cooked (steamed, actually). You’re just warming them up and adding flavor. And making sure you’re not losing any flavor like you would if you just boil them. Even though the legs are ‘cooked’ in water the flavor lost is replaced.
You can use this same recipe for larger crab legs, too. I’d add some more time to warm them up, so I’d start with 45 minutes and maybe go as long as an hour. It’s hard to check them as they go, unless you don’t use sealed bags. If you do decide to cook larger legs make sure you take notes so you know the cook time for the next time!
I use an Anova sous vide cooker. It’s my immersion circulator workhorse!
dipping saucesclarified butter, cocktail sauce, whatever you prefer!
lemonfor serving, if desired
Instructions
Heat your water to 140 F using your immersion circulator.
Place the crab legs into a large (1 gallon) resealable bag. You may have to separate the legs at the joints to get them to fit. You want them to all fit in the bottom of the bag.
Add enough water to the bag to just cover the legs.
Add the butter and Old Bay seasoning.
Lower the bag into the warmed water. Use a clip to clamp the bag to the side of your container, keeping the bag open. You do not need to vacuum seal the bag or remove any air from it, just make sure that the legs are below the water line.
Heat the legs for 30-45 minutes or until heated through.
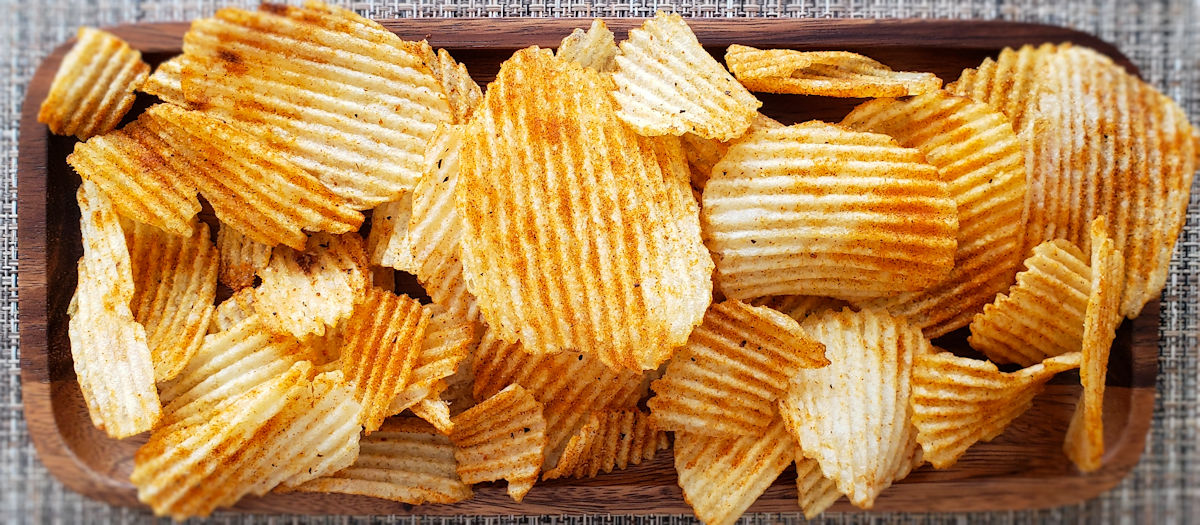
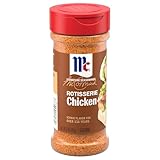
My local grocery store puts the hot-out-of-the-roaster rotisserie chickens near the entrance for a reason. They know the aroma will drive me crazy and get me to hankerin’ for rotisserie chicken. What they don’t know is it actually makes me crave my quick fix rotisserie chicken-seasoned potato chips instead! Yep, that same great flavor as the classic chicken, all on a crunchy chip! Ready in minutes, these are some highly addictive snacks! I recommend making a big batch and serving these at the next game party at your house. Everyone will be pleasantly surprised as they enjoy these totally different chips!
Go Heavy On The Seasoning
I recommend that you use a ‘heavy hand’ when it comes time to add the seasoning to your quick fix rotisserie chicken-seasoned potato chips. Get some on each and every chip. Front and back. Edge to edge. Be gentle with the chips as you stir them, too. Even with thick chips you might break them if you stir them too hard. Nice and easy is what you are looking for. No one wants broken, dinky-sized chips. They want big, crunchy, heavily-seasoned chips!
I prefer to use wavy chips for this recipe. The ridges capture the seasoning better, so more sticks to the chips. That’s why we’re here, right? More seasoning!
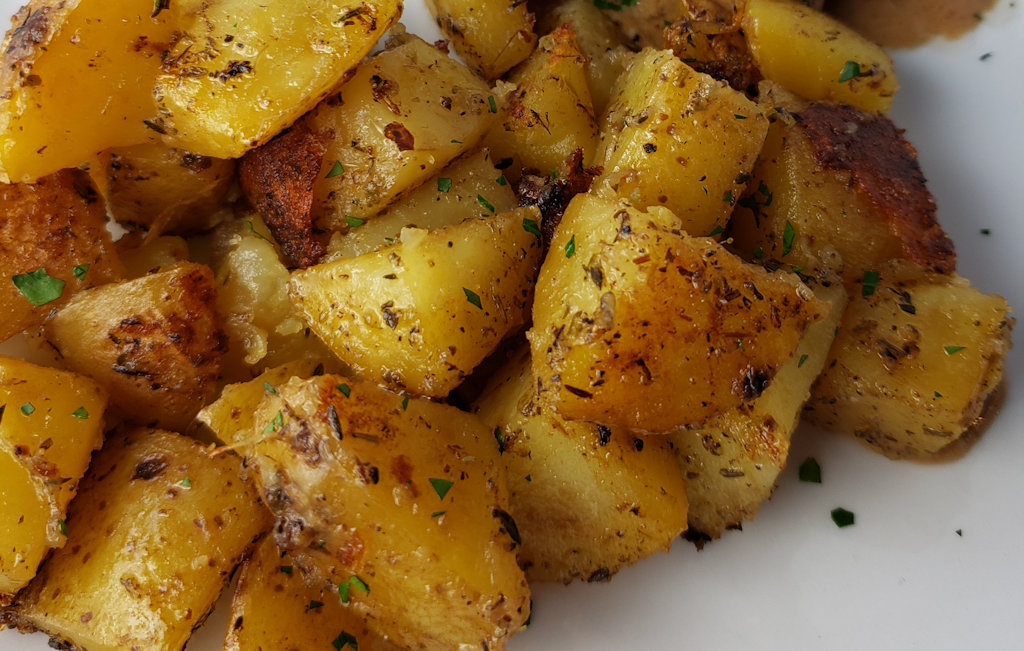
I’ve lost count of how many times we’ve made these garlic herb sous vide potatoes in the last week or two. The weather has been nice and that meant grilling. I was looking for an easy side. Now, I didn’t make these potatoes on the grill, but I did finish them there. You can finish them in a skillet on the stovetop too. Either way, they’re packed with wonderful garlic and herb flavors.
The perfect side dish
The potatoes are cooked perfectly. They’re velvety creamy inside. Finishing them off over high heat adds a nice crunchy layer. These potatoes make for a great side dish.
As written, the amounts of dried herbs used infuse a good amount of flavor into these garlic herb sous vide potatoes. We like our potatoes to pack flavor. If you’re a little on the ‘less is more’ side when it comes to dried herbs, I’d suggest using slightly less thyme and oregano. You can change your mind and add a bit more when you are browning the potatoes after they’re cooked.
If you prefer to finish the potatoes on a grill, no problem! Just use a cast iron skillet or griddle over direct high heat.
I use an Anova sous vide cooker. It’s my immersion circulator workhorse!
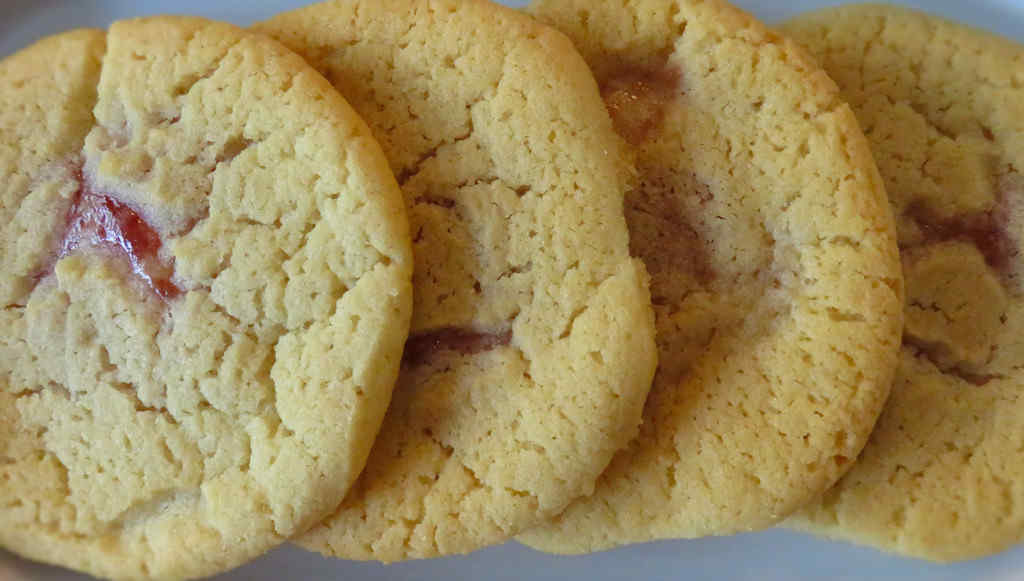
I was trying to make vampire sugar cookies. They look like regular ole sugar cookies but with two holes that make it look like a vampire took a bite out of them. Well, that failed, but that failure ended up tasting fantastic and being a big hit at my wife’s office. Heck, these quick fix strawberry sugar cookies are so good that I made them twice in two weeks. And truth is, they are scary easy to make.
I’m A Strawberry Kinda Guy
I opted for strawberry jam when I made these quick fix strawberry sugar cookies, but you could use anything you’d like. I think thicker is better so that the middles aren’t too terribly soggy. And don’t put too much of whatever you use on them. They won’t seal well and you’ll have ‘blowouts’. Why did I pick strawberry jam? Well, because it’s my favorite! That and grape.
Package Contains:This set includes 45 brown baking…
Fold-free design: The products are flat and…
I’m also contemplating doing a mix of jams. A little grape, a little raspberry, a little strawberry, etc. I think that’d look great on a plate at Thanksgiving or Christmas. I could put a few of each flavor in fru-fru decorative cookie boxes and give them out as gifts!
I make a lot of quick fix potato chips. They’re easy like the name implies. Just heat up some chips to get the oils out, and season. Because I usually have a ton of wing and BBQ seasonings on hand, they are my usual go-to for chips. That’s where these quick fix garlic ginger teriyaki potato chips came from. These are decidedly different than anything you’ll find at the store. They’re the Asian-inspired chips you wish you could find on the aisles, but fortunately, they’re easy enough to make at home.
Perfect Asian-Inspired Chips
The seasoning for my quick fix garlic ginger teriyaki potato chips comes from Croix Valley Foods. It’s a quality, flavor packed mix that is great on pretty much anything. It has just the right amount of ginger flavor. With a hint of garlic. And a good dose (the right amount too!) of teriyaki flavor. For something different, you can’t beat these chips! I certainly couldn’t stop eating them!
So how much seasoning should you put on your chips? Well, it’s up to you of course. I like to start with 1/2 tablespoon. I get the chips coated and take a taste. It’s easy to add more seasoning. But, it’s rather hard to take it away.