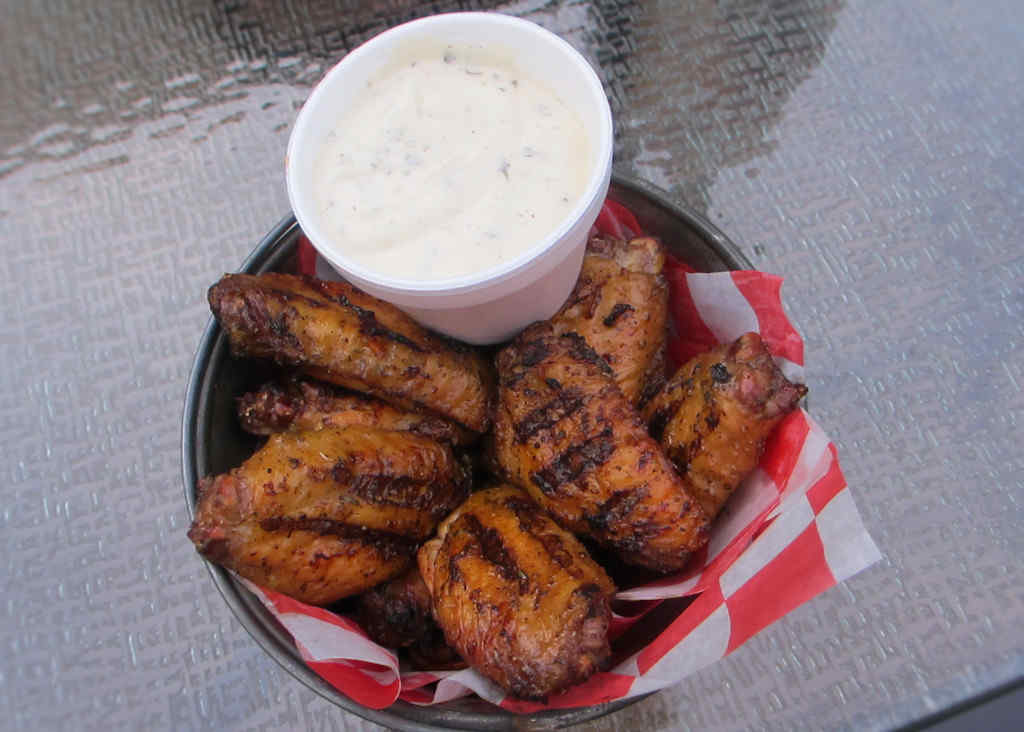
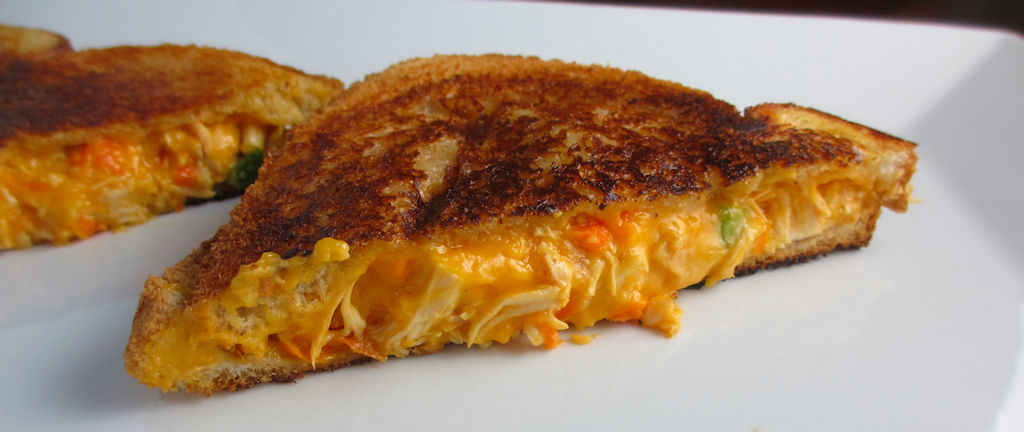
I often do ‘theme weeks’ when it comes to dinners, and sometimes lunches. A recent theme was Buffalo chicken. I love the flavor of traditional Buffalo chicken wings, so I figured I’d make a large batch of chicken breasts flavored the same way. I cooked the Buffalo chicken on my Char-Broil Big Easy, but any Buffalo chicken will do. After it was cooked, I shredded the meat, added a bit more wing sauce, and got to making a week’s worth of great Buffalo chicken-flavored dishes, like this Buffalo chicken grilled cheese sandwich.
Carrot And Celery. In A Sandwich?
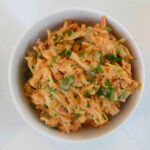
Every great thing about Buffalo chicken is in this grilled cheese sandwich, from the sides of carrots and celery, to blue cheese crumbles. They cook up oooey gooey, and have that great Buffalo chicken kick. I could eat these sandwiches all day long. You can make the chicken mixture ahead of time. Then you only the time it takes to assemble and toss in a hot skillet. Lunch in just minutes!
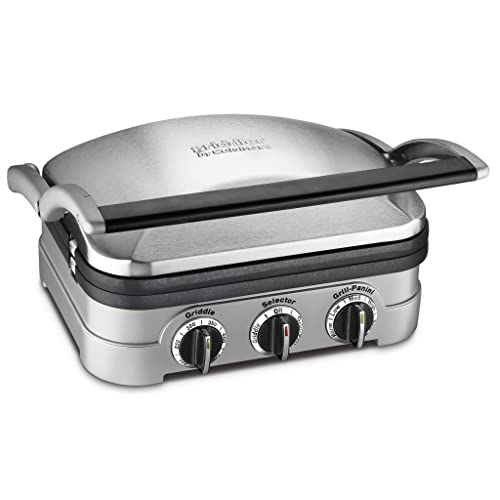
I’m pretty sure that the Cuisinart Griddler was made specifically for making this sandwich and others like it. You can use a skillet instead, sure. But for easiness, you can’t beat the Griddler!
These sandwiches are great along with my Buffalo chicken soup.
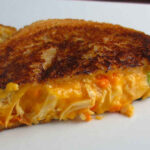
Buffalo Chicken Grilled Cheese Sandwich
Equipment
Ingredients
- ½ cup Buffalo chicken warmed. I used our slow cooker version
- 1 tablespoon mayonnaise
- 2 tablespoons carrot grated
- 2 tablespoons celery sliced
- 2 tablespoons green onion sliced
- 2 tablespoons blue cheese crumbled
- 1 cup sharp cheddar cheese shredded
- 4 slices bread
- 1-2 tablespoons unsalted butter softened
Instructions
- Gently combine the chicken, mayo, carrot, celery, onion, and cheeses in a medium bowl.
- Butter one side of each slice of bread.
- Heat a large skillet over medium-high heat.
- Lay 2 pieces of bread down into the skillet, butter side down.
- Divide chicken mixture between the two slices of bread.
- Top with remaining bread, butter side up.
- Cook until bread turns golden brown and crispy.
- Gently flip sandwiches and cook until bread turns golden brown and crispy and cheese has melted.
- Let cool slightly before slicing.
Notes
Nutrition
Nutritional values are approximate.