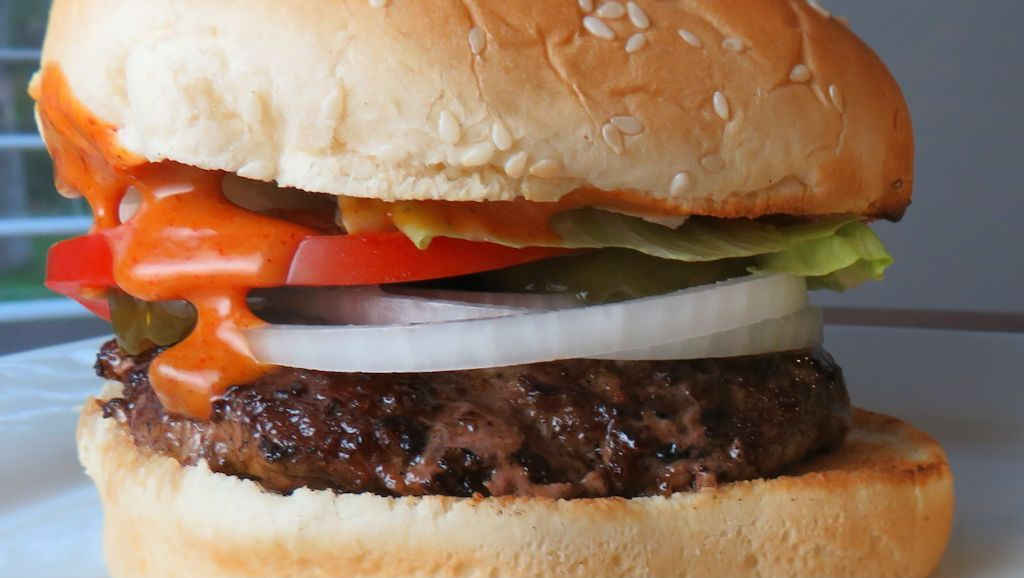
Burger King recently came out with their Angry Whopper. It’s loaded with all darned near everything you can imagine, from jalapenos to onion petals to bacon. And angry sauce. Now, I didn’t set out to make the Angry Whopper at home. I was after the Angry Whopper sauce. And I found it. Wonderfully spicy and creamy, the sauce turns my normal (but fantastic anyway) grilled burger into a delight. Whether you’re making beef burgers, chicken burgers, or even pork burgers at home, you’ll want this sauce. It makes any burger better!
Spicy Burgers are Better Burgers
I wouldn’t hesitate to kick up the heat in this angry Whopper sauce. It’s angry, but not angry enough in my opinion! A little more hot sauce and a little more cayenne pepper isn’t gonna hurt anyone, so I say go for it. This is also a great sauce for a cookout. No one wants that old boring ketchup. They want a great burger sauce instead and this is it! Note: You might want to give them a heads up since some folks don’t like spicy stuff! The horror! I’d write ‘spicy’ on your sauce squeeze bottle or whatever you’re serving the sauce from!
Dip Away
This sauce also makes for a great dipping sauce. It’s perfect for chicken nuggets. And French fries. I love creamy sauces for dipping fries! You can squeeze it over tater tots (or crispy crowns, my favorite). So make extra, it’s a great sauce to keep around.
I have to admit that I also like to put my burger sauce on the side. Not just on my burger bun. But I squeeze out a bit extra of the sauce onto my plate next to my burger. I like to ‘drag’ my burger through the sauce. Don’t hate me. I know it’s weird. But when the sauce is so good like this one, I want extra. If I put more on my bun it’ll just run off. Problem solved by putting more on my plate!
I didn’t set out to make the Angry Whopper at home. I was after the Angry Whopper sauce. And I found it. Wonderfully spicy and creamy, the sauce turns my normal (but fantastic anyway) grilled burger into a delight.
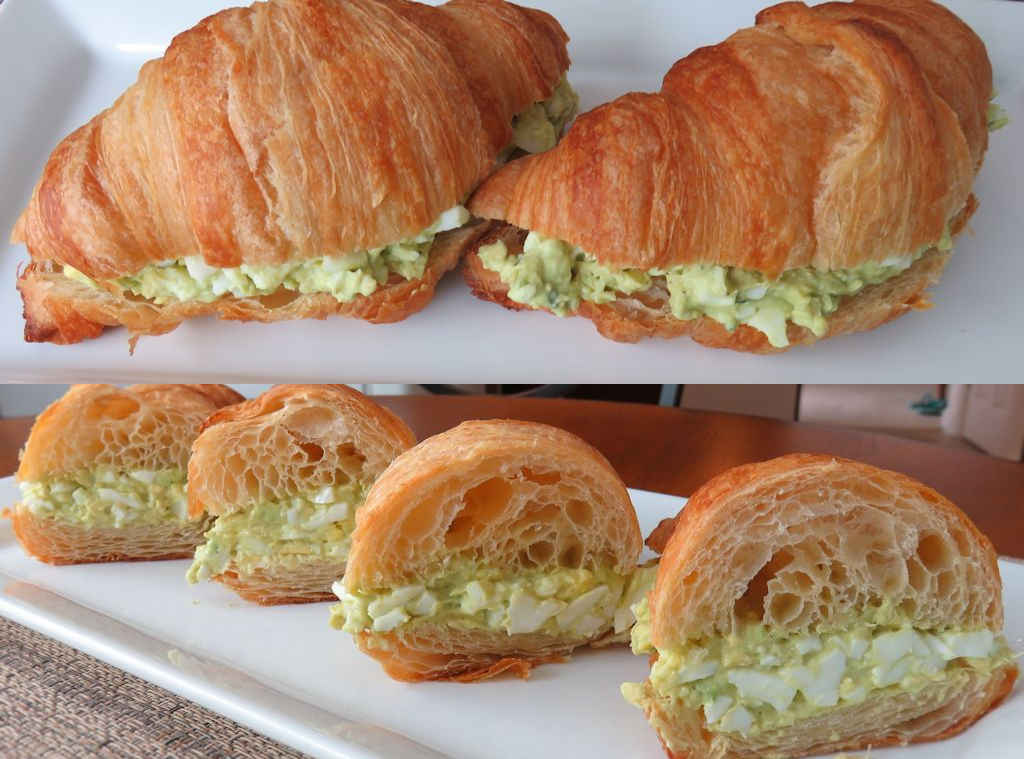
Avocados going on sale is always a happy time for me. I cannot get enough of them. I like them on greens, on burgers, in dressings, and of course, in avocado egg salad. This salad has the perfect creaminess but still a bit of texture from the eggs. It also has a nice refreshing bite from the chives. Not a lot, but just a pleasant taste that rounds out the perfect sandwich filling.
The Perfect Sandwich
I thought that croissants would be the perfect bread for serving avocado egg salad. The tender, sweet bread goes so well with it. The only problem was that I couldn’t get enough! I had never wished that croissants were larger more than I did after that first bite! Why? Why! Why are they soooo small?!
I absolutely stink (best word I could think of) when it comes to making boiled eggs. Hard or soft, doesn’t matter. I am egg challenged. So I picked up a little cheap egg cooker like the one below. This lil baby cranks out 7 eggs in about 15 minutes and they’re perfect each and every time! I don’t even feel bad any more that I just cannot make boiled eggs!
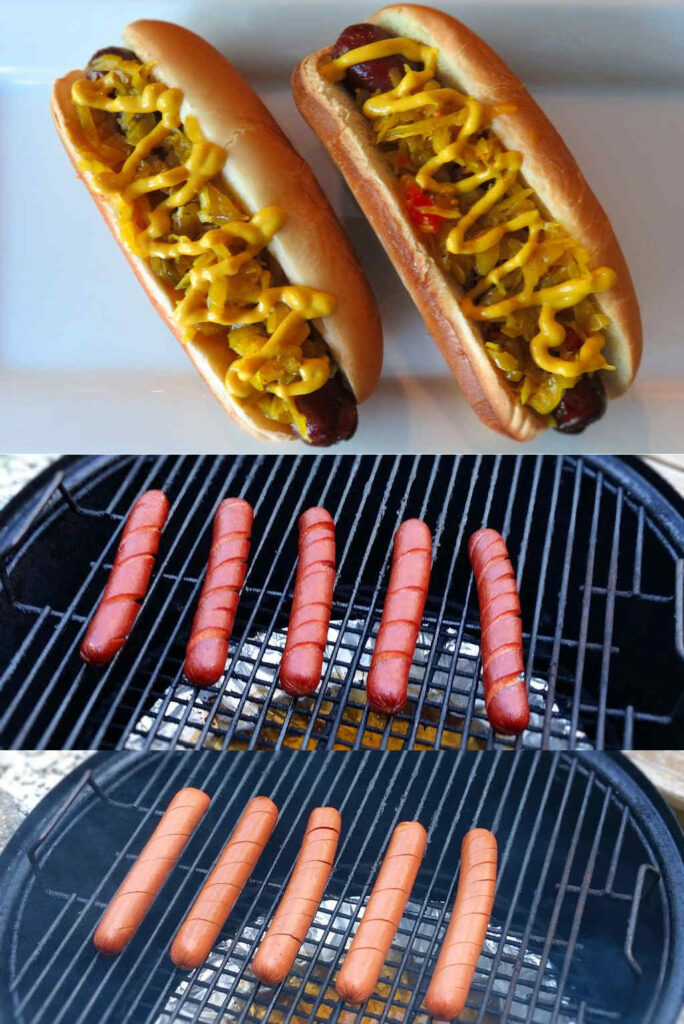
If you have a smoker, you need to make deluxe smoked spiral hot dogs. They are quite different than regular ole grilled dogs. Not only do they pick up a great smoke flavor, they have a slightly different texture… a little denser. Cutting them into spirals makes for a great presentation. It also makes sure your toppings stick to the dogs.
Practice. Practice. And More Practice.
The first time or two that you try and cut a hot dog into a spiral you might not have great success. I can’t say my first few came out super-duper pretty. But after that I got the hang of it. They then came out just like I’d hoped. The same technique can of course be used for sausages such as smoked sausage or half links, too.
Try Marinating Them, Too!
I like to marinate my hot dogs in a combination of Worcestershire sauceand seasonings before cooking them. It definitely adds a lot of flavor and moisture to the dogs. It’s an added something that people don’t expect when they take that first bite.
Working one at a time, slide the skewer through the center of a dog, lengthwise. If you get it crooked just carefully pull it back and try again. I’ve found that laying the hot dog on a counter and sliding the skewer in while keeping it perfectly horizontal helps. Alternatively you can buy a hot dog spiralizer. See the post text for more information.
Take a sharp knife and starting at one end, slice into the dog until you hit the skewer while keeping a 30-45 degree angle. Rotate the dog until you’ve sliced all the way to the other end. Don’t worry if they aren’t perfect and don’t worry if you have to sacrifice a dog or two until you get them the way you want them. Remove the skewer and slice the remaining hot dogs.
Place dogs into a container. Add the marinade and refrigerate while you fire up your smoker for 250 F using a light wood such as hickory or maple.
Transfer the dogs onto the smoker and smoke for 1 hour.
Remove dogs and serve on buns with your favorite toppings.
Notes
Make a big batch and refrigerate for heating and eating later.
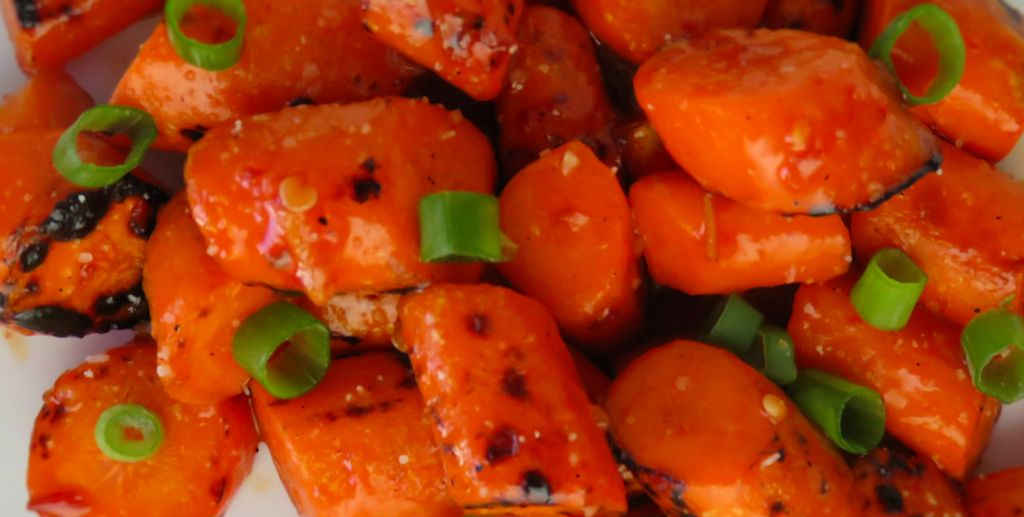
You gotta eat your veggies. You can’t just slap a few burgers onto the grill (love my Weber grills!) and call it dinner. Or so I’ve been told. So, why not make those veggies yummy! These grilled ginger-orange carrots definitely don’t taste like boring carrots. They pack a little sweet, and a little heat. Often carrots are too sweet for my taste. The spiciness in these little delicious bites definitely offsets that sweetness.
Carrots With A Twist
I’m a big fan of Sambal Oelek, an Asian chili garlic sauce. It’s nice and thick and spicy. You might not like that heat in your grilled ginger-orange carrots as much as I do. So I’d start with a little less than I state in the recipe and taste it. If you like it, stop. If you want more kick, add more! No one wants boring carrots and the sauce is definitely what makes these carrots special!
You gotta eat your veggies. You can’t just slap a few burgers onto the grill and call it dinner. Or so I’ve been told. So, why not make those veggies yummy!
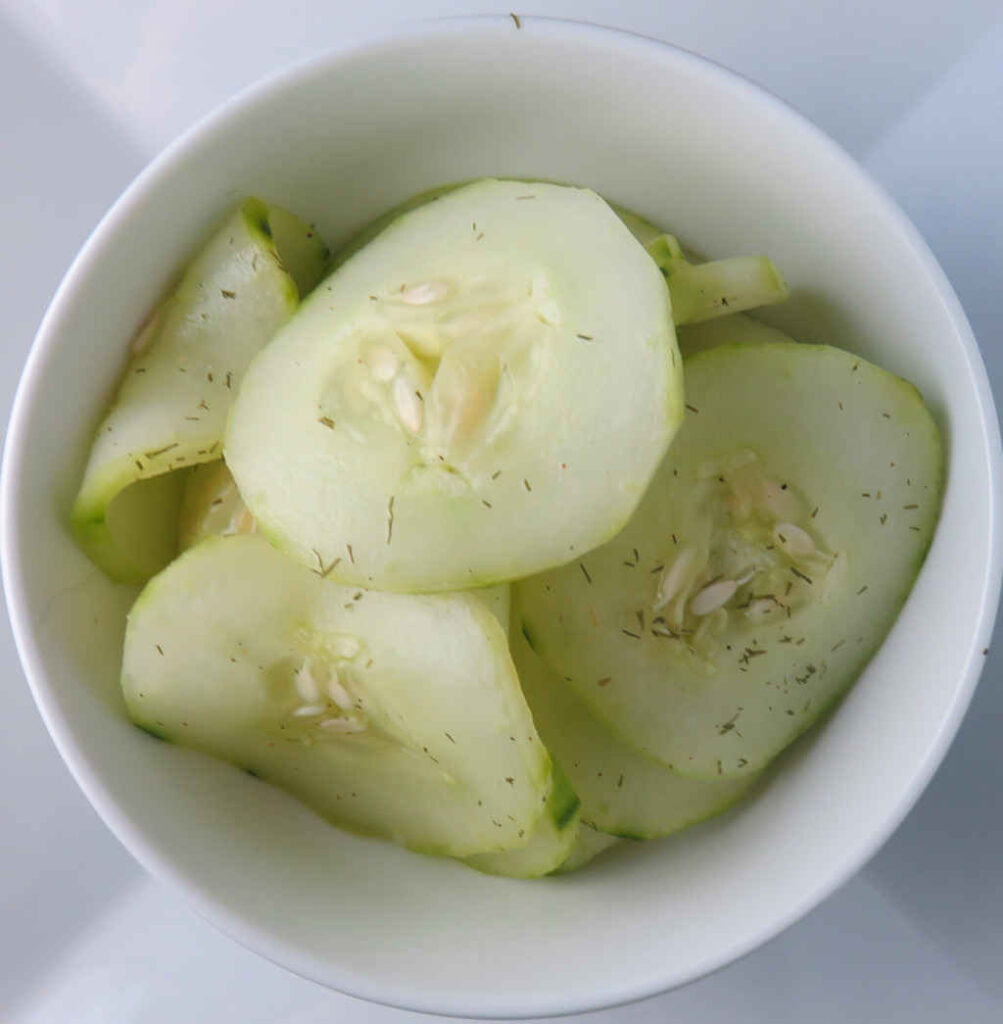
There are lots and lots of cucumber salads in the world of recipes. I really love the crispness of the cucumbers, the bite of the white vinegar and slight sweetness. Of course there’s dill and plenty of it. I’m pretty sure dill exists solely to be used with cucumbers.
This version is essentially the same as my all-time favorite creamy version but minus the ‘creamy’.
The Perfect Pork BBQ Sandwich Topping
This cucumber salad does not have to be served just as a salad, either. It’s fantastic on top of a pulled pork sandwich. It’s also a nice change from the usual dill pickle slices (or coleslaw) you often find on a sandwich. The crunchiness and flavors are fantastic.
There are lots and lots of cucumber salads in the world of recipes. I really love the crispness of the cucumbers, the bite of the vinegar and slight sweetness. Of course there’s dill and plenty of it
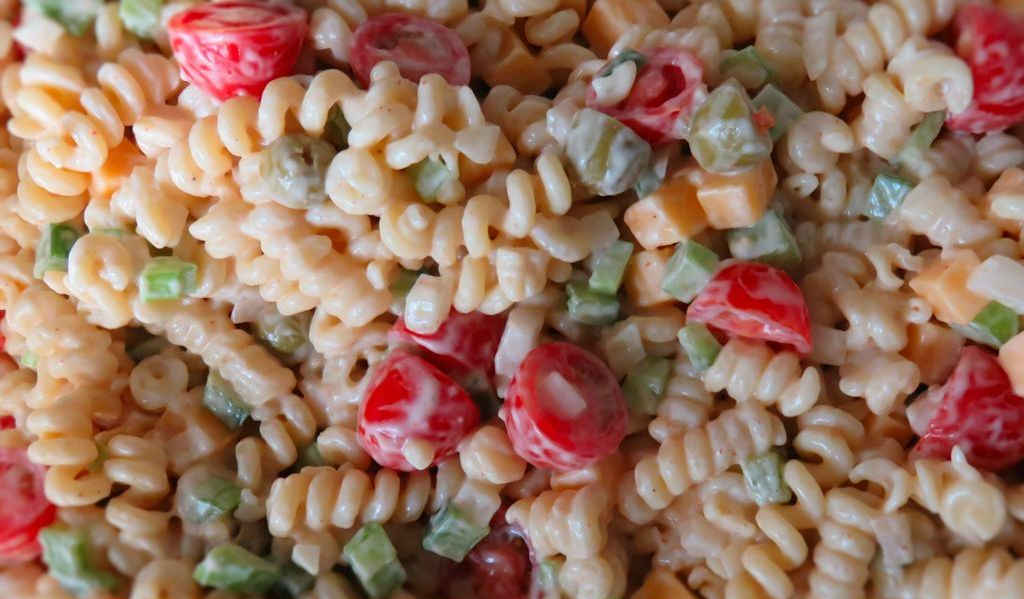
It doesn’t take a whole lot of changes to make a pretty much run-of-the-mill pasta salad different. This Creole macaroni salad has buttermilk in the dressing, giving it that wonderful tangy flavor. I love buttermilk so I instantly thought how great . Buttermilk fried chicken and this salad are a great match too. Trust me, I tried it. The salad also has tomatoes and (my wife’s favorite) olives. Her motto is: You can’t have too many olives.
Heat In A Pasta Salad Is A Good Thing
I would (and did) add more cayenne pepper to give this Creole macaroni salad even more kick. Plus, I think the dressing has a somewhat cooling effect, so a bit more heat isn’t going to hurt anything.
This recipe comes from Paul Kirk’s Championship Barbecue Cookbook, a huge book of everything barbecue. Get it. It’s packed with recipes like this great salad and whole lot more.
I almost always use Blue Plate mayonnaise in the dishes I make. I think it is the best around. If you can’t find it locally you can pick it up online for a fair price.
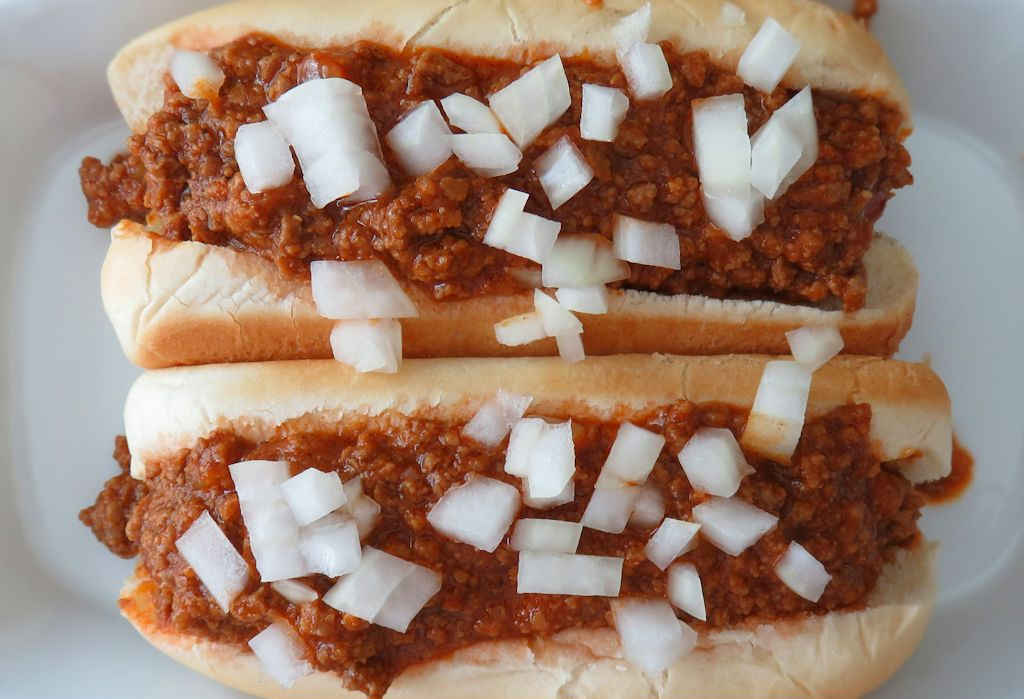
I’ll put just about anything on a hot dog. As long as it’s good. But this Home Run hot dog chili? It’s not just good. No, it’s totally amazing. It’s like the most unbelievable meat sauce I’ve ever had or made. You’ll think you’re at the ballpark for sure, and you’ll be wanting more as soon as you take that first bite. Just make sure that you have extra napkins, because things are about to get (good and) messy!
The Best Hot Dog Chili
No matter what else you want to put on your dogs, you have to start with this first. Not only does Home Run hot dog chili taste great, but it is also (very importantly) the perfect consistency. You don’t want it too thick. You definitely don’t want it too thin. This is spot-on right what it should be. No big meaty chunks to bite into. Perfect!
I like to put chopped onions on my hot dogs. I soak them in cold water for a little bit before I put them on there to take a bit of the bite out of them.
Add the tomato paste, chili powder, salt, pepper and cumin.
Stir and cook for 2 minutes.
Add the remaining ingredients. Stir.
Bring to a boil then reduce to a simmer.
Simmer until thickened, about 30 minutes.
Remove from heat and let cool for 15 minutes.
Using an immersion blender, blend the mixture just until the largest pieces of meat are blended. Do not over blend. You can also transfer the mixture to a blender and pulse until the chunks are gone.
Serve warm over hot dogs.
Notes
If you cut a shallow slit down the lengths of your hot dogs before cooking they will open up slightly, giving the chili a little ‘trough’ to go to.
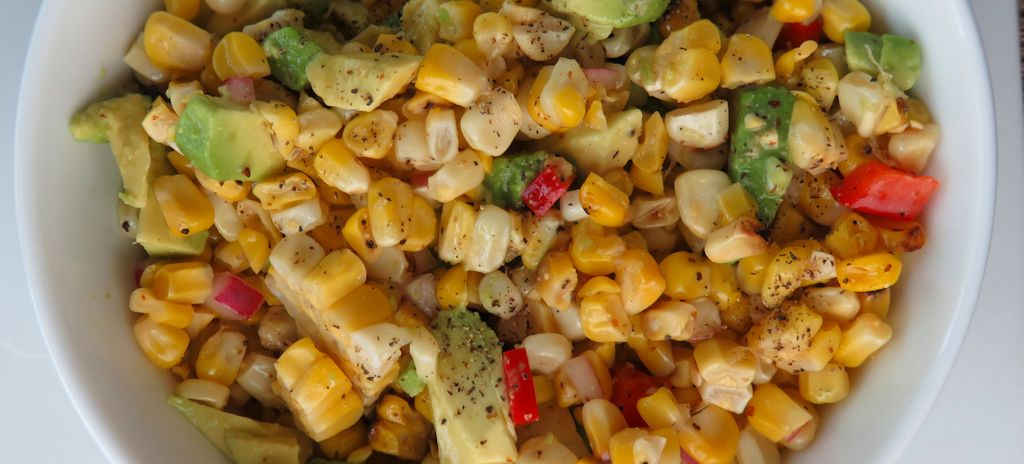
This summer corn salad is why there’s summer. This salad defines summer. I’ll be dreaming about it this winter on a cold, grey, snowy day, that’s for sure. The key, of course, is using great sweet corn. We have no shortage of great sweet corn in Indiana, thankfully. The better the corn, the better this salad is.
A Little Bit Of Everything In A Bowl
You can’t find an easier fresh side dish than this summer corn salad. It has great crunch. A bit of sweetness. A bit of kick from the onion and vinegar. All rounded out perfectly with creamy delicious avocado.
I cut the kernels off my fresh corn with either a crazy sharp knife or I use a corn peeler. Both reduce the time it takes and the mess. Mostly.
Magic Corn Peeler – Get the fresh corn kernels in…
Corn Stripper Tool – It cuts the kernels quickly…
You can use corn kernels if you have to, instead of cooking fresh corn-on-the-cob. I prefer to roast my corn on my Big Easy or on the grill just to give it that extra perfect flavor.
I’m kind of picky about my sweet corn. And spoiled. Come July 4th (or so, depending on the weather of course), I head to my local farmer’s market with my little wagon and go to the My Dad’s Sweet Corn table. That’s where the good stuff is!
This summer corn salad is why there’s summer. This salad defines summer. I’ll be dreaming about it this winter on a cold, grey, snowy day, that’s for sure. The key, of course, is using great sweet corn.
Note: This recipe was developed using the Char-Broil Big Easy Oil-Less Fryer. If you are cooking using the Char-Broil Smoker-Roaster Grill you should cook with the lid open and the temperature set to High. You might also need to adjust the cooking time.
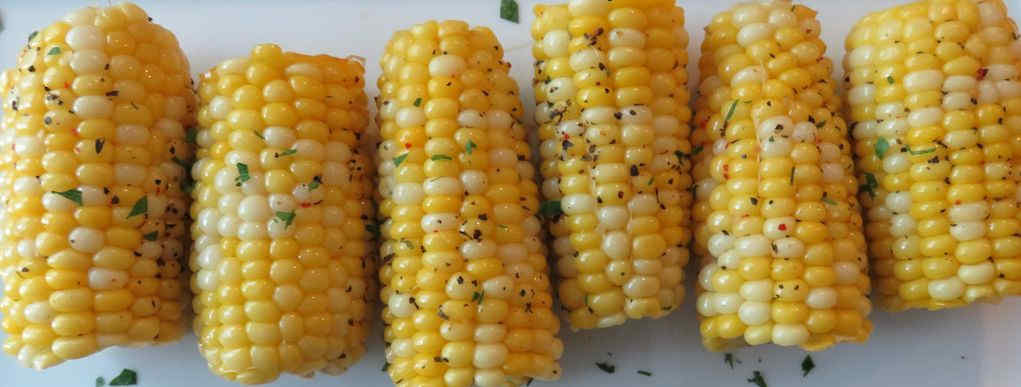
I was already addicted to sweet corn-on-the-cob before the Char-Broil Big Easy came along. The Big Easy, though, made my addiction much, much worse. I cannot get enough easy Corn-on-the-Cob on the Char-Broil Big Easy. Just like the name of the cooker, it’s easy to make. I just take a few ears of corn, shuck them, brush on a little butter and add my favorite seasonings. I often make my own seasoning, but I’ve found that McCormick’s Perfect Pinch seasonings make for the perfect corn topping.
The Timing Isn’t Super Critical
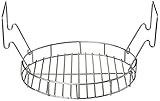
Corn-on-the-cob takes about 25 minutes in the Big Easy. It’s sort of hard to overcook so don’t be upset if you let it go a few minutes longer. If you’re cooking in baskets on the Big Easy remember that some levels cook faster than others, so make sure you check a cob on each one. I use bunk bed baskets, and often rotate them for a nice even cook.
I used McCormick’s Perfect Pinch Vegetable seasoning. My wife and I both love it. It doesn’t bury that great corn flavor, just enhances it. Perfect! You can of course just use salt and pepper.
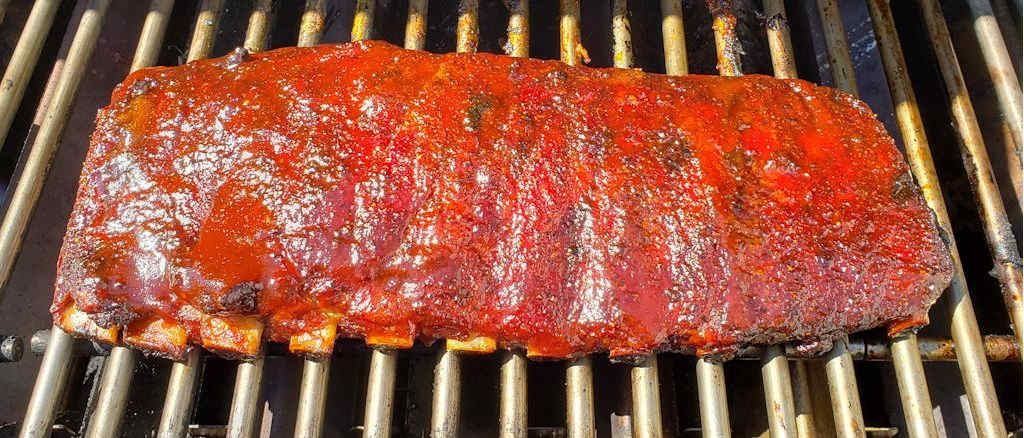
Making St Louis-style ribs on a gas grill is something I’ve been wanting to do for a while now. Yes, I have charcoal grills and I have a smoker, but not everyone else does. Which made me wonder… can it be done? Will they be as good as the ribs I cook on my other grills? Well, once I get something in my head, it’s not going away until I do it. And so I did. And you know what? These ribs were AMAZING!
Tremendous Ribs
Yes, I said it. Ribs cooked on a gas grill are fantastic. No, you can’t get that deep smoky flavor that you get from smoking them for 5 hours. But you get close. And you still get terrific, tender, moist ribs. I thought they were great.
I used my Weber Summit S-670 grill. It’s a large grill, to say the least. You don’t need to have such a big gas grill to make these ribs, but you do need one that’s big enough to hold the ribs and one that you can over indirect heat on. That means that the ribs need to sit away from the heat source. You want the spot where the ribs are to be around 250 F. And not much more. That’s essentially the same temperature as most people smoke ribs so you’re halfway there.
My Setup
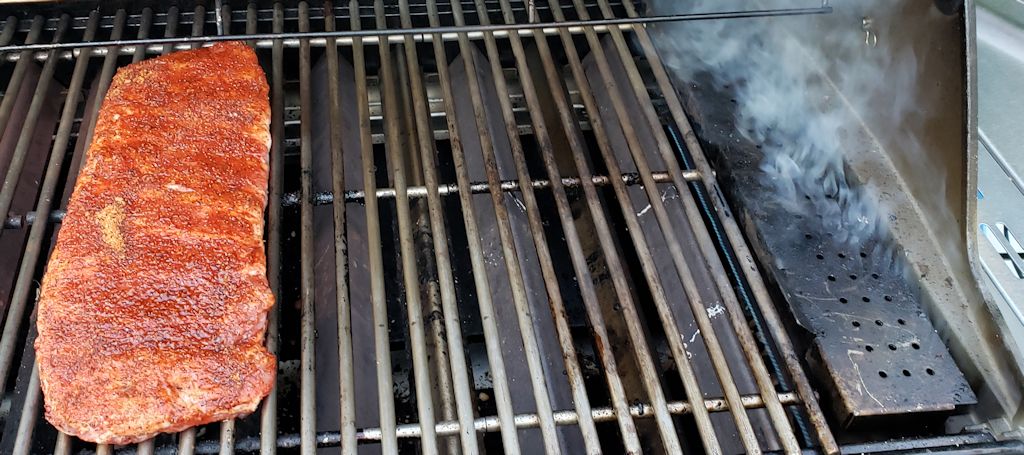
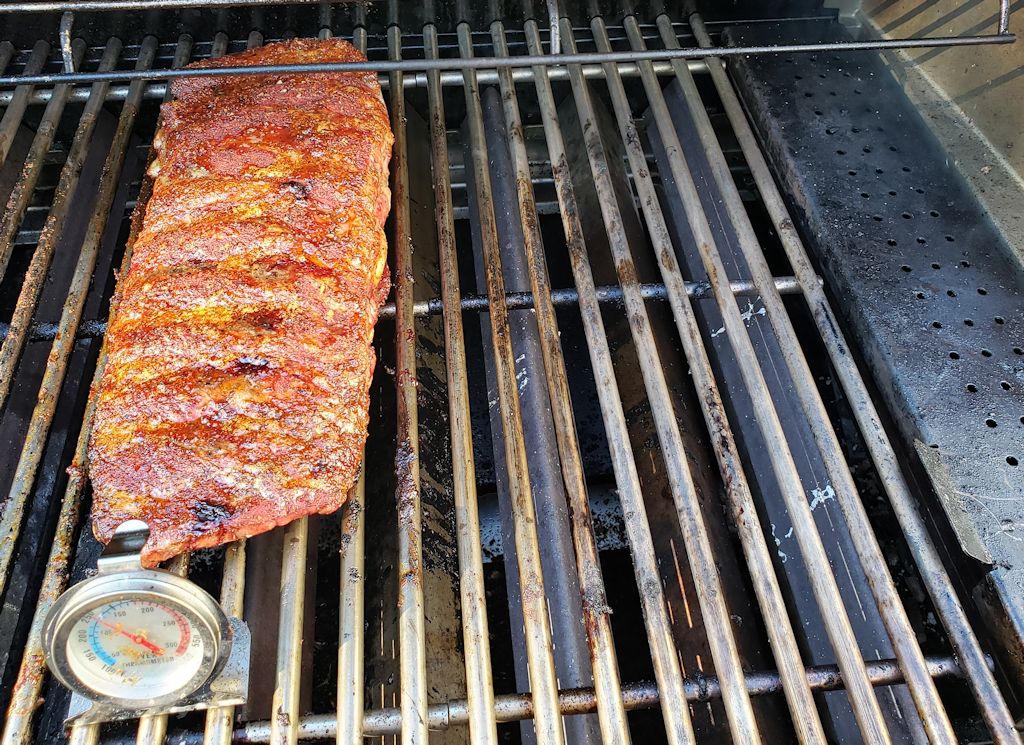
Above you can see my initial setup. I had three burners lit: the two furthest to the right that you can see and the one under my smoke box. I filled the smoke box with apple wood pellets. If you don’t have a smoke box you can use a foil packet filled with wood chips. Just poke a few holes in it and put it over a lit burner. You’re not going to get a lot of smoke flavor, but a bit. Be happy with it. You can make up for it quite a bit by using a BBQ sauce that has a bit of smoke flavor to it.
Oven Thermometers Make This Even Easier
I found that my St Louis-style ribs on a gas grill were a bit too far away from my heat source (I was running around 200 F), so I moved them one burner to the right. I still only had the three rightmost burners lit. You can see my trusty oven thermometer in the picture. Get one (or two) and you’ll never regret it.
Take Notes
Once you get your gas adjusted so your temperature is 225-250 F you don’t really have to mess with it any more. This was my first time doing this, so I had to tweak where I had the ribs and my burner settings. After that I nailed 250 F for hours without any adjustments. Now that I know the right placement and gas knob settings, I’ll be able to make these ribs again and again without any fuss at all. Fortunately, I have this post to come back to. It acts as my notes. You may want to make your own notes so that your next rib cook is as easy as can be!
Rib Happiness
You will be totally happy with these St Louis-style ribs. I sure was. You might have to adjust the process a bit for your grill to get the right temps but once you do you’ll be making great ribs time-and-time again. I recommend taking notes on your setup so you can use the same process the next time.
The rib tips from St Louis-cut ribs make for amazing Buffalo rib tips. Try them! Instead of smoking them, put them on your gas grill along with your rack of ribs, then follow the easy steps to make them into wonderful Buffalo rib tips.
Yes, I said it. Ribs cooked on a gas grill are fantastic. No, you can’t get that deep smoky flavor that you get from smoking them for 5 hours. But you get close. And you still get terrific, tender, moist ribs. I thought they were great.
Fire up your gas grill for cooking at 250 F. You will need to cook the ribs over indirect heat, so only light some of the burners. Place the ribs away from the direct fire. Add wood chips or pellets to a smoke box. If you don't have one, just place the wood on a piece of foil. Fold up and seal, then poke a few holes in the foil. Place over the direct heat to smolder and create smoke.
Season the ribs with the rub, on both sides.
Transfer to the grill over indirect heat.
Close the lid and cook for 2 1/2 hours.
Check the temperature regularly to make sure you maintain 250 F.
Remove the ribs to a large piece of aluminum foil, bone-side up.
Fold up the edges of the foil to create a 'bowl' around the ribs.
Add the vinegar to the 'bowl'.
Sprinkle the ribs with the brown sugar and top with pats of the butter.
Fold the foil around the ribs and seal tightly.
Return to the grill and continue to cook for 1 hour 15 minutes at 250 F.
Carefully open the foil (steam will escape and it will be HOT!). Poke the meat between the bones. It should be tender. Also, the meat should be pulled back about 1" from the ends of the bones. If not, cook another 15 minutes and check again.
Remove ribs from the foil and place directly onto the grill, but still over indirect heat.
Brush the tops with the sauce.
Close the lid and cook another 15 minutes to set the sauce.
Remove, let cool 10 minutes, slice and serve!
Notes
I like to use a hickory smoke-flavored sauce to give these ribs even more of that ‘hot off the smoker’ flavor.