Visit my other site, For The Wing, for all things chicken-wing!
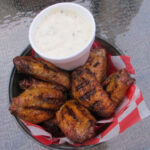
Steven Raichlen turns out some mighty great food. I love the tv shows he does- he got me interested in grilling and smoking. And I love the many books he has written. One of the biggest, thickest recipe books you can find is Steven’s BBQ USA. It is absolutely chock full of great foods and stories, like these Indy chicken wings. And since I live in Indy, I had to make them. Well that and because they sounded (and are) fantastic.
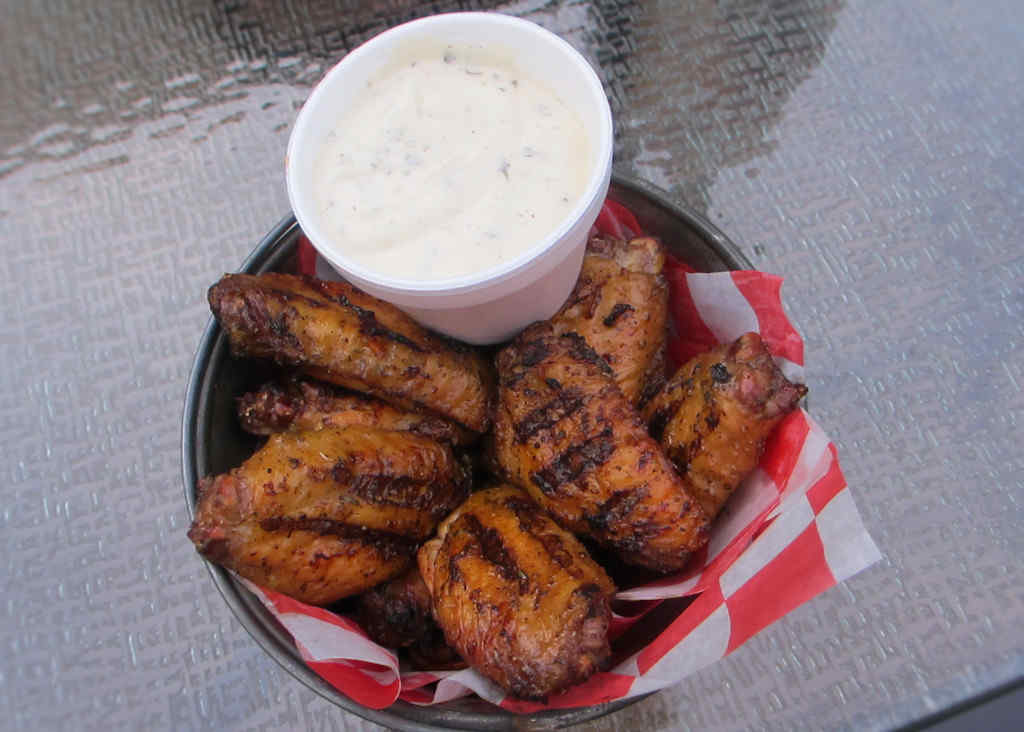
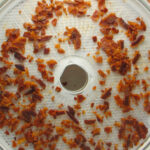
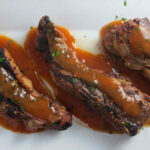
We really enjoyed these Indy chicken wings. The seasoning has a nice garlicky celery flavor. I used our Italian vinaigrette for basting. It has great Italian herb flavor, with a hint of citrus. Note that the vinaigrette does contain oil, so it can cause flair-ups when cooking the wings on the grill.
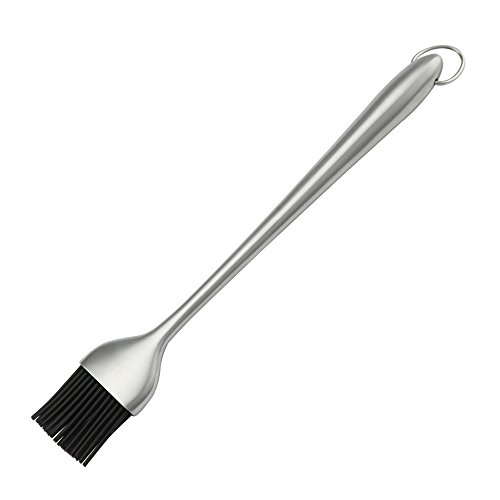
Get yourself a good long basting brush for basting these wings while they cook. You won’t have to worry about burning yourself.
Also try my very popular Mambo wings!
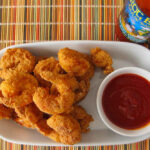
Indy Chicken Wings
Equipment
Ingredients
- 3-4 pounds chicken wings flats and drumettes
- 1 tablespoon vegetable oil
- ½ tablespoon garlic salt
- ½ tablespoon celery seed or celery salt
- 2 teaspoons ground black pepper
- Homemade Italian vinaigrette or substitute Italian salad dressing
Instructions
- Place wings in a large resealable bag or container.
- Add oil. Seal and toss to coat.
- Combine the garlic salt, celery seed or celery salt and pepper. Add to container, seal, and toss to coat.
- Place wings in fridge for at least 2 hours, to overnight.
- Cook wings as desired. Click here for our guide on cooking wings in a grill, smoker, deep fryer, oven, or a Char-Broil Big Easy. After 15 minutes of cooking begin basting the wings with the Italian vinaigrette. Continue basting every 10 minutes until the wings are done.
- Serve with your favorite dipping sauce.
Notes
Nutrition
Nutritional values are approximate.