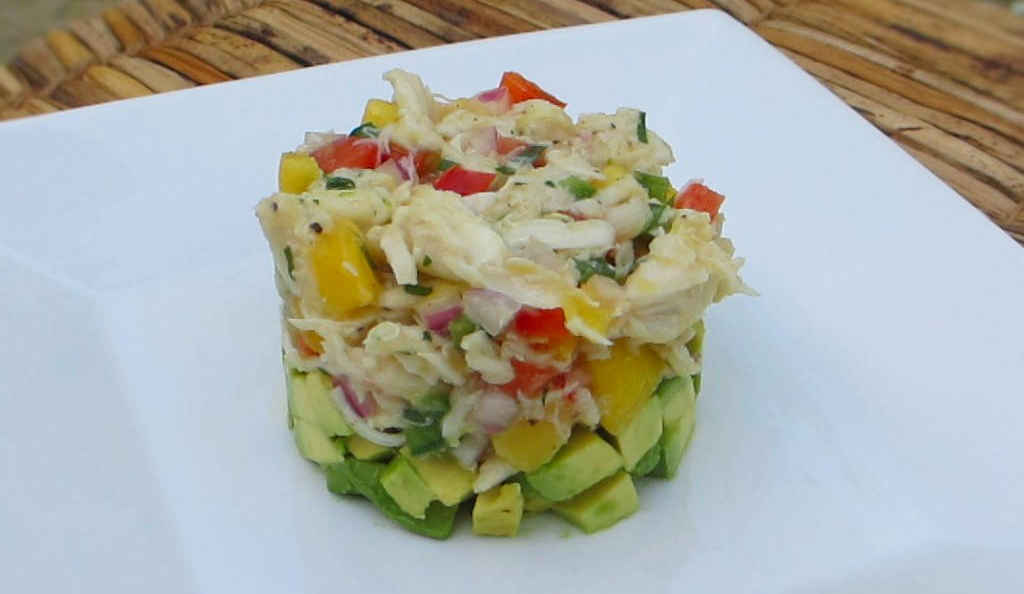
This avocado with crab-mango salad is a great dish as an appetizer or a side salad. It’s light and refreshing and darned tasty to boot! This is the perfect salad for a warm summer brunch, combining crunchy and creamy textures into each and every bite. And of course there’s decadent crab throughout.
One Fantastic Salad
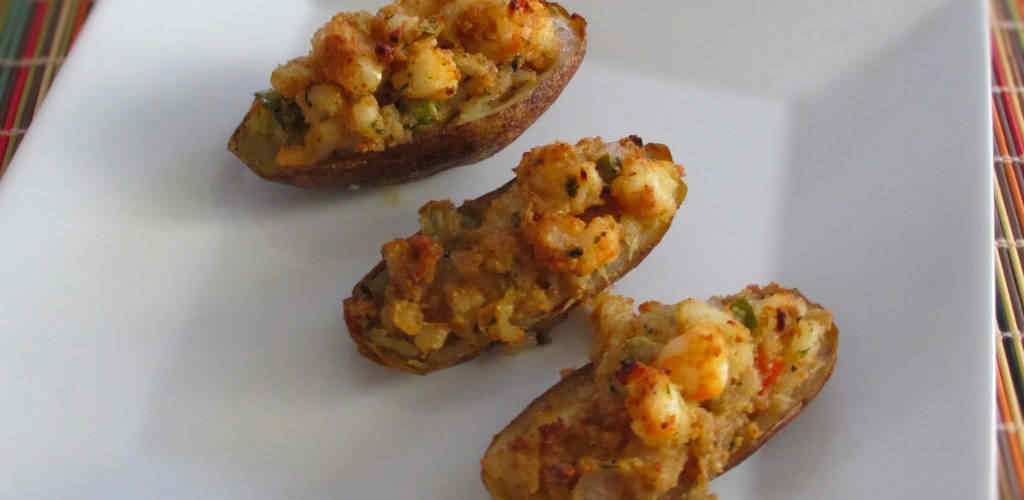
Use a good quality lump crab. I made these by using a cookie cutter to form them. You can also just use an avocado half, with the pit removed of course, to serve them in like little salad bowls!
Also try my avocado wraps with spicy mayonnaise and my ham salad filled avocados.
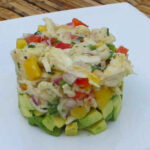
Avocado with Crab-Mango Salad
This avocado with crab-mango salad is a great dish as an appetizer or a side salad. It’s light and refreshing and darned tasty to boot!
Servings 4
Calories 325kcal
Equipment
Ingredients
- 1 lime zested and halved
- 2 tablespoons olive oil
- 2 tablespoons cilantro chopped
- ½ mango peeled and diced
- ⅓ cup red bell pepper diced
- ⅓ cup red onion diced
- ½ jalapeno diced
- ½ pound crabmeat jumbo lump
- 3 avocados cut into 1/4″ bites
Instructions
- Squeeze half a lime into a bowl. Add the oil and cilantro and mix well.
- Add the lime zest, mango, bell pepper, onion and jalapeno and mix well.
- Add the crab and mix gently.
- Drizzle the remaining lime juice over the avocado.
- Place 1/4th of the avocado in the bottom of a large round cookie cutter or metal ring. Tamp down slightly with the bottom of a spoon.
- Add in 1/4th of the crab salad and tamp down. Slowly remove the cookie cutter. I put a spoon on top of the salad mixture to hold it down while removing the cookie cutter.
- Repeat with remaining avocado and crab salad.
Notes
This salad is best when served immediately after preparing.
Nutrition
Calories: 325kcal | Carbohydrates: 21g | Protein: 14g | Fat: 23g | Saturated Fat: 3g | Cholesterol: 24mg | Sodium: 549mg | Potassium: 960mg | Fiber: 12g | Sugar: 6g | Vitamin A: 959IU | Vitamin C: 52mg | Calcium: 59mg | Iron: 1mg
Nutritional values are approximate.