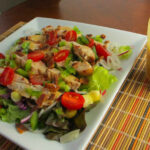
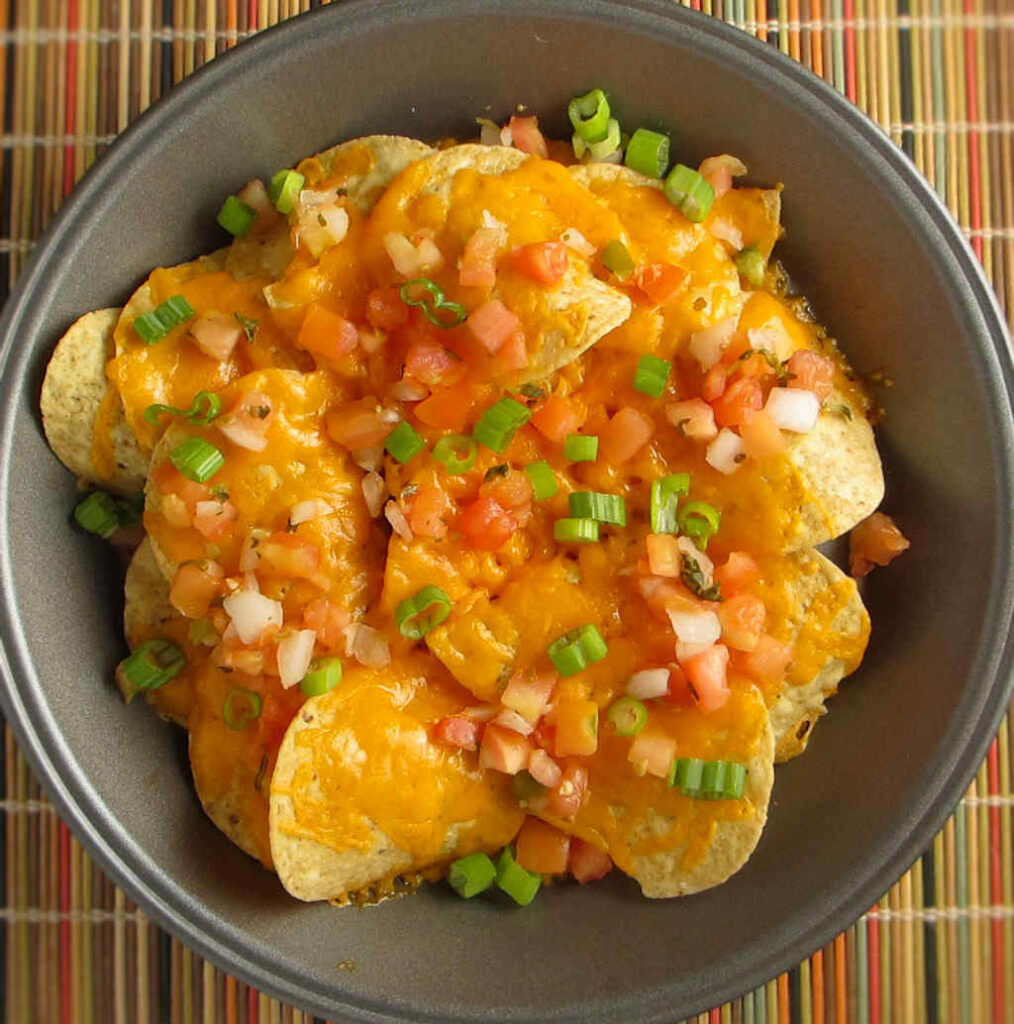
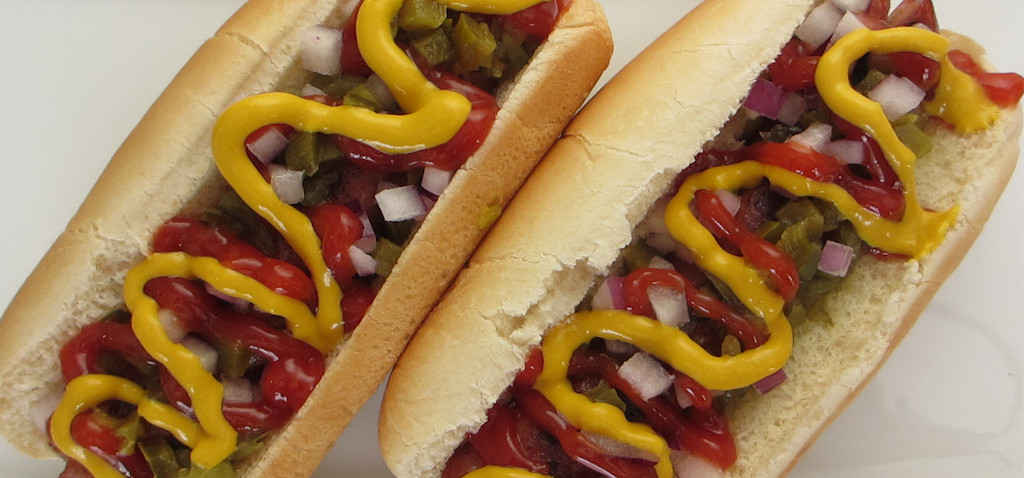
I love when locally-grown jalapenos are at their peak. That’s the time to go grab a few pounds to make quick pickled jalapeno rings. They keep in the pantry forever, always on hand for a pizza, sandwich, salad, burger… hot dogs… everything!
Try Other Peppers, Too!
You can use this same recipe for quick-pickled jalapeno rings for other types of peppers too. Go to your farmer’s market at peak pepper time and grab a variety. Each year I try to grow peppers in our yard but often something comes along and steals them. I suspect that it’s the raccoons.
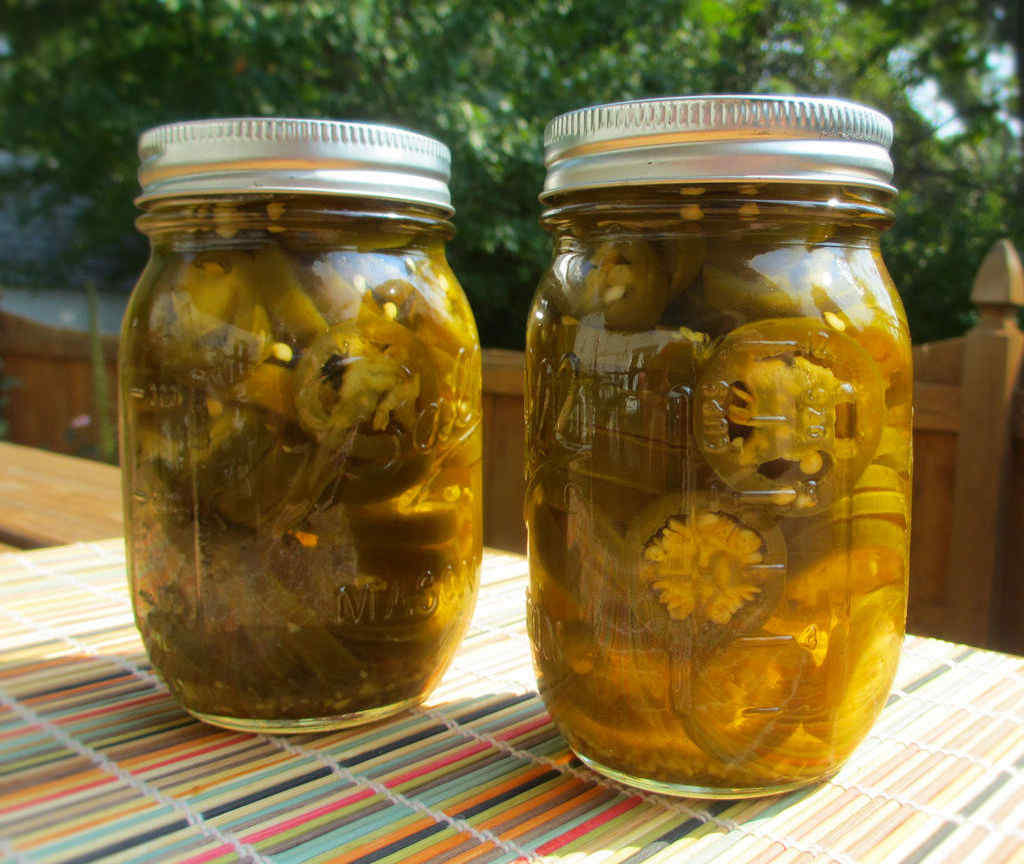
I keep my rings in Mason jars.

Also try my quick fix spicy pickles. For a little sweet with your heat, you need to make spicy pickled pineapple.
Quick Pickled Jalapeno Rings
I love when locally-grown jalapenos are at their peak. That’s the time to go grab a few pounds to make quick pickled jalapeno rings.
Servings 2 pints
Calories 62kcal
Equipment
- 2 Mason Jars pint sized, with lids
Ingredients
- ½ cup water
- 1 ½ cups white vinegar
- 1 teaspoon Kosher salt
- ¼ teaspoon ground cumin
- 4 cloves garlic peeled
- 8-10 large jalapeno peppers it’s hard to be exact here, but it’s about a pound rinsed, and sliced into thin rings. For smaller rings, use about 20 small jalapenos
Instructions
- In a nonreactive saucepan whisk together the vinegar, water, salt and cumin. Bring to a boil over high heat, stirring until the salt dissolves.
- Sterilize the jars and lids.
- Pack each pint jar tightly with sliced pepper rings and one whole garlic clove each. Leave enough room at the top so the lid rests easily on the mouth of the jar.
- Add the hot brine to cover the pepper rings leaving about 1/4″ space at the top of each jar.
- Use a skewer or chopstick to poke down into the jar, freeing any air bubbles.
- Clean the top of the jars. Add the tops and screw on the lids.
- Place into a hot water bath for 15 minutes then remove.
- Let cool and test that the jars are sealed.
Notes
Store in a cool dark place for up a year.
Nutrition
Calories: 62kcal | Carbohydrates: 6g | Protein: 1g | Fat: 1g | Saturated Fat: 1g | Sodium: 1184mg | Potassium: 244mg | Fiber: 2g | Sugar: 2g | Vitamin A: 612IU | Vitamin C: 69mg | Calcium: 37mg | Iron: 1mg
Nutritional values are approximate.