It was not a great day for grilling. I’ve always said that grilling is a passion not a season. But 50 MPH winds and blowing rain can make me rethink that philosophy. I was still jonesin’ for a chili dog so I brought out the slow cooker and satisfied my need for a good dog on a bad weather day. The dogs end up tender and they even absorb some of the great chili flavors. Topped with cheese, onion and jalapeno they hit the spot.
Ready For The Big Game
Slow cooker chili dogs are a really great way to feed a crowd with no fuss whatsoever. You can easily double or triple this recipe if your slow cooker is big enough, ideal for that big game party! This would be perfect for the Super Bowl. Everyone will be happy. Well, except for the losing team that is!
Slow cooker chili dogs are a really great way to feed a crowd with no fuss whatsoever. You can easily double or triple this recipe if your slow cooker is big enough, ideal for that big game party!
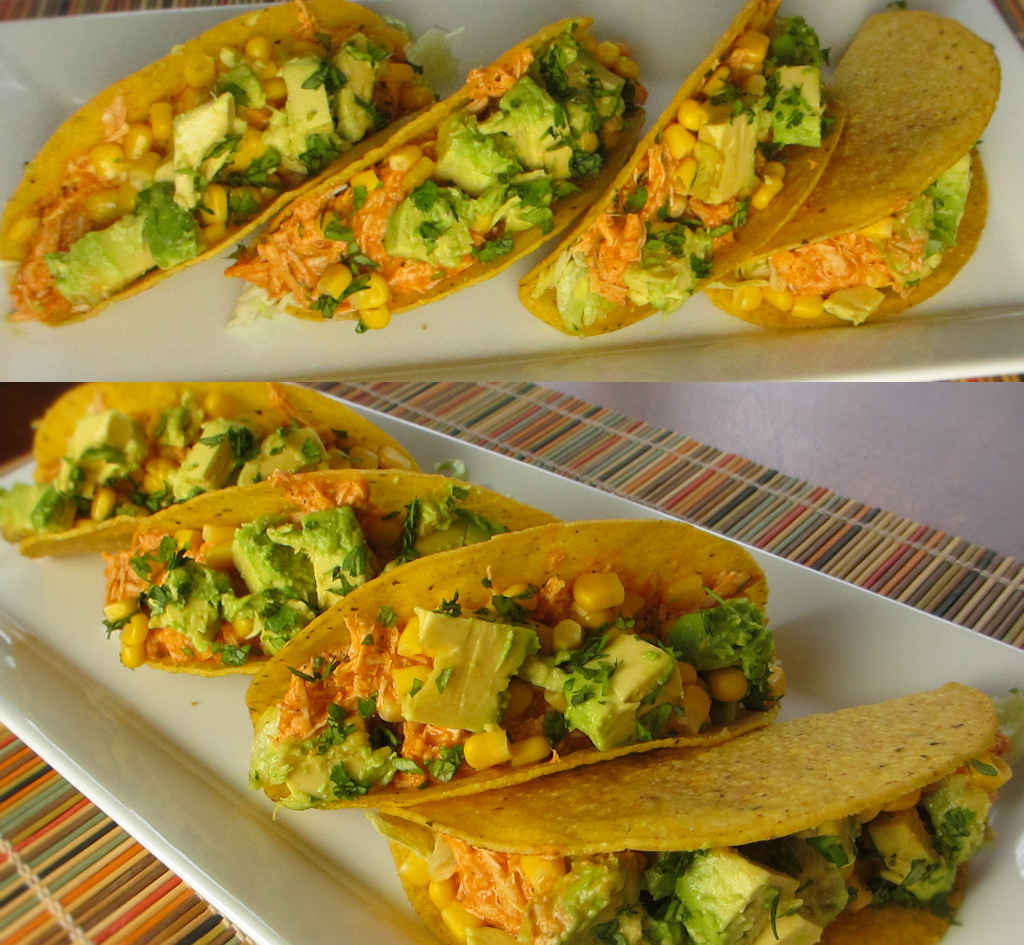
My slow cooker Buffalo chicken is mighty darned good, if I do say so myself. And putting it on a taco is just fantastic. Crunchy taco shell (I use crunchy shells whenever my taco ingredients aren’t crunchy) because I need that contrast between crunchy and well, not crunchy. Spicy, creamy chicken, sweet corn, fantastic avocado and a bit of cilantro. You won’t even realize that these Buffalo chicken tacos don’t have (or need) cheese on them, but if you’re missing it, just crumble a bit of blue cheese or Gorgonzola cheese over the tops before serving.
Sorta Different. Quite Delicious.
To give these Buffalo chicken tacos a nice citrus kick, serve them with a few lime wedges for squeezing.
If you think your tacos need even more of an extra kick, reach for some Cholula. It’s not crazy spicy, but it is crazy tasty.
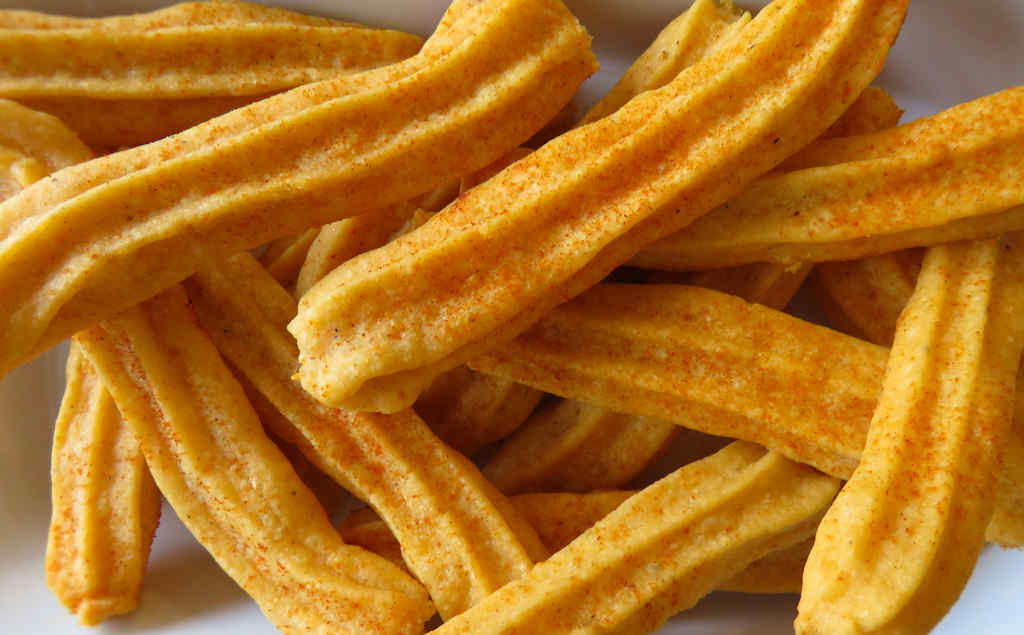
My first attempt at making these cheese straws was a learning experience. If the dough mixture is too thick it’s a nightmare to get through a cookie press. If the dough mixture is too thin the straw will flatten out as they bake and you’ll end up with a pan full of sadness. But, I did finally get it just right and oh, man, are these cheese straws more than just a little addictive! Crunchy and packed with cheese flavor you can’t eat just one handful.
Cheesy. Or Spicy. Or Savory. It’s Your Call.
I dusted the baked cheese straws with cayenne and smoked paprika, but you could try other flavors too. Italian seasoning for example, for a more savory approach. Or perhaps a little Ranch dressing mix. You can also leave the seasoning off and just enjoy the wonderful cheese flavors.
I highly recommend that you shred or grate your own cheese at home. Don’t buy the pre-shredded or pre-grated stuff. It has stuff added to it to keep it from sticking together. That ‘stuff’ affects how the cheese melts. Shred it yourself and use the good stuff.
Line two large baking sheets with parchment paper.
Place 1/2 cup of the butter in a mixer with the paddle attached.
Add 1 cup of the cheese and mix for 5-7 minutes until smooth, scraping down the sides as it goes.
In a separate bowl, sift together the flour, salt, cayenne, smoked paprika, black pepper and garlic powder.
With the mixer still running, slowly add the flour mixture.
Add the remaining cheese.
Test the consistency of the batter. If it is really thick it might not go thru your cookie press or dessert decorator. If it is too thick, add another tablespoon of the softened butter and mix. Continue until just thin enough to press but not thin and runny.
Spoon mixture into your cookie press with a large star tip on the end.
Pipe out onto the parchment paper.
Bake 10-12 minutes or until golden brown.
Remove from oven and dust with cayenne and smoked paprika, then transfer to a cooling rack.
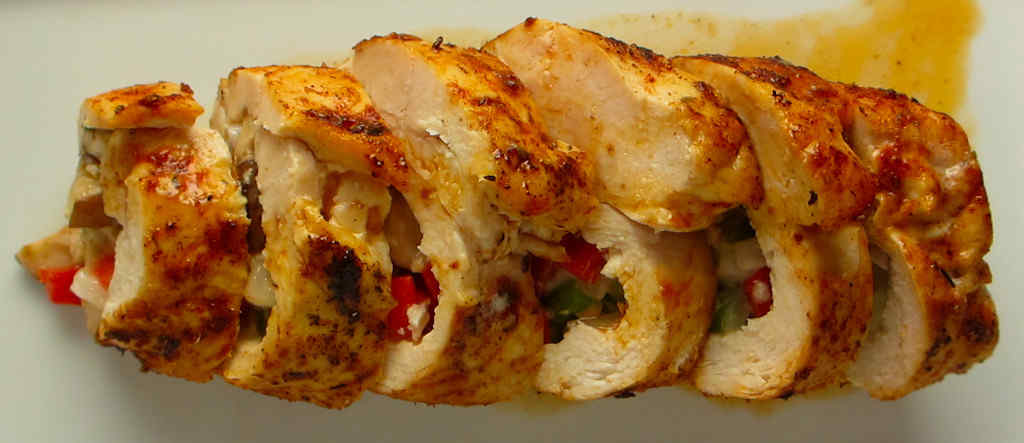
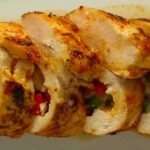
I thought this Cajun stuffed chicken breast came out absolutely fantastic. Pounding the chicken out to a nice consistent thickness was a bit challenging. I’m sure with more practice I’ll have it down pat. The filling is super-simple, just a few diced and sliced vegetables and a bit of cheese. The stuffed chicken is seasoned with Cajun seasoning. Then it is browned quickly on the stovetop. Finally it’s transferred to the oven to finish the cooking. Done and yum!
Make Your Own Seasoning
I prefer to use my own Cajun seasoning in this Cajun stuffed chicken breast and other recipes. I grind it myself so I get the consistency that I want. For this dish I ground the seasoning very fine. Of course you can use the store-bought stuff instead.
I thought this Cajun stuffed chicken breast came out absolutely fantastic. Pounding the chicken out to a nice consistent thickness was a bit challenging, but I’m sure with more practice I’ll have it down pat.
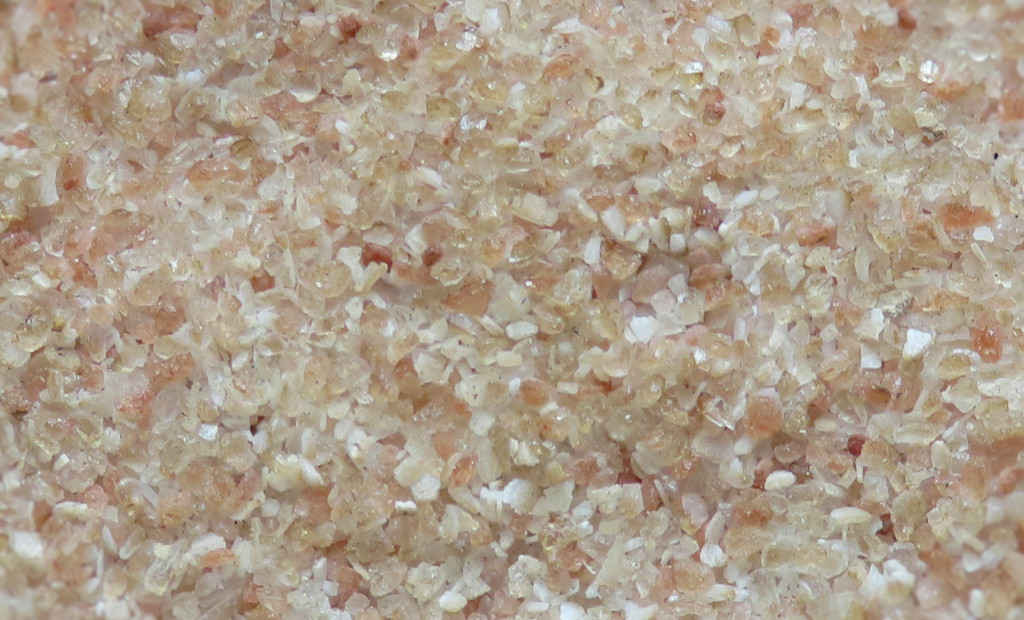
After smoking peppercorns, the next logical thing to smoke was salt. I love smoked sea salt, it really adds a nice slightly smoky flavor to dishes. If you have your smoker already fired up for other things, such as pork butt or brisket or ribs, you often have a little space leftover. No point in wasting all that great smoke, just add some sea salt to a pan and place it on the smoker until it starts to darken in color.
Easy And Well Worth The Effort
I actually used a mix of Himalayan pink salt and coarse sea salt. The textures between the two are slightly different, and they brought different colors to the final mix of smoked salts. I keep the smoked salt in an air-tight container right by my prep area. I still keep a salt pig nearby for those dishes where I don’t want that addition of smoke in my salt.
Fire up your smoker for 250 F. Use a good amount of wood. You want a good amount of smoke to flavor salt. If your smoker has a water pan, such as a Weber Smokey Mountain, do not add water to the pan.
Spread salt out in a 9″ x 5″ pan and place onto the smoker.
Smoke for 4-6 hours or until the salt is darker in color.
Notes
Note: I used hickory wood for smoking sea salt. If you plan on using your smoked salt on fish, use alder or cedar instead.
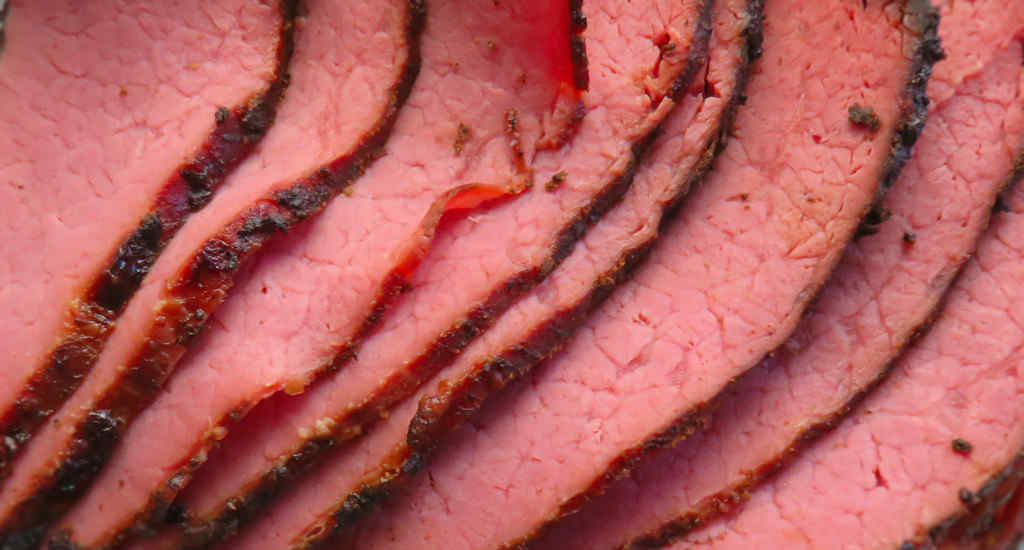
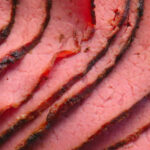
I’ve been making homemade pastrami for years. I make what is commonly called ‘cheater’ pastrami, or ‘fauxstrami’. I don’t start with a brisket, brine (or ‘corn’) it for ages and then smoke it. Instead, I start with a corned beef brisket. The end result is absolutely fantastic.
A Big Hit Every Time I Make It
I load up on corned beefs any time they are on sale. My relatives and neighbors absolutely love it when I make pastrami. It’s always a huge hit.
I took a slightly different approach than my traditional method and I’ve found this way to make homemade pastrami to be even better than the old. You still get that slight peppery bite, but the pastrami-like flavor seems more pronounced and further penetrates the meat than when I use a more coarse spice grind.
I prefer to use fruit or nut woods when I smoke unless I want a heavier smoke flavor. Pecan, apple or cherry are my favorites. For this pastrami I went with apple.
Whisk together the mustard, brown sugar, coriander and allspice. You want the mixture to be slightly wet so that it adheres to the meat. If it does not, add a bit more mustard and mix.
Rub the mixture all over the brisket, then cover completely with the ground pepper.
Place in a large resealable bag or wrap tightly in foil and keep in the fridge overnight.
The next day, fire up your smoker for 225-250 F. Place a chunk or two of light fruit wood in the smoker (I used cherry).
Cook the brisket for at least 8 hours or until the internal temperature reaches 195 – 205 F.
Remove, wrap in foil, and let rest for 30 minutes.
Thinly slice the brisket against the grain using a meat slicer or sharp knife.
Serve.
Notes
I usually buy reduced sodium corned beef to make pastrami. If you have concerns over the amount of sodium, soak your brisket in cold water for 2 hours, replacing the water every 30 minutes.
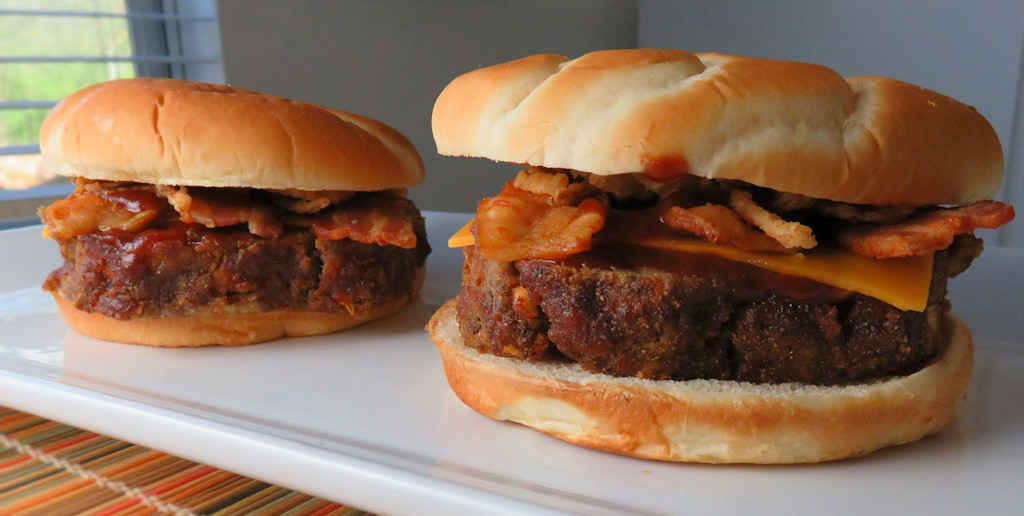
As much as I do love meatloaf, for me the best meatloaf is on a sandwich like on these BBQ meatloaf sandwiches. The joy of meatloaf is that it is (usually) a little denser than a hamburger. It also (usually) comes with vegetables and other seasonings mixed in. Slap a big slice of meatloaf on a big hearty bun, top it with BBQ sauce, bacon, and French-fried onions and I’m not just sort of happy, I’m very happy!
This Isn’t A Salad
Don’t mess around with little ole thin slices of meatloaf when you make BBQ meatloaf sandwiches. And don’t mess around with those little ole grocery store hamburger buns that are barely bigger than a potato chip. Go big. You want a bun that can hold up to a seriously thick slice of meatloaf. The dripping BBQ sauce, crunchy smoky bacon and crispy onions can put a hurt on wimpy bun
If I’m reaching for a bottled BBQ sauce, I often go for Sweet Baby Ray’s.
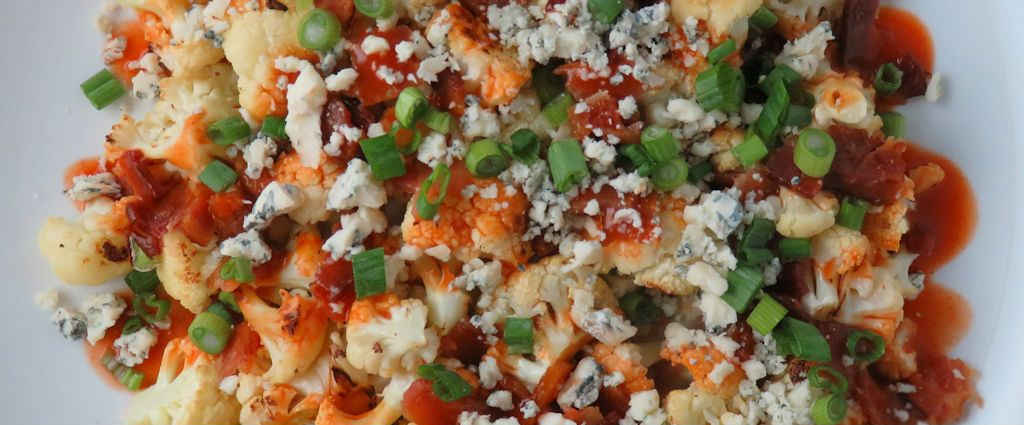
I love the spicy vinegary flavor of Buffalo wings, along with a great blue cheese dressing for dipping them in. Now I can get those same great flavors in an easy-to-make side dish. The only way possible to make this Buffalo bacon roasted cauliflower any better is to double the recipe. Because more is definitely better.
Crazy Good And Different
If you’re not in to the funkiness that blue cheese has, try substituting cubed Monterey jack cheese instead. We still like the funky, but not super duper funky, so we often substitute gorgonzola cheese instead. No matter what you use Buffalo bacon roasted cauliflower is a treat.
I love the spicy vinegary flavor of Buffalo wings, along with a great blue cheese dressing for dipping them in. Now I can get those same great flavors in an easy-to-make side dish.
Place the bacon strips at one end of a large sheet pan.
Place the cauliflower florets at the other end.
Bake for 15-20 minutes or until the bacon is crispy.
Remove the bacon to a paper towel-lined plate.
Toss the cauliflower in any bacon grease that is on the pan. Return to the oven, season with salt and pepper, and roast another 5 minutes or until crisp-tender and lightly charred.
Remove cauliflower to a platter.
Drizzle with the wing sauce.
Crumble the bacon over the top of the cauliflower.
I was digging around in the bottom of the fridge when I came across a tub of pizza dough. A quick check of the freezer found that I didn’t have any pizza sauce. And no ‘normal’ pizza toppings in the fridge, either. Well, I figured that this was the opportune time to make a breakfast pizza. I can’t say I went into the project with great optimism. Well, I’ve been wrong before. This breakfast pizza was easy to make and came out tasting fantastic. It was a welcomed twist on a regular ole pizza.
Have It Your Way
Of course you can add more toppings. Such as crumbled cooked breakfast sausage. Roasted red bell peppers. Salsa. Hot sauce. Jalapeno slices. Use my version of breakfast pizza as sort of a canvas for whatever you want to do. You can’t mess it up. Also make my breakfast po boy and my egg McMuffin casserole.
I highly recommend that you shred or grate your own cheese at home. Don’t buy the pre-shredded or pre-grated stuff. It has stuff added to it to keep it from sticking together. That ‘stuff’ affects how the cheese melts. Shred it yourself and use the good stuff.
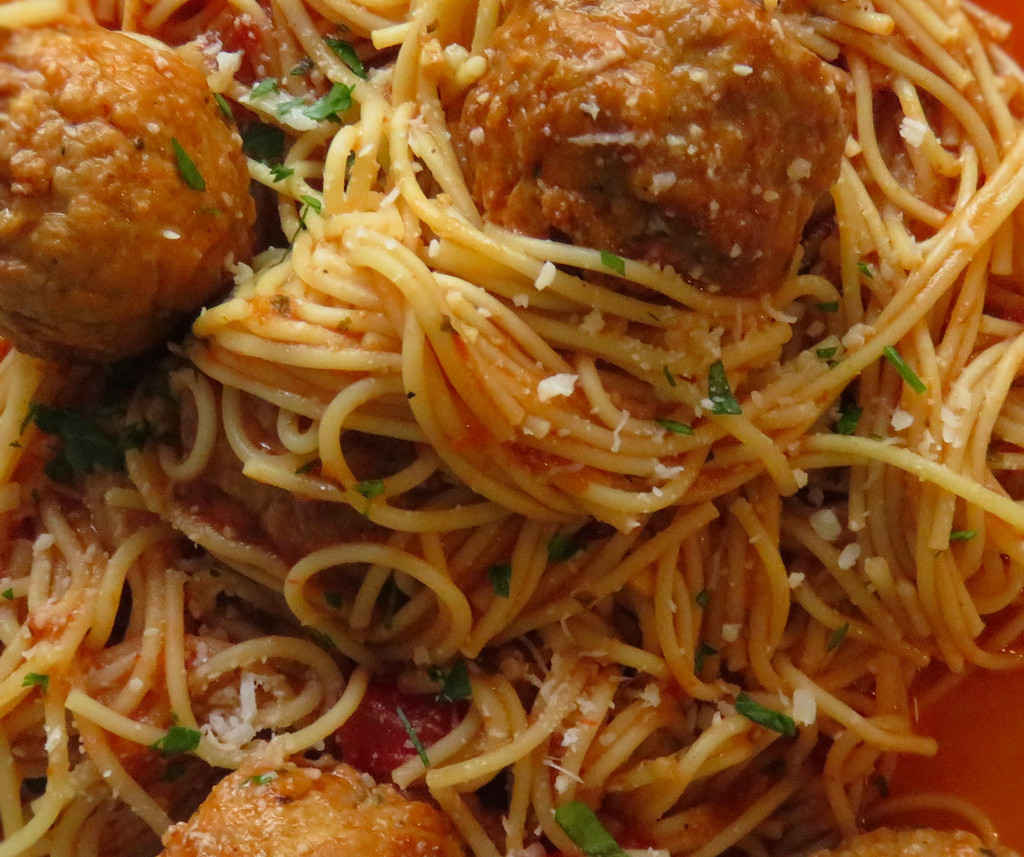
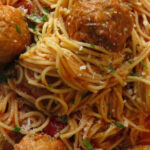
We spent a week in a condo on fabulous Tybee Island, Georgia not long ago. I wanted to maximize our time on the beach, which meant that I wanted meals that I could prepare with minimal effort and time. Slow cooker spaghetti and meatballs was the perfect choice. And it was mighty tasty too. Yummy meatballs in a flavorful sauce, with the pasta already mixed in. It really doesn’t get any easier.
Add Some Kick If You Want
I always like a little kick in my pasta dishes, whether they’re from the slow cooker or not, so I added a bit of red pepper flakes. You can leave them out if you like. I don’t go crazy with it. But I just want that little ‘something’ that wakes things up a bit.